DIYing This Dollar Tree Hobbit Wreath Gave Us Major Middle-Earth Vibes
A glance at my bookshelf will tell you I'm a sucker for anything fantasy. I enjoy every opportunity to incorporate the magical elements of beloved books and films into my home decor. Fortunately for me, the fairycore and whimsical aesthetics have been growing in popularity, bringing touches of nature, color, and mysticism to the forefront. One of my all-time favorite authors is J.R.R. Tolkien, so when I stumbled across a TikToker DIYing a hobbit-themed wreath, I knew I had to try it.
The project consists of a slotted round plaque, which is strategically oriented to look like the planks of wood on a fence, or in this case, a door. After painting it, botanical elements are added in a circular frame to form the wreath. The gold doorknob in the center is the piece that transforms this craft into a scene right out of the Shire. Not having the budget to spend on high-end materials, I decided to attempt this using Dollar Tree items. If you, like me, are looking for classy ways to incorporate "The Lord of the Rings" into your home decor without breaking the bank, this project is for you. Check out how I made my own discount version of Bilbo's famous door as hanging decor.
Preparing my Middle-earth-themed supplies
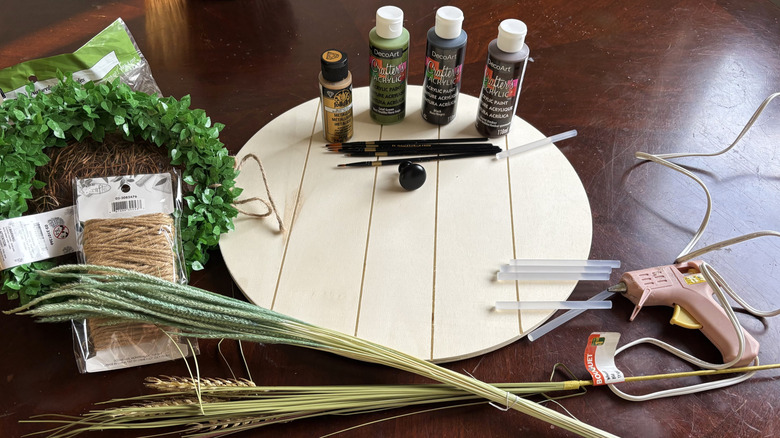
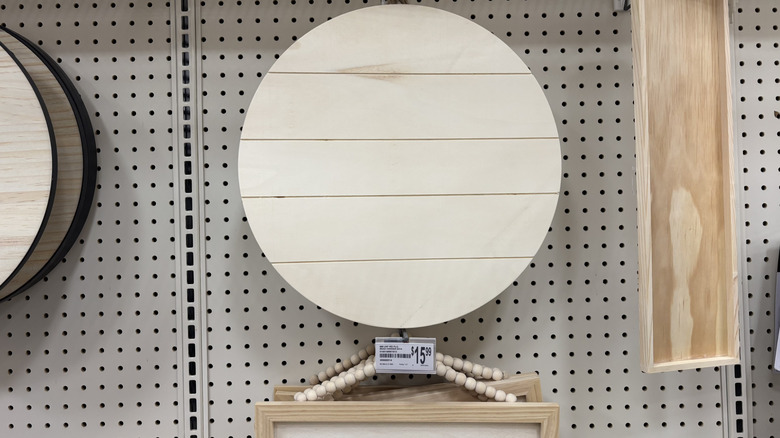
TikTok user @sibster_made went with a Make Market 15-inch round unfinished-wood plaque from Michaels for $14.99. This is the one big purchase I conceded. If you want to keep it lower-budget, the Crafter's Square round plywood hanging sign from Dollar Tree is only $1.25. Next, I needed materials for the wreath. I went full discount mode with this portion of the project. Some items to include are assorted artificial green foliage, floral garden moss, and Crafter's Square mini wooden mushrooms, each $1.25 at Dollar Tree. I bought foam acorns and wheat fronds too.
Don't forget to grab a small drawer knob. If your store doesn't have them, try the Dollar Tree foam crafting balls for $1.25. You'll also need a hot glue gun, jute rope, paintbrushes, and acrylic paint in green, brown, red, gold, and white.
After coming home, I prepped my crafting area. I did this project in my dining room, where the light is best, and started by separating the botanical fronds. Since I chose not to purchase a twig wreath from another store, I began twisting the dollar store greenery together to make my own. If you bought the Crafter's Square hanging sign from Dollar Tree over the one at Michaels, this is a good time to mark in the faux slats since it doesn't have any. Remember to draw them vertically with the hanging string at the top. Once you're done, it's time to make some Middle-earth crafting magic.
Forming a DIY wreath Tolkien would be proud of
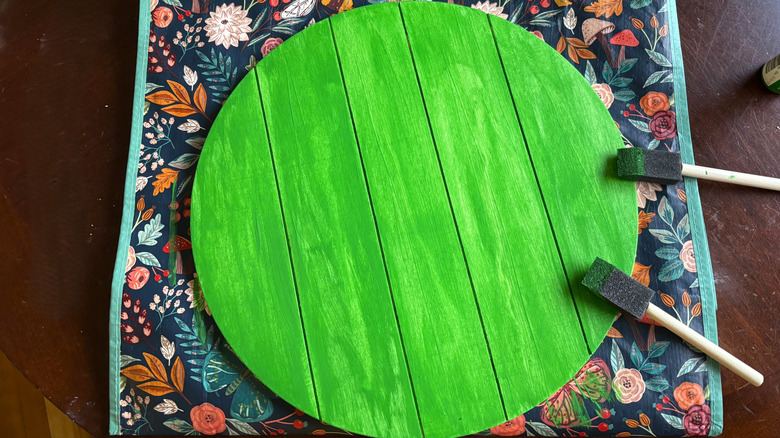
I painted the entire round plaque bright green. Before it dried, I added a touch of brown at the seams and blended it out to create a bit of a shadow, as well as a touch of white in the center for a worn look. Once it was dry, I placed the wreath I'd made with fronds onto the plaque to frame it and wrapped some faux ivy around it. The green on green was a bit bland, so I tucked fake brown moss along the inner ring to make it pop. After using hot glue to attach it all to the wood, I started on embellishments.
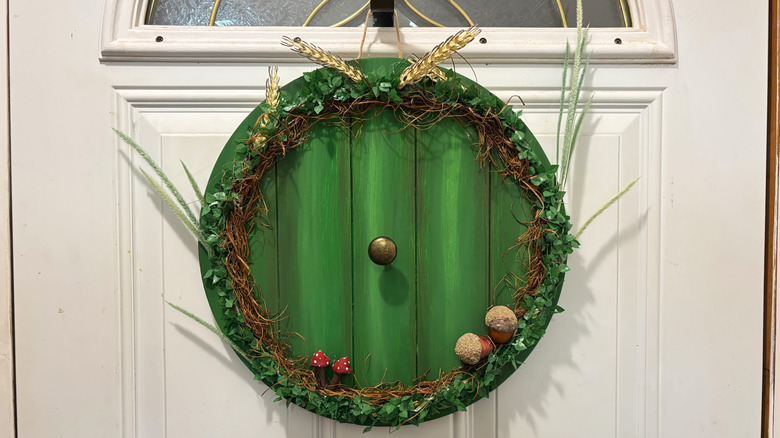
My knob is black, and gold acrylic paint wouldn't stick. If you have Rub n Buff wax metallic finish, this is a good time to use it. Otherwise, you can try my trick of dabbing the gold on with a scrunched paper towel for an antique look. The mushrooms were also tricky, as they wouldn't stand up while the paint dried. Eventually, I rolled a piece of tape into a loop to stick the base to the table so I didn't have to hold them. I also added foam acorns near the bottom and added the knob to the center. Finally, I snipped the hanging rope off the side and attached a new one to the upper back. I can honestly say, this is one of the most beautiful ways to add trendy, whimsical accents to your home on a budget.
The whimsical outcome of my DIY wreath
I had so much fun putting this project together, and I wholeheartedly recommend it to anyone who loves the fantasy genre. Overall, this was a fairly easy DIY. If, like me, you have little hands wanting to help, the painting portion is best for all ages. After that, you'll need to use the hot glue gun, and things get tricky. If you want to keep it kid-safe, you can use white or wood glue, but know that it will take much longer to dry. There are also a few things I'm going to change now that it's complete.
One mistake I made was gluing on the knob and jute rope hanger. It's holding up for now, but the doorknob I chose is quite heavy and comes with hardware. I'm going to remove it and screw it in for longevity. I'm also adding staples to the back to secure the hanger. Other than that, it's pretty perfect, even for a fussy hobbit. This is one of the most fun ways to incorporate the ethereal aesthetic into your home decor. As a bonus, this wreath is seasonally neutral. You can leave this up year-round if you want (and I plan to). Happy crafting!


