Tips And Tricks For Installing A Wireless Light Switch As A Beginner
We may receive a commission on purchases made from links.
DIYing updates around the home is a cheap, fun, and fulfilling way to make the house a home, but working on electrical fixtures is a project many may hesitate to try out. As much as you may want to change that old pull-chain ceiling light into a switch-activated unit, the effort involved can feel overwhelming for beginners. Not only is there the hazard of electrical shock to worry about, but running electrical wires through the ceiling and walls can be labor-intensive and risky. In many instances, this is the type of electrical project best left to a professional, which could set you back a few hundred dollars. But, though the traditional approach may seem out-of-reach as a DIY, new remote light switches take minimal effort, skill, or know-how to install yourself. Simply put a receiver in the fixture and mount a wireless wall switch, and you can now control the light from any location.
Wireless light switch and receiver kits are inexpensive and straightforward to install. Some models, such as the Ortis Wireless Light and Receiver Kit, are also expandable with multiple switches. With these, it's easy to pick optimal light switch placement to conveniently control a single light. Grab your tools, take a few precautionary safety steps, and effectively update your existing ceiling light in minutes with these tips and tricks.
Installing a wireless light switch receiver in your ceiling fixture
Wireless light switch receivers are small devices that sit within the ceiling fixture cavity, hidden behind the light's canopy. Using a screwdriver, remove the canopy to reveal the interior wiring. Before touching the wires, ensure the circuit is off at the breaker. If you can't identify the proper one, you can shut off the main breaker, though this will shut down all electricity throughout the house. With the breaker off, test the wires to ensure there's no power running through the circuit. A non-contact tester is easiest to use for beginners. Holding it near the wire, the tester will light up to indicate an active line.
Note the wires running from the power source and the light fixture. Black or red wires are hot, white are neutral (returning power to the breaker), and green is a ground. Identifying each type is crucial for proper operation and avoiding the common mistake of crossing electrical wires and causing reverse polarity. Wire the receiver according to the diagram. For products like the Ortis wireless switch, the receiver is a midway point, connecting white and black wires to the power source and black and white wires to the lamp. Others have more complicated setups where all three white wires tie together and only the black wires connect in a row. Once you determine the layout, twist the appropriate wires together and screw wire nuts onto each connection. Tuck the receiver into the cavity and reinstall the fixture.
Setting up a wireless light switch for clean looks and optimal utility
After installing your wireless receiver, all that's left is to attach the switch to the wall. The switch sends an RF signal to the receiver. As long as it's in range (typically 100–300 feet), you can place it anywhere or even keep it free as a portable remote. The best spots are usually at entryways. Placing it on the side of the wall with the latch gives easy access to the switch as you open or close the door. Depending on your room, extra switches can also make a crucial difference. For instance, a bedroom switch by the bed will make it easy to turn off the lights after you finish reading. Consider how you use a room and install new switches accordingly.
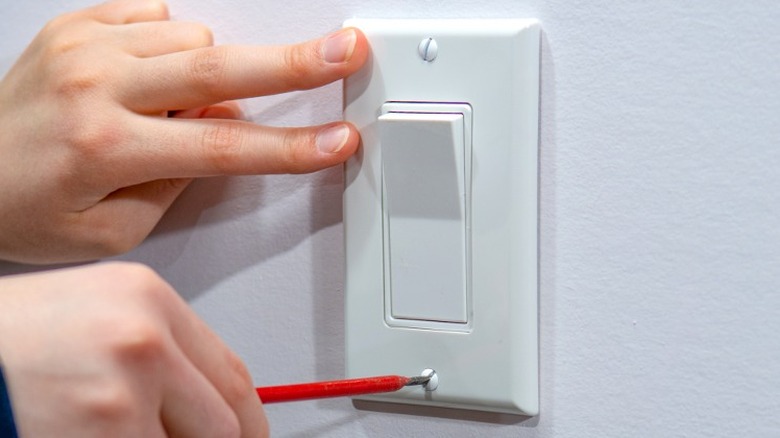
To install the light switch, raise it to the appropriate height (typically 42 inches from the ground, 4 inches from countertops). Use a level to keep it straight and mark the drill points. Screw the mounting plate in place. If you're drilling into drywall without a stud behind it, use wall anchors to ensure a secure hold for the screw. When drilling into brick, you should also install plugs for a lasting installation. After that, you only have to add a battery to the switch (if needed), and place it over the holder. You now have an updated light switch with daily benefits you'll be sure to appreciate.

