Tips For Adding Peel-And-Stick Tile Over Existing Tile
Peel-and-stick tiles are a quick, cost-effective way to breathe new life into your space without a demolition project. But before you start peeling and sticking over existing tile with wild abandon, knowing what you're getting into is essential. Peel-and-stick tiles work wonders, but they are not magic. They require some prep work and careful application to give that picture-perfect look. If you're ready to embrace the adhesive magic, prep your surface like a pro, and don't shy away from adding extra adhesive if necessary.
Before you get too excited about slapping those trendy tiles on your walls, let's talk about surface preparation. No one likes an uneven finish, especially when it comes to tiles. To avoid this, thoroughly clean your existing tiles. Grab a sponge and some soap to eliminate all that dust, dirt, grease, and grime. Once that's done, make sure the surface is completely dry. You don't want any moisture getting trapped behind your new tiles, causing peeling or other issues down the line. If your existing tiles have some imperfections, you'll need to fill them in. A bit of filler or putty can work wonders to smooth out any uneven spots.
After cleaning up the surface, it's time to think about the adhesive. Many peel-and-stick tiles come with their sticky backing, but it's not always foolproof. If the tiles don't feel sticky enough, you might need to add some extra help. Grab a tube of adhesive or even some double-sided tape to secure the tiles more firmly. But remember, don't overdo it. Applying additional adhesive can help, but be careful not to create an uneven surface that could result in gaps or lumps.
How to lay peel-and-stick tile over existing tile
To start laying your tiles, first measure your space. This might seem obvious, but if you don't get the measurements right, you might end up with tile pieces that are way too small or way too big. Lay the tiles out in a dry run (yes, without removing the backing). This will help you visualize the design and make any adjustments before committing. Once you've figured out the layout, mark the starting point on your wall or floor. Use a level to ensure everything is straight — crooked tiles are an eyesore. With the starting line set, use chalk or a pencil to mark your pattern. You can even use spacer strips to keep everything nice and even.
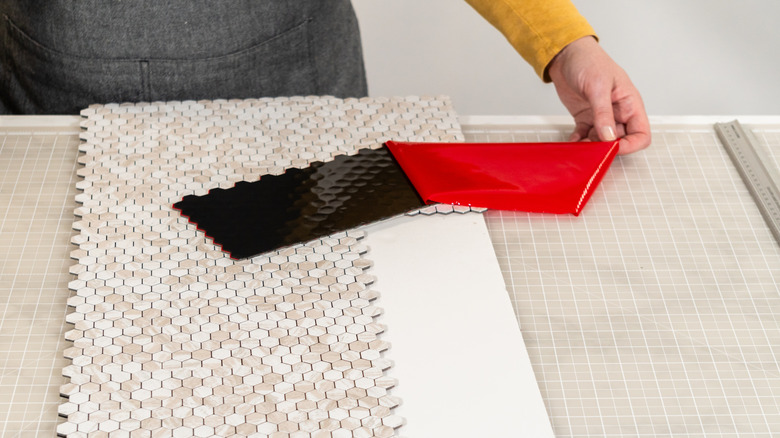
Sometimes, you'll need to cut your tiles to fit your space (no one's room is perfectly shaped, after all). If that's the case, measure the area where you need to cut, and then use a straight edge to mark your tile. You can use a wet saw for harder tiles like ceramic, porcelain, or glass or a score-and-snap method for softer materials like clay. For vinyl tiles, aviation snips work wonders. After making the cuts, don't forget to smooth the edges.
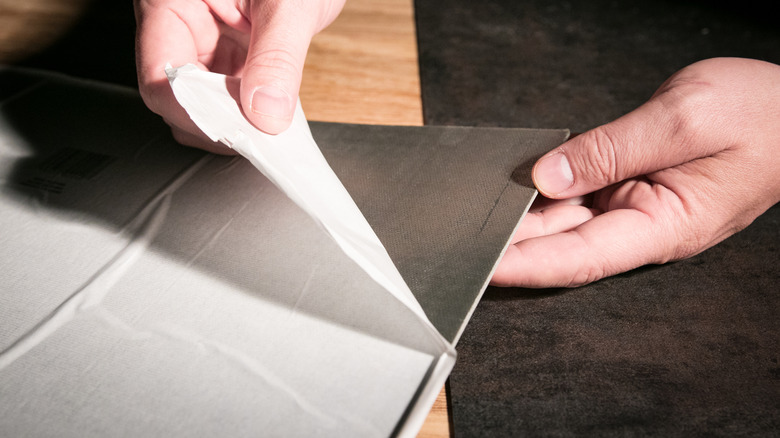
Finally, it's time for the fun part: applying the tiles. Peel off the backing from each tile, one at a time, and carefully place them onto your prepped surface. Don't just slap them on and hope for the best — position them gently and apply pressure to ensure they are securely stuck. A rolling pin or grout float can help you press the tiles down evenly and remove any air bubbles.

