Turn A Juniper Into A Bonsai Tree With Martha Stewart's Tried-And-True Method
We may receive a commission on purchases made from links.
If you love houseplants or Japanese gardens, you've probably wondered what it takes to grow and care for a bonsai. You're in luck: Martha Stewart has shared beginner-friendly tips for cultivating these tiny trees. The Martha Blog documented her process for miniaturizing a juniper, which, like ficus, is as simple to grow as a bonsai and can live inside or outside. Stewart's approach involves strategic trimming, guiding the branches with wires, and transferring the tree to a new pot.
Stewart recommends junipers for this project because they tend to be "hardy, resilient, easy to prune, long-lived, versatile, and once established, easy to maintain." She also adores the "strong and striking" look of their prickly needles. The 'Blue Star' and 'Dream Joy' cultivars of flaky juniper (Juniperus squamata) are good candidates for bonsai-making. Also consider 'Blue Chip' creeping juniper (Juniperus horizontalis), which is native to North America, and garden juniper (Juniper procumbens nana), the Japanese cypress that appeared in the "Karate Kid" movies.
Ready to start? First, gather your supplies. You'll need a shallow container with a drainage hole and plenty of room for your bonsai, mesh for the bottom of the pot, heavy-gauge wire made of annealed copper or anodized aluminum, a wire cutter, and fertilizer like Miracle-Gro Shake 'n Feed All-Purpose Plant Food. To prune your bonsai, grab garden shears, gin pliers, or twig trimmers such as Lackingone's 7.3-inch Professional Bonsai Scissors. Then, make a soil mix to nourish your tree. Stewart suggests blending organic compost with pumice, gravel or sand, and Akadama, a Japanese clay designed for bonsai. To skip this step, purchase Harris Bonsai Soil or a similar product.
How to create a healthy, beautiful juniper bonsai
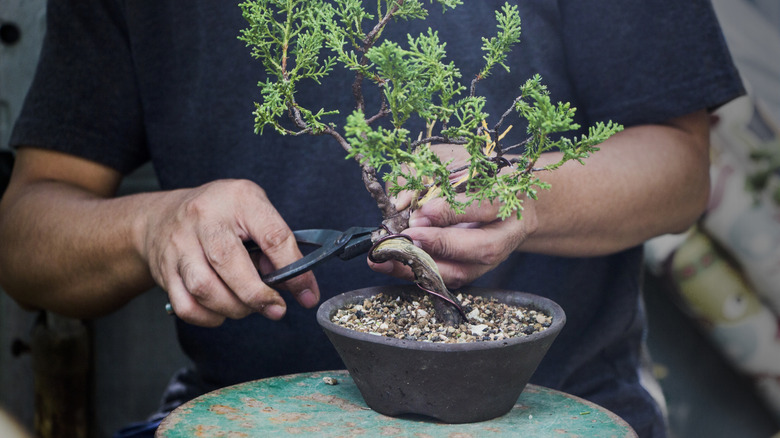
To transform your juniper into a bonsai, try to create a pint-size rendition of the full-size plant — a shallow pot curbs root expansion, which helps the tree stay small. Put mesh over the drainage hole, fill ⅔ of the pot with soil mix, and fertilize heavily. After pruning, you can add the rest of the soil. Before placing your juniper in the pot, trim its roots down to size. Then, set the tree in the soil and carefully prune its branches. Thankfully, pruning the right way doesn't require a pro.
The ideal time to prune is during the plant's growing season, which spans spring and summer. Start by lopping off intersecting branches and feeble-looking foliage. After that, excise branches that don't conform to the shape you're seeking. To make the foliage less dense, remove entire needles rather than simply shortening them. Observe your plant from different angles to see if any portion looks lopsided.
Next, break out the wire. Bend a branch at an attractive angle and encircle it with wire to help it hold the pose. Young branches are easiest to shape because they're most pliable. The Bonsai Center also recommends shielding tender twigs with tape or string, similar to the G2Plus Natural Raffia Ribbon. After wiring your tree, maintenance is your main task. This includes removing fresh shoots, misting with water regularly (twice a day in summer, twice a week in winter), fertilizing in spring, and removing any wire that could pierce the tree's bark. Your juniper bonsai needs four or more hours of daily sunlight, so you might want to keep it outdoors like Stewart does.

