Tips And Tricks For Laying Patio Pavers On Dirt
If you want to use pavers to build a patio, you'll probably hear the advice that laying pavers over dirt is a mistake. It's true — you should level the ground and add sand and gravel over the dirt before installing the pavers. Going directly over dirt is one of the worst ways to level the ground for pavers, since doing so could allow the soil underneath to shift, causing the pavers to heave or sink. Failing to add sand and gravel as a base material can lead to issues with drainage, too.
But even though having a dirt base is one of the most common reasons a DIY paver patio fails, sometimes you have no choice but to go against the norm and lay the pavers without a proper base. Perhaps you need to create a patio area quickly for a party, and you don't have the time or budget to purchase gravel and sand to use as a base layer. Or maybe you're planning a temporary installation and want to remove the pavers after some time, so there's no real need to create a sand and gravel base. The good news is that certain methods do exist for stabilizing your patio surface when laying pavers over dirt. Crucially, you need to make sure that the substrate is compacted, levelled, and sloped to allow drainage. If you're up for a challenge, here are some tips and tricks for placing your paver stones on top of bare dirt.
Tips for preparing a dirt base for pavers
If you want to create your paver patio directly over dirt and don't plan to add the recommended base materials like sand and gravel, these tips can help make sure that the substrate is as sturdy and well-draining as possible. First, since you aren't using gravel or sand to aid in drainage, you'll want to give the area a slight slope. Create a grade of about 1-1/4 inches for every 10 linear feet; this gentle slope should allow water to drain away more easily without making the patio's grade too steep. You might need to add fill dirt and then level it to make sure that the sloped surface is as even as possible. The surface, and the fill you bring in, should be clear of grass, weeds, rocks, and other debris that could affect the integrity of the paver substrate.
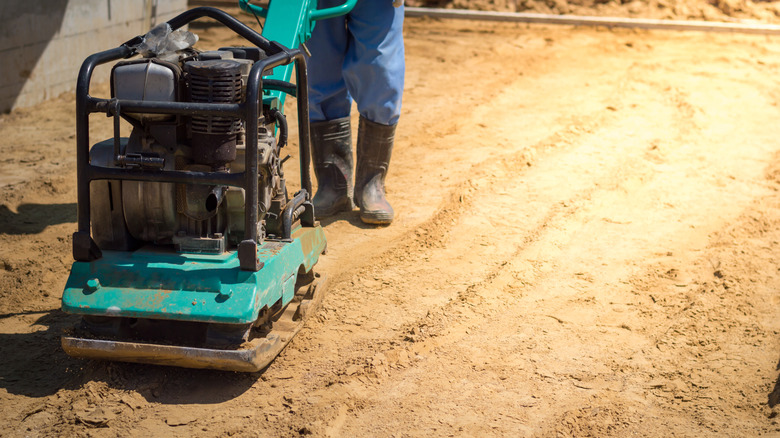
Another tip is to compact the soil as tightly as you can. You can use a hand tamper tool, or, better yet, a plate compactor machine to create an extremely firm base level from the dirt. You can rent a plate compactor instead of purchasing one, as they can be quite expensive, usually costing several hundred dollars. If you compact the substrate tightly, there will be less risk of the pavers shifting or settling.
If your paved area will be a long-term installation, you may want to further improve drainage and the stability of the soil. You can do this by covering the dirt with landscaping fabric before adding pavers. Apart from keeping the substrate in place, the fabric will also block weeds.
Tips for laying and finishing pavers on top of dirt
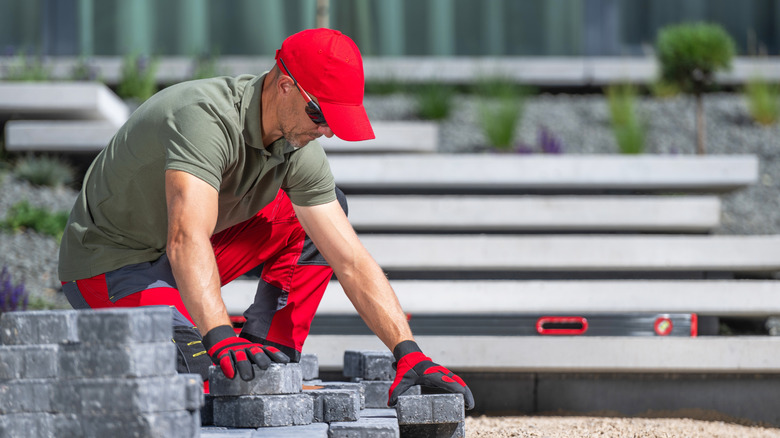
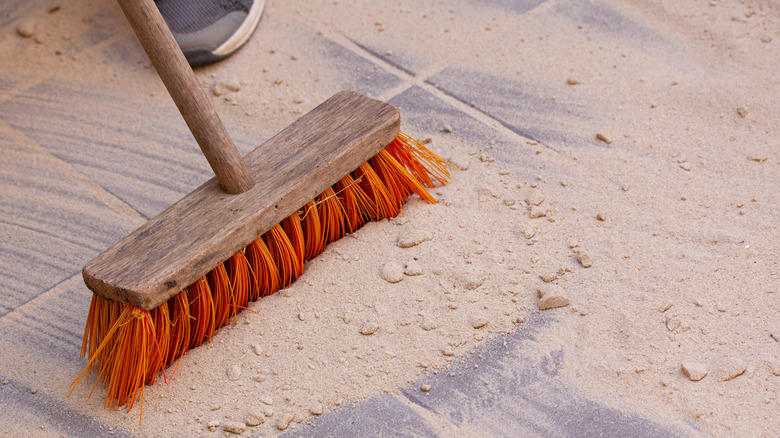
While installing pavers over dirt, a few best practices can help ensure their stability despite the suboptimal base. As you start laying pavers at the high end of the graded slope, consider leaving a slight, 1/8-inch gap between the stones. This gap will keep the pavers flexible despite soil movements. Also, the gap lets you add stone dust or sand between the stones, helping to lock them in place and reduce shifting.
Another tip is to lay a 2-by-4-foot board across the pavers you install and use it to see if the stones are level. You can tap the board with a hammer to settle a paver that's sticking up a little bit. You don't want to hit the stones directly with a hammer, as doing so could chip them. However, you could use a rubber mallet directly on the pavers if needed.
With the pavers in place, use a hand tamper across the layout to ensure maximum compaction. Another good idea is to add paver restraints around the entire perimeter of the layout to prevent them from shifting if the dirt moves. You can use edging stones or another edging material and secure it with stakes.


