Repurpose An Old Door Into A Stylish DIY Bookshelf
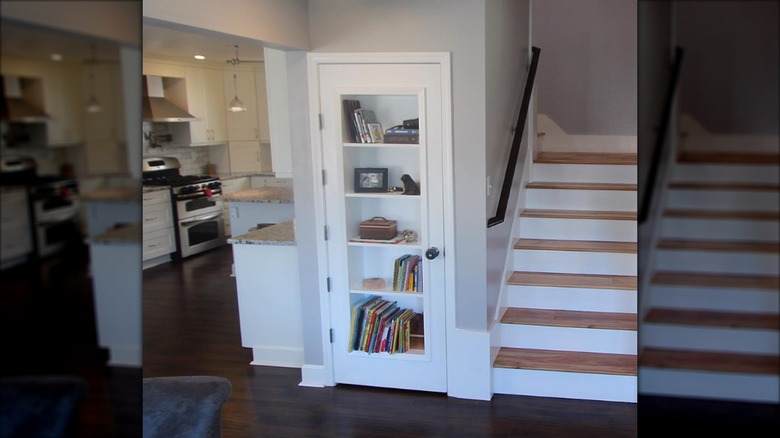
Ideas to repurpose old wooden doors are plentiful in the design world in part because of their detailing and craftsmanship. While you can turn them into everything from a beautiful countertop to a stunning coffee table, a rather ingenious project using an old wooden door can offer you additional storage and display space in any room. YouTube channel Great Home Ideas shows how to turn an ordinary doorway into a stylish hinged bookshelf using an old wooden solid door to replace the current hollow core one. The result is a hinged shelf that opens to create a unique secret passage feel and adds important extra storage space. The project is inexpensive with a huge stylish payout that is great for smaller spaces.
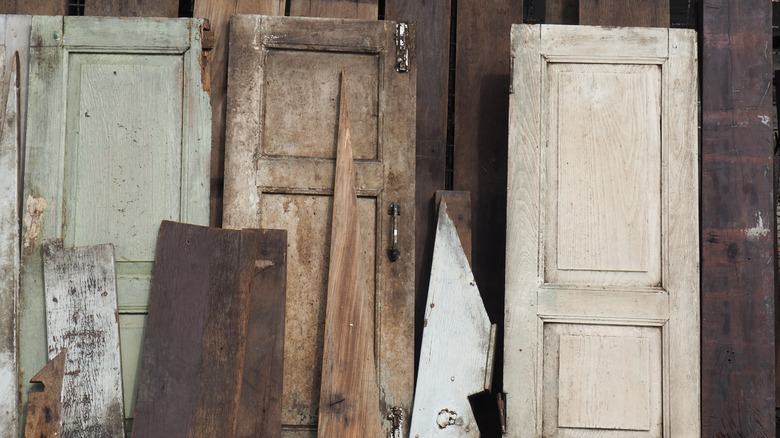
You can find old doors in a number of places, including in your own basement, garage, or attic from past remodeling projects. Alternatively, thrift stores, flea markets, and salvage shops are great places to look, as are venues like Facebook Marketplace and Craigslist. This project not only puts these great sources of wood to use but keeps them out of a landfill. The new hinged door shelf works especially well in spots like small entryways and hallways where there isn't room for freestanding shelves.
Making an old door into a bookshelf
To turn a solid wood door into a shelving unit, begin by measuring where you want the cavity for the shelf to start and end on the door. For a standard-size interior door, Great Home Ideas suggests measuring roughly 3.9 inches down from the top and in from the sides while measuring 7.9 inches up from the bottom. Using a circular saw, cut out the center. Next, build a simple wooden bookshelf frame by fastening shelves to two boards that fit into the opening vertically using pocket hole screws and wood glue.
While the average standard interior door thickness is 1 3/8 inches, you may want to adjust your shelves to make the depth narrower than 7.5 inches for a thinner door. Since the door will swing, you can also add some trim on the front to keep things from sliding off with the motion and hinges on the side to support the weight of shelf contents. Paint the shelves before adding the back pieces for an easier paint job, and then cover the back with inexpensive plywood using finishing nails.
Building an outer rim with trim around the outside of the shelves will allow you to drop the shelf unit into the cavity on the door without any visible seams. Attach the case to the door with screws from the inside. Then you can attach the whole door to the door frame. All that's left is to fill the shelves with books, décor items, or anything else you need to store. If you plan to use this door trick to store items that need a bit more containment, like in a pantry or a bathroom, you can also create box shelves with scrap wood instead for a creative DIY storage idea.

