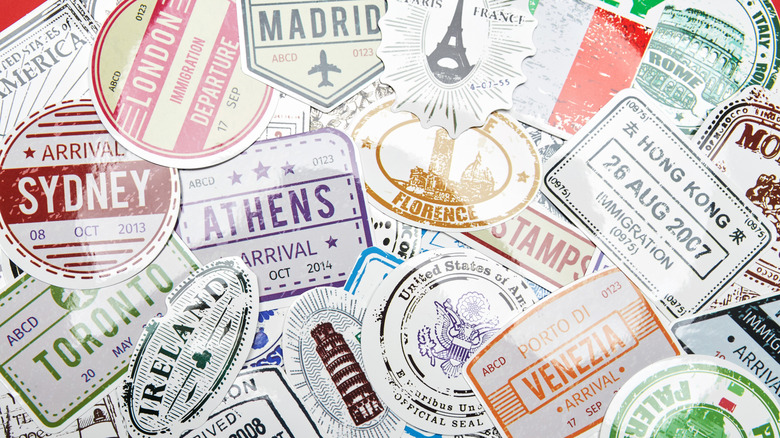
Turn All Your Favorite Travel Stickers Into A Meaningful Piece Of Home Decor
We all do it: We collect mementos and souvenirs from our travels, bring them home, and then stuff them in a drawer, closet, or even the suitcase we brought them back in, only to forget about them completely. And while we love purchasing these items, the clutter can be overwhelming when they accumulate. If your water bottles, Stanley cups, and laptop cases are already covered in travel stickers and destination decals, you may want to use this crafty DIY that allows you to display the rest in a chic and stylish way. Framing a collage of your favorite stickers is a great way to artistically show them off while repurposing your momentos and keeping them in good condition. All you need is a shadow box or standard frame, some scrapbooking paper, and a little time to organize your collection into a sweet display.
If you're already working with a travel themed decor scheme or want to incorporate more of your trips into your visible designs, this is a simple way to do that without overwhelming your space with busy prints. You have options when it comes to this DIY, including making a collection of several sticker collages that you can place on one wall for a more cohesive layout. As mentioned above, you'll need a frame, which you can either buy new or thrift. If you choose the latter, you can upcycle it by sanding it down and applying stain or paint so it suits your home's aesthetic. If you opt to just create one framed collection of stickers, maybe try to find a larger mount to fit more decals in.
Get creative with your collage
You'll also want a decorative piece of paper like those you can find in the scrapbook section at local craft stores, and your stickers, which you do not need to remove from their backings. Cardstock or just a sheet of standard printer paper would also work, which you want to trim to fit your frame. Obviously a decorative design helps elevate any empty or negative space left by the stickers.
To begin, remove the cardstock and backing from your frame, then set this aside while you set up your collage. Place your base paper on a flat surface and begin laying out your stickers so that they each show but overlap or layer one another in a cohesive, stylish manner. You can add as many or as few stickers as you want, keeping in mind that you want the final effect to feel both full and intentional so people can see each decal. Airline tickets, receipts, event tickets, pictures, maps, wrappers, and other items picked up during your travels could also be included in the collage.
If you do plan to make several of these framed collages, why not group certain trips or areas you've visited together for a themed effect? Take your time arranging these, using small pieces of tape to keep them in place as you find a layout you like. Then, place your finished card/paper collage in the frame and seal it up. You could use a hack that ensures your collage won't move in the frame before hanging on a wall or propping it on a flat surface to show off your travel stickers.
