Mistakes You Need To Avoid To Guarantee A Flawless Vase Decoupage
Decoupage can be a beautiful and inexpensive way to customize decor pieces for your home. The technique, involving the careful application of paper with an adhesive like Mod Podge, can be a perfect way to upcycle thrifted vases or transform any old pottery pieces lying around your house. There are also many other creative ways to use decoupage in your home, including objects like bowls, candleholders, boxes, bowls, plates, and other containers. You can even use it, along with holiday napkins, to turn basic jars into stylish and chic seasonal decor.
The technique of applying paper to a hard surface may seem deceptively simple, but projects can be subject to a lot of trial and error, meaning messy application, messy workspaces, and lots of unevenness, bubbles, and creases where you may not want them. Vases can be some of the trickiest vessels to make due to their curves and hollows; but, by keeping a few things in mind regarding materials, surfaces, application, and finish, you can get a perfectly decoupaged vase every time.
Material and surface preparation for vase decoupage
While there are many options for using paper to decoupage vases, there are those papers that lend themselves to the project better than others. Thinner and more malleable papers work best, so choose napkins, newsprint, wrapping paper, and tissue paper. Other papers, like cardstock, construction, or office paper are more difficult to smooth and tuck into all the nooks, valleys, and curves.
If your paper contains a lot of ink, it can help to pre-spray it with an acrylic sealant matte spray, which will keep the ink from smearing when you begin wetting your paper with Mod Podge.
If your pattern demands precision matching to other pieces, you will want to make careful cuts with a straight-edge paper cutter or a utility knife. You can also use a more free-form approach with ripped edges that will create a texture of their own.
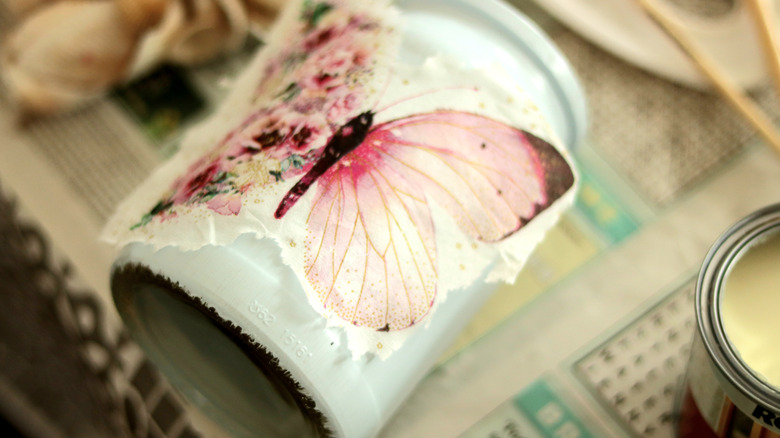
Surface preparation is also important. Use acrylic paint in a similar color to your paper elements as a base. Not only will the paint bond with the glue easier than the underlying surface, but it can more easily disappear if your paper is semi-transparent or white, which could look discolored over a darker background.
Application techniques and tips for vase decoupage
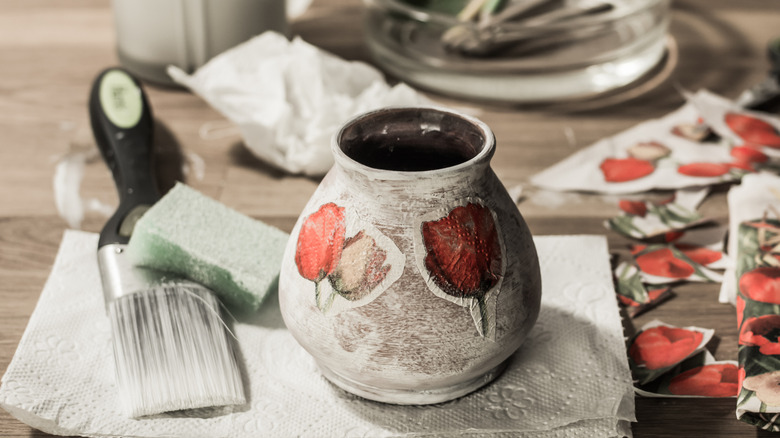
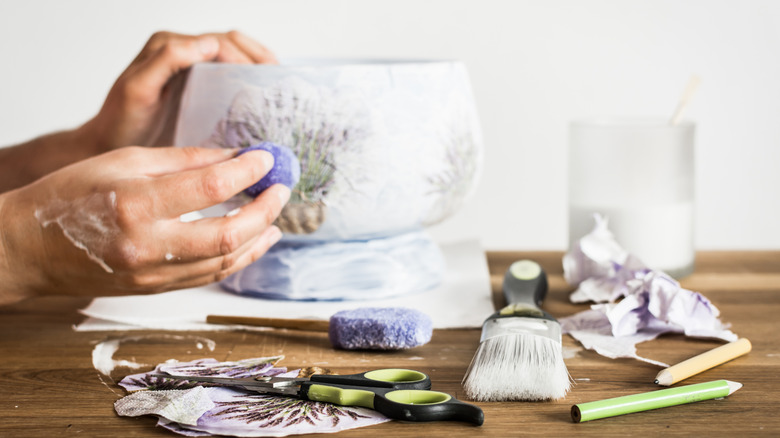
How you apply the Mod Podge to both paper and surface is important as well. While the temptation may be to drench the surface of your object or paper, this can lead to messy globs, crinkles, and overly wet and ripping paper. Careful, but thorough, application with a brush works best. You can also use a small sponge to apply adhesive.
Start with a layer of Mod Podge on your vase, then coat the back of your paper before applying. For thinner papers, you may also want to try water decoupaging, which wets the paper beforehand with a few spritzes of water. Lay the paper on a clear plastic piece before wetting, then use the plastic as a way to delicately press and apply without touching the paper with your fingers, preventing smears, rips, and sticky fingers.
Once your pieces are in place, add another coat of Mod Podge. Make sure to smooth out bubbles with a straight edge like a pallet knife or bone folder, paying particular attention to any loose edges. Let the Mod Podge fully dry between coats, which can prevent it from getting too wet. It can also create a better surface for additional layers of paper. To ensure a flawless application of multiple layers, use a clear acrylic coat over each before applying additional elements. This will keep them from damaging what's underneath or making the underlying paper too wet with glue.
For a final step, many crafters use a coat of Mod Podge, but you may want to use a clear acrylic spray. This will give more durability and protect it from moisture and fading as well as providing heat resistance.


