This DIY Cutting Board Stand Is A Chic Way To Keep Your Kitchen Organized
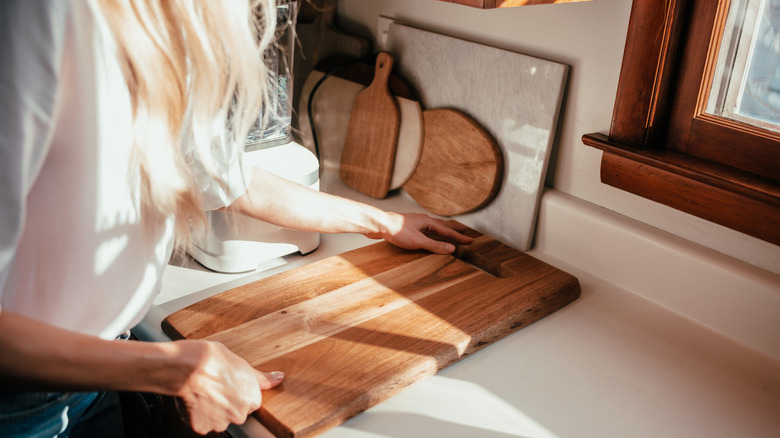
Certain items in your home can be more challenging to organize than others. However, that is no reason to give up on your perfectly organized home dreams. Having dedicated spaces for things is the simplest way to make your kitchen look organized without spending a dime and the same goes for your cutting boards. While they may seem unruly, you can easily organize your cutting boards with a DIY stand that will be inexpensive to make (or free if you already have all the supplies you need).
Start this project by reading about important woodworking safety precautions, then procuring some wood, either by purchasing it or finding some leftover wood from other projects. While you can certainly use the same type of wood for this entire project, using different pieces of wood will give the design a more eclectic look. You'll ultimately need five pieces of wood, one for the base and four as dividers to hold your cutting boards in place. You'll also need a jig saw or band saw, sandpaper or sanding block, wood glue, screws, and wood stain or paint.
Making this project a reality
Start by cutting a square or rectangular piece for the base of the project. Then, cut four additional pieces of wood so that they are long enough to run the width of the base and will be tall enough to hold your cutting boards in place. Use a round item — like a roll of painter's tape — to trace a rounded edge on the top corners of each of these four pieces of wood. Cut the rounded edges using a jig saw or a band saw, and then sand the edges of all the pieces of wood.
Once the wood is cut and sanded, glue one piece of the divider wood to one edge of the base using wood glue. Further secure the wood to the base by adding three screws through the base into the wood panel — one in the center and one on each side. Add a spacer to allow room for a cutting board, and then add the second of the four wood pieces. Repeat this process for the remaining two pieces with the final piece being secured to the back edge of the base.
Finally, stain or paint the project. We have some helpful tips savvy DIYers will want to know before using wood stain, if you plan to go that route. The exciting part about this project is that it's easily customizable depending on how many cutting boards you have and can even be used for organizing other items in your kitchen, like plastic container lids.
