Where You Should Start Laying Your Backsplash Tile Pattern For The Best Results
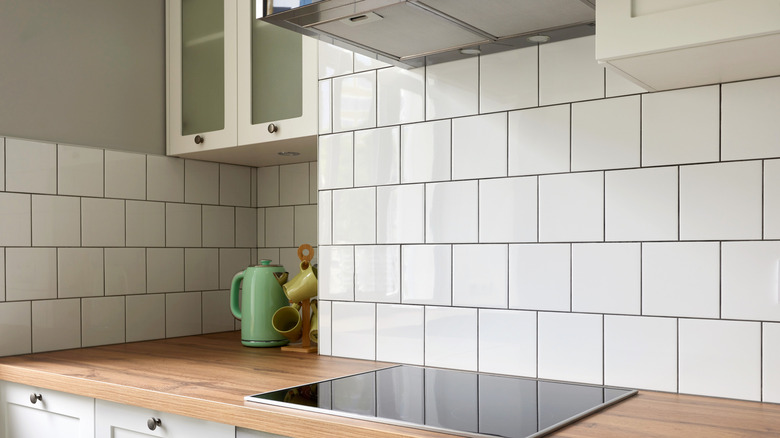
Installing a new backsplash can be a great way to update the look of your kitchen. Tiled backsplashes can give your space more pattern and texture, all while providing an easy-to-clean surface area with protection from food debris. When designing and installing an eye-catching backsplash design, it's important to plan your placement first. This ensures that the pattern is consistent and uniform throughout.
There are a few ways to achieve this, but the first step is determining where exactly you should start laying the tile. We suggest either starting from the center point of the wall or working outwards from a focal point. Either way, avoid starting from an end and working inwards, as this can cause an uneven design and might leave you in a position where you have to cut tiles down to an awkwardly small sliver to fit against the last wall.
If you're starting from the center of the wall, plan your design symmetrically. This method works great when using evenly-shaped options like subway tiles. If you decide to use the focal point method, you'll need to base your design around a specific area like the sink, oven, or a window and work outwards from there. This will give you an overall pleasing look in the area where it matters the most. Whichever method you choose, however, you should always make sure to lay it out and plan in advance to avoid any potential issues.
Other tips and tools when laying backsplash tile
If you're having trouble deciding on your backsplash tile design, a visualizer tool can help get your ideas from inside your brain onto paper. Online visualizer tools — like this one from Tile America — allow you to simply upload a photo of the room you're working in. This will then render a 3D model for you to play around with different tile designs and materials, helping to make choosing the right kitchen backsplash a breeze.
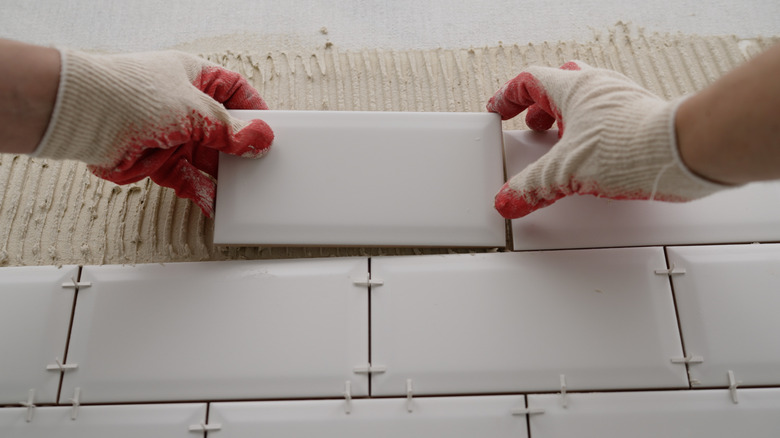
Once you have a better idea of what you want your backsplash to look like, you can prep your space for the design by using painters tape. Simply measure one of your tiles and cut strips of painter's tape to match the dimensions, then place the tape on the wall in your intended design pattern. This will also help you check your measurements beforehand so you can determine how much space you should leave between your tiles. When laying the tile, use spacers to keep each tile in alignment and prevent any awkward gaps. If you follow these tips and start from the correct position, you should be left with a final product that flows seamlessly throughout your space.

