Add An Artsy Aesthetic To Your Backyard With A DIY Mosaic Table
We may receive a commission on purchases made from links.
The most functional and livable outdoor living spaces are those that are not only comfortable to relax and entertain in, but also beautiful to behold, exhibiting just as much color, pattern, and texture as inside areas of the home. This can mean that otherwise basic outdoor furniture, which is often much more geared to functionality than aesthetics, can be a great opportunity for gorgeous DIY projects.
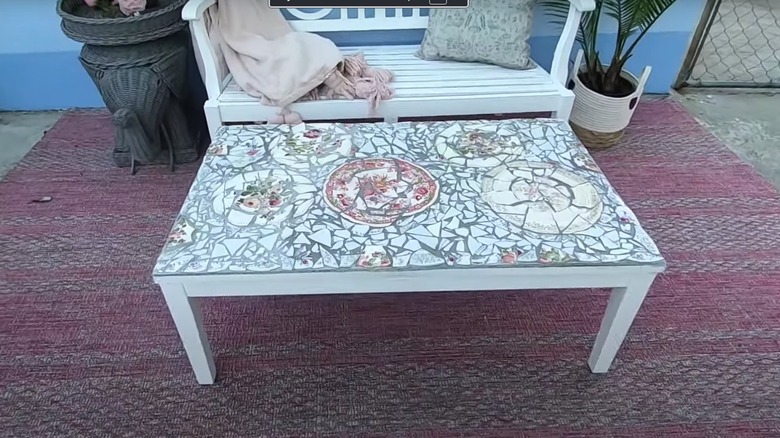
YouTube's At Home with Ashley finds a beautiful way to turn a weathered outdoor coffee table into a stunning piece with the help of some old dishes transformed into a rich mosaic. The result is a gorgeous, completely customizable table that is perfect for maximizing your outdoor living space.
For this DIY, you can reuse broken dishes or pieces of pottery you may have, or find pretty, inexpensive ones from the thrift store in colors and designs that match your style. You can use this technique on a table of any size, like a side table, or give your old patio table a chic refresh. However, since the mosaic is backed by a concrete board, you want to make sure that the table can hold the weight of a concrete backer board, dishes, and heavy grout. Also, remember to wear gloves when working with shards of pottery.
How to create a mosaic outdoor table
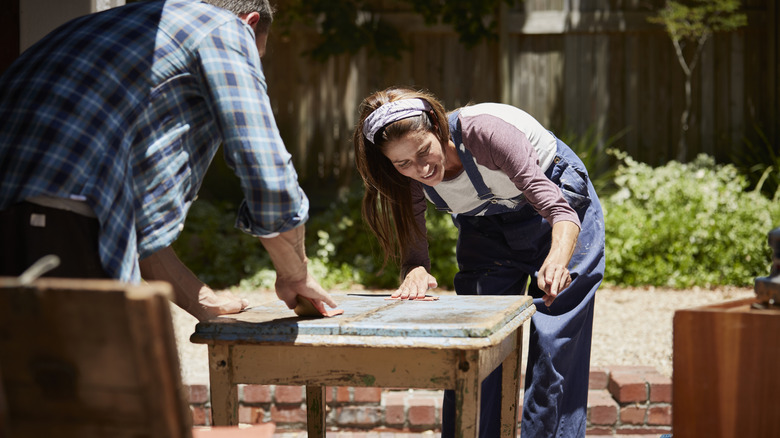
Begin the project by preparing your table, thoroughly cleaning and painting sides and legs in your desired shade or finish. Cut a piece of concrete backing board down to the same size as the table to serve as the base for your mosaic, then screw it down directly to the tabletop at the four corners. Break up your dishes by placing them under a towel and using a hammer to smash them into a mix of large and small fragments. If you want to create a more intentional image to form a pattern, separate your patterned fragments from the ones that are more blank or white. You can also use other bits, like stones, shells, mirror fragments, and beads to add color and texture. Create your preliminary design on a flat surface, like on a sidewalk or plywood, to plan the layout before using the glue to determine the final placement.
Apply a thick layer of thin-set mortar, like this one from Home Depot, over the board and begin to apply the pieces, embedding them in the glue. When you have finished the design, allow the glue to dry overnight. The following day, apply a sanded grout, also available from Home Depot. (Sanded grout will hold better in the large spaces of the mosaic than one without sand.) Spread it into all the cracks, then use a wet rag to clear off the excess grout so all the dish fragments are visible. Sand down any sharp or uneven edges to ensure a smooth finish. Finally, brush an acrylic sealer on both the mosaic top and the sides of the table to help preserve the paint job in the outdoor elements.

