How To DIY A Bespoke Bay Window Curtain Rod For Your Home
We may receive a commission on purchases made from links.
Bay windows are beautiful attributes for a home, but they come with some challenges like solar gain, structural problems, and extra difficulties with flooring and finish carpentry. Oh, and curtain rods. If you're in the market for a one-piece bay window curtain rod, chances are you'll be ordering one online rather than picking one up locally. But it's fairly easy to DIY these rods with copper pipe or other materials. Or you can simply use three single curtain rods rather than one three-segment rod with angles in between (though there are reasons to buy proper bay window curtain rods instead of single rods).
A bay window consists of three windowed walls, usually at 30, 45, or 90 degrees to the adjacent interior barriers. A "box bay" window has 90 degree walls, and that 30 degrees could be interpreted as 60 degrees, depending on how you look at the angle. They're usually 4 to 8 feet wide, but can be up to 10 feet or more. A typical bay window curtain rod has three segments, usually adjustable, with the center section being the widest. This Tonial bay window curtain rod, for example, has side rods that adjust from 32 to 58 inches and a center bar that adjusts from 32 to 86 inches (it costs $42.99 MSRP). Most off-the-shelf models have adjustable joints that will work at any angle.
Making a copper tubing curtain rod
There are a couple of good ways to improvise a three-segment bay window curtain rod using ½-inch copper tubing from the plumbing or HVAC section of your local hardware store. The first, cheapest, and simplest is to cut three copper rods to the necessary lengths and join them with copper elbow fittings. Finish off both ends with end caps of the same material. Because the finished product will function as a single piece, your measurements must take into account how far your rod will hang from the walls. The farther it is from them, the shorter the bars will be, particularly the center one. Measure and plan carefully, or use adjustable curtain rod hangers to position each piece with a little leeway. It's probably best to leave the side segments a little long, just in case — they can be cut to length after they're hung.
An alternative to using copper elbows that match your wall angles is to bend the pipe using a tool called, unsurprisingly, a pipe bender. This is the method for a DIY bay window curtain rod suggested by YouTuber Berkley Builds, but there is one important caveat we'll address in the next section. For either approach, you'd probably need two 10-foot copper pipes, about $21 each. When you're finished, either paint them or treat them with cinnamon oil to keep them corrosion-free. But by the time you add a few bucks for the copper fittings (or tens of bucks for the pipe bender), you'll notice that you're spending more than you would for an actual bay window curtain rod.
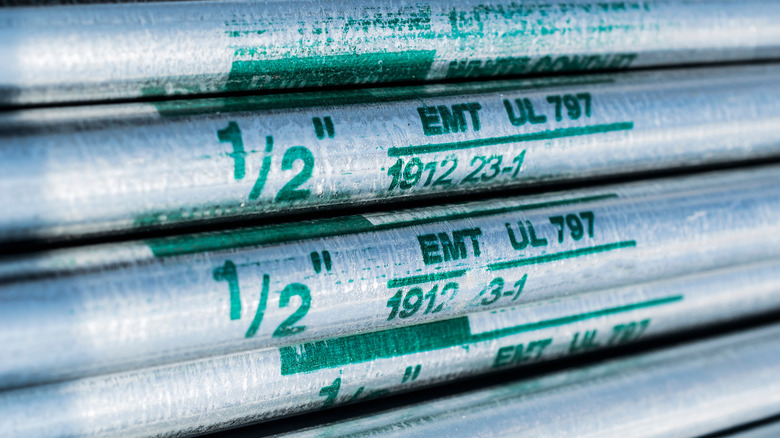
Will EMT conduit work for you?
Metallic ½-inch EMT conduit (which we've suggested before for hanging electric outdoor lights) might be a better choice since it runs about $6.68 for 10 feet, especially if you plan to paint the rod as Berkley Builds did. The problem with copper and EMT — but especially with EMT — is in the angles. A 60-degree ½-inch copper tube will probably be a special order, and 60-degree sweeps of ½-inch EMT conduit don't seem to exist.
There's a reason for that. Plumbers, electricians, and pipe-fitters have tools to bend their tubes and pipes to arbitrary angles, which saves time and money on fittings. Copper elbows at 45-, 60-, and 95-degrees (if you can find them) turn fairly sharply ... that is, over a short span of pipe. But EMT conduit angled on-site will often have a bend radius of 4 inches or more, which might not be the look you're going for. You can buy a short-radius conduit bender for ½-inch EMT conduit like this Shorty conduit bender, but they're pricey ($99 or more) and don't always make a dramatic difference.
If you decide to give galvanized EMT a try, you'll also face the problem of capping the rod ends. Caps and plugs for this material tend to be either extremely industrial-looking or plastic, while the ½-inch copper caps look great on a curtain rod. It's a loose fit, but in a pinch you can probably make ¾-inch copper end caps work on ½-inch EMT. The inner diameter of the caps is around 0.745 inches, while the outer diameter of the conduit is 0.706 inches.

