The Bandsaw Box You Can Make Yourself For Every Corner Of Your Home
Of all the projects to try out with your bandsaw, a simple wood box is one of the safest and most fulfilling when getting used to your new equipment. Small builds like these show off the bandsaw's full potential for detailed designs without demanding much time or investment. It only requires small pieces of spare wood and some glue, and the finished product can offer handy storage in any room of the home. With enough TLC, this handcrafted treasure can even make an excellent gift! YouTube channel Crafted Workshop supplies an easy tutorial to get you started. A few layers of select boards, a straightforward template, and a couple of careful cuts bring this piece together, allowing enough customizability to make it the perfect addition to your decor.
With this build, you can follow one process while planning for all kinds of results. The steps the YouTube channel lays out in order are critical, but the template you use for the box's shape is flexible. Make your box more square-shaped, give it flat sides, or create an even more intricate shape. There is no wrong option as long as you stay within a reasonable size. Once you have your template in hand, you can choose your wood, set up your saw, and get to work on your one-of-a-kind accessory box.
Tools and materials to craft a beautiful bandsaw box
Choosing your wood is one of the most fun and important aspects of putting your box together. While you can easily grab some scrap wood to complete the build, planning your layering will provide an interesting look and keep your wood project from looking cheap. Mix dark, rich tones with lighter woods for striped and textured patterns, or use more exotic woods for the faces and contrasting sections for the interior layers, as Crafted Workshop did with plywood in their build. You can even complete the box from a single, thick block of wood. Staining your wood pieces before gluing and cutting them can further expand the possibilities.
The other crucial consideration for this box is the bandsaw blade. Getting the cleanest curve depends on choosing a blade width to match your box's cut radius. It varies throughout the build, as the outside cut will have a larger radius than the drawer cutout. Generally, a blade width over ¼ inch will be best for this project, with a ⅜-inch blade making a suitable fit for the cuts involved. In terms of tooth style, a skip-tooth or regular tooth blade will provide the smoothest cuts. A skip-tooth is preferable because it's better for working with thick material to prevent clogging and maintain a consistent cut from beginning to end.
Building your wood bandsaw box
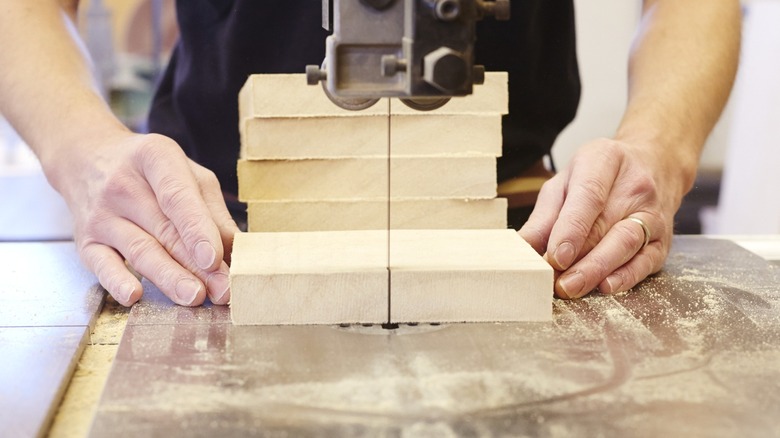
Once you've taken the necessary woodworking safety precautions, start your bandsaw box build by sandwiching your wood pieces together in the desired order to form a block, using wood glue on each face to secure them. After clamping the pieces and letting them dry, you can lay your template on the box's face and glue it down to make a cutting diagram. Cut the exterior box shape. Stay on the diagram line's outside edge to avoid removing too much wood. If you run off course on the outside, you can always sand down the excess. Next, remove a thin slice off the back, which you'll reattach as a back panel after cutting out your drawer. Cut the interior of the remaining block by following your diagram. Then, slice off the front and back of the interior block you removed to make the drawer's face and back panel. With the remaining interior section, cut out the drawer box. Finish by gluing the faces to their respective boxes, and add a knob to the drawer.
With your box built, the finishing touch is a drawer lining. In the video, the creator used flocking powder for texture and color, but there are numerous alternatives available. You can use felt and other easy DIY drawer liners or simply finish up with paint or stain. Figure out how you want to use your box and decide from there, choosing the perfect touches to complete this fun and fuss-free bandsaw project.

