How To Easily Prepare Your Gutters Before Using Glue Or Sealant
If you're uncomfortable with water dripping all around the sides of your house and enacting a Niagara-like show whenever it rains, your home needs a gutter. Without this helpful drainage system, you could face continual pooling around the perimeter of your house and damage to your foundation. With time, the continuous and uncontrolled flow could even cause you to find water in your basement. Although gutters can mitigate many of these issues, they are not a do-once-and-forget-about-it solution. Gutters can crack, leak, bend, and dent. Consequently, you can easily find yourself dealing with wood rot, mold infestation, or rust issues. It follows, therefore, that gutter maintenance should form part of your regular housekeeping regimen. At a minimum, you should do a scrupulous inspection of your gutter, followed by a thorough cleaning, once every year.
In many cases, you'll find that you need to apply a sealant or glue to fix a leak. This issue can be the result of badly screwed joints, impact from a heavy object, or simple wear over time. But don't rush for the sealant yet, even if you're tempted to. It's necessary to prepare your gutters before applying a sealant or glue. Specifically, you need to do an excellent clean-up. Here's how.
How to clean your gutters before applying a sealant (&why)
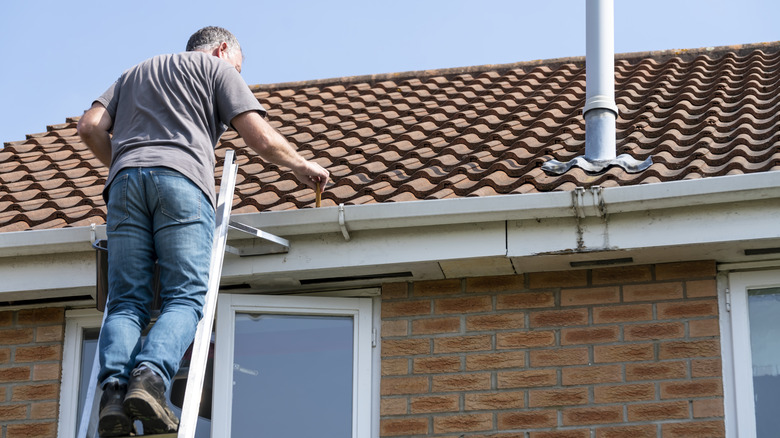
Before cleaning your gutters and applying a sealant or glue, examine them well and identify the exact location of the crack. Although any part of the gutter can crack, joints and seams are often the most vulnerable and, hence, should be examined more closely. You can't spot any crack? No problem. Dash for your garden hose and spray just enough water to make it appear like it's raining. Look for the place where the water pools or drips. This is the spot on which you'll apply a sealant. Make sure this spot is clean and dry. Dirt can weaken the seal, so it won't be firm or tight, and moisture tends to prevent proper adhesion. Remove all leaves and debris and follow it with a hard scrub to remove rust. If you're working on a spot you've already repaired, you'll also need to sand away the previous layer of sealant.
After brushing, rinse the gutter and give it time to dry. Depending on the weather, this can take a few minutes or a whole day. After your gutter has dried thoroughly, check if the area around the crack is corroded or has rough edges. If that's the case, get some sandpaper to smooth the area and make it even. This is helpful because sealants spread more evenly on smooth surfaces, creating more solid bonds. You can now safely proceed to the next stage: applying the sealant.

