How To Troubleshoot Common Stihl Weed Eater Problems (Including Restringing)
When looking for a reliable weed eater, Stihl trimmers are popular choices. Many of the company's products are made in the United States, which makes the brand ideal for people who have concerns about reliability. However, even Stihl weed eaters may have issues that require troubleshooting, and some need attention before you even start using them.
One of the most common problems among all brands of weed eaters, including Stihl, is with the trimmer string. If you believe your model is using too much, it may have an automatic bump feed head that pushes out more each time you tap the bottom of the machine on the ground. If your Stihl weed wacker has one, try to avoid using it unless absolutely necessary.
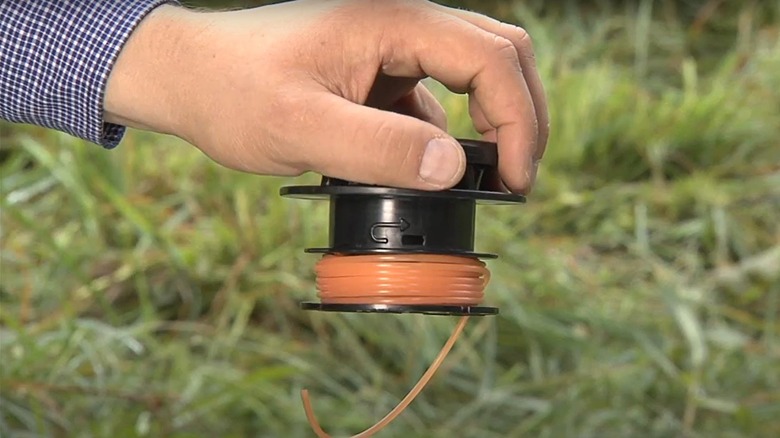
Should you need to restring your weed eater, start by turning the nut at the bottom of the head clockwise and removing the cap. Take out the spool, insert a new line of string into the hole, and wind it around the reel by following the arrows imprinted on it. When you're done, hook the line into the notch on the side of the roll and cut it to length. Insert the spool back into the head, and slide the end of the string out of the notch and through the hole before tightening the cap back on with the nut. Just remember that your specific model of Stihl weed eater may use a slightly different restringing method. When in doubt, refer to your user guide.
Troubleshooting a battery-powered Stihl weed eater
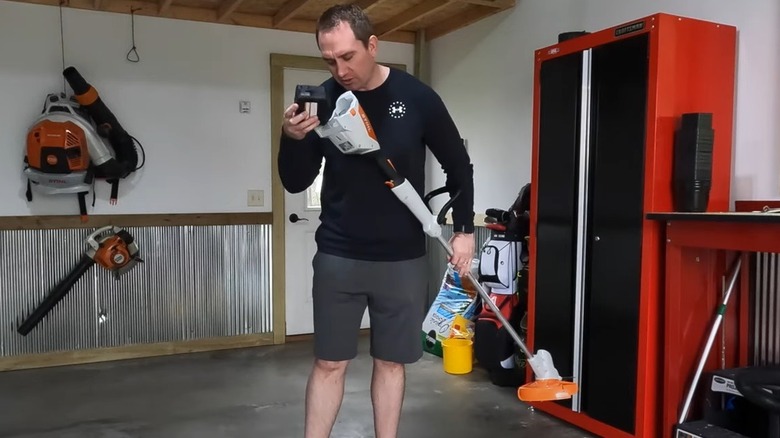
One of the most common problems with cordless Stihl weed eaters is when the machine simply won't run after you insert the battery. Start troubleshooting by making sure the power unit has a full charge before trying to use it. New models that ship from Stihl are not fully charged, and the company recommends making sure they are before using them for the first time. Some models even have notification LED lights that let you measure the power level of the battery.
If you've used your Stihl before, it's possible the battery didn't charge properly the last time you placed it on the charger. Make sure the metal connectors on the charger and battery are clean and dry before inserting it into the charger. If you need to give them a scrub, use a pencil eraser to remove any grime. Check the battery compartment on the trimmer for debris that could block the battery's connection. Another potential issue could occur if you accidentally leave the power unit inserted in the weed eater for a long period of time. If you find the battery is leaking or deformed, do not use it.
What if the trimmer still doesn't seem to be working properly? Inspect the controls at the top of the handle. Most cordless Stihl weed eaters have three buttons at the top, and all of them must be working to allow the machine to operate. If they're damaged or clogged with debris, the trimmer likely won't work.
Diagnosing a gas-powered Stihl weed eater
If you can't get your gas-powered Stihl weed eater to start, you can use a few different troubleshooting methods. Start by checking the fuel. You likely need a fuel mixture of oil and gas — a ratio of 50-to-1 is common, though it depends on the model. If you have an improper mixture or old fuel, the weed eater may not start. It also might run poorly, generating a lot of exhaust smoke. If you believe the problem lies with the fuel mixture, empty the fuel tank and refill it with the correct ratio of oil and gas
You might also might have a dirty air filter. Check the user guide for your specific model of Stihl weed whacker to locate the air filter. It's usually behind a cover near the pull start handle, and you may have to remove a mounting screw securing it in place. Inspect the air filter for excessive debris or damage. Clean it or replace it with a new model before reinserting it into the machine.
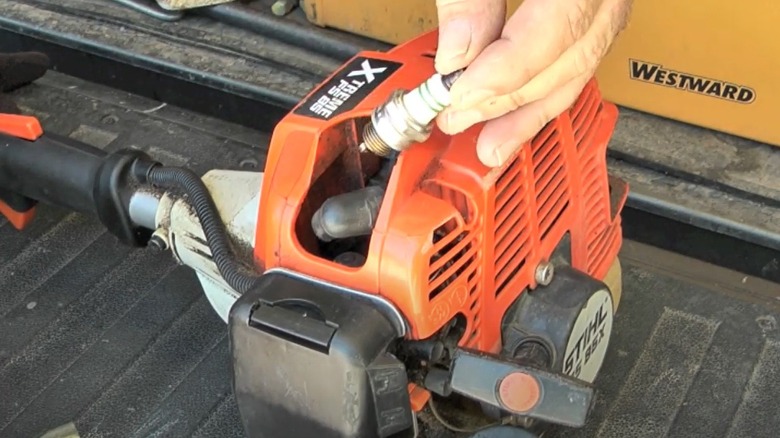
Another problem that can cause a gas-powered Stihl weed eater to run poorly or refuse to start is an old or dirty spark plug. You'll usually need a socket or spark plug wrench to loosen the spark plug by turning it counterclockwise. Check it for damage, grime, or scorch marks. If it shows excessive wear, replace it with the same model of spark plug.


