Make A DIY Olla As A Garden Watering System For Thriving Trees And Plants
By the time you realize your plants are getting too much water or not enough, they're likely already showing signs of distress. But consistently watering the exact right amount can be difficult if you're inexperienced, busy, forgetful, or travel often. That's where self-watering systems and irrigation systems come in. While you can buy these systems in stores, there's one DIY setup that has proven successful since ancient times: the olla (pronounced oy-ya).
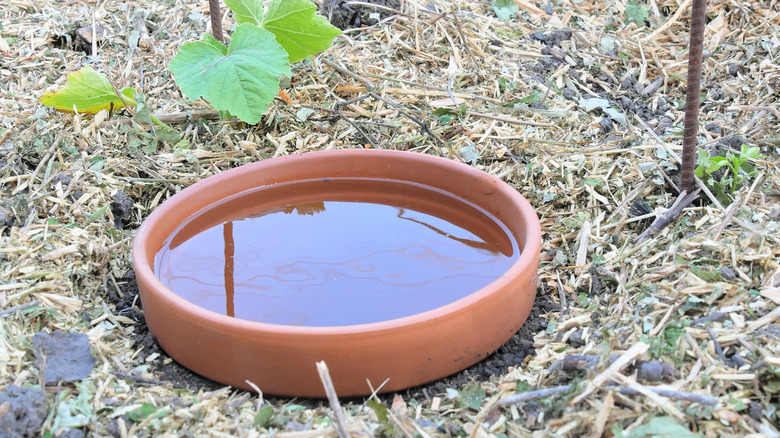
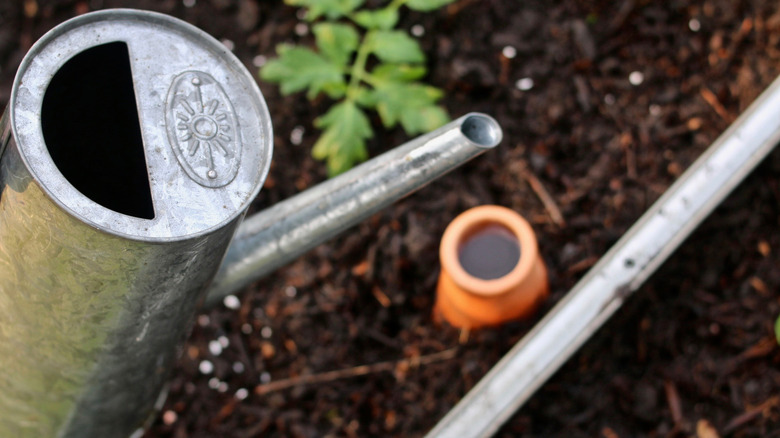
Olla is a Spanish word for pot. In gardening, an olla is an unglazed terracotta pot that helps deliver continuous water to plants. A traditional olla is shaped a bit like a vase: it has a round chamber that serves as an underground water reservoir, and a neck that reaches the surface of the soil, allowing you to refill the reservoir without digging the olla up. Because unglazed clay is porous, water can flow out of it into the surrounding soil. And because of a mechanism called soil moisture tension, water only flows out of the olla when the soil is dry enough to need it. That means that as long as the olla is full, the surrounding plants can get exactly as much water as they need — no more, no less — without any guesswork on your part. Plus, like any other DIY watering system, the cost of making an olla depends on what materials you have on hand already.
The benefits of ollas
Ollas were first used more than 4,000 years ago in China and North Africa. There's a reason they've remained popular for so long. They prevent both underwatering and overwatering, even during drier periods. They also promote deeper and stronger root systems by providing moisture directly to the roots. This cuts down on plant stress, reduces the risk of moisture-related diseases, and results in healthier-looking and better-tasting plants.
Ollas are also beneficial to the gardener. You don't have to water as often since you only need to refill the olla when it's running low. They use less water than regular surface watering and can save you money since no water is lost to evaporation or runoff. Using an olla to water your garden can keep weeds at bay as well because water isn't aimed at the surface of the soil where most weed seeds are.
This system is well-suited to raised bed gardens, which tend to dry out fast. Some plants that work well with ollas include tomatoes, squash, melons, lettuce, and herbs. However, for younger seedlings and transplants, you'll need to supplement with surface watering for the first month or so until the roots can reach all the water they need from the olla. You can also use an olla with some young trees and shrubs, but be careful with placement because the roots could eventually crack the clay.
How to make an olla using terracotta pots
To make your own olla, you need two 6-inch unglazed terracotta pots, one 4-inch unglazed terracotta pot, a 4-inch saucer, a cork, and some Gorilla glue. Missing some of these items? That's fine! It's easy to alter the olla based on what you have on hand as long as you follow the concept.
First, glue the cork into the drainage hole in a 6-inch pot. Then glue both 6-inch pots together with the open sides facing each other. This is your olla's water reservoir, so make sure the seal is secure. Next, glue the 4-inch pot on top with the open side facing up. This is the olla's neck. The saucer will go on top to keep debris and bugs out and prevent evaporation. If you don't have any 6-inch pots or only have one or two pots on hand, you can still make an olla — it will just be a different size. You still need to seal the bottom drainage hole and use a matching saucer (or something else sturdy and secure) as a lid.
To install your olla, dig a hole in the garden bed and bury it, leaving the opening of the neck exposed at the surface. Fill the olla to the brim with water and cover it up. The olla should generally be able to water a diameter that's about twice the diameter of the olla itself, but it depends on the soil type, plant type, and the olla's water capacity. Placing an olla every 2 to 3 feet is a safe bet. Keep an eye on the water level; you should be able to go a few days to a week between refills.

