How To Install A Drawer Microwave To An Existing Cabinet
We may receive a commission on purchases made from links.
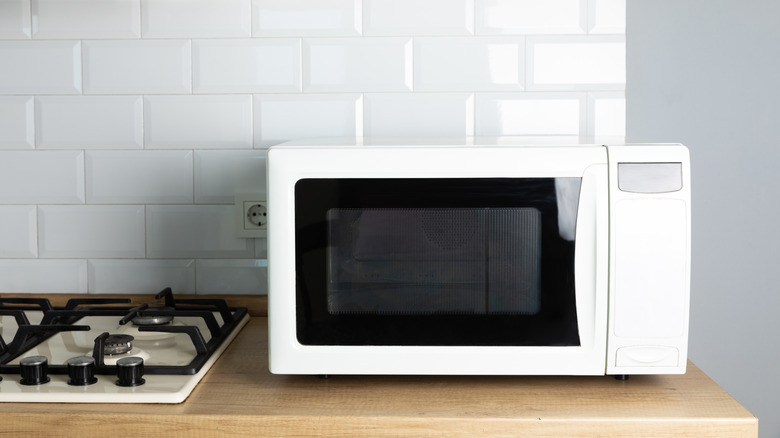
When you want to hide your microwave and make space on your kitchen counter, you have a few options. One is removing unused cabinet drawers and moving your appliance into the space. Even Joanna Gaines of "Fixer Upper" likes this trick.
Before you attempt this project, it's important to look at the pros and cons. First off, the microwave will be below the height of the countertop. This can be inconvenient for people who don't want to bend over to use the appliance. Another drawback is you'll lose the space for storing small items. Drawers typically are easier to organize than cabinets — even if they have more junk than useful items. One final potential downside is that you'll need a microwave that will fit into the space. If your current model doesn't have the right width or depth, you might have to purchase a new one that fits. But if you have to buy a new unit anyway, you should definitely consider a drawer microwave.
Of course, the biggest advantage of this project is moving the microwave off the countertop to give you more working space. To retrofit kitchen cabinet drawers to accommodate installation, you'll need to remove the drawers, add a shelf, and drill ventilation holes, among other things. Here's how to get started.
Preparing the kitchen cabinet drawers for a microwave
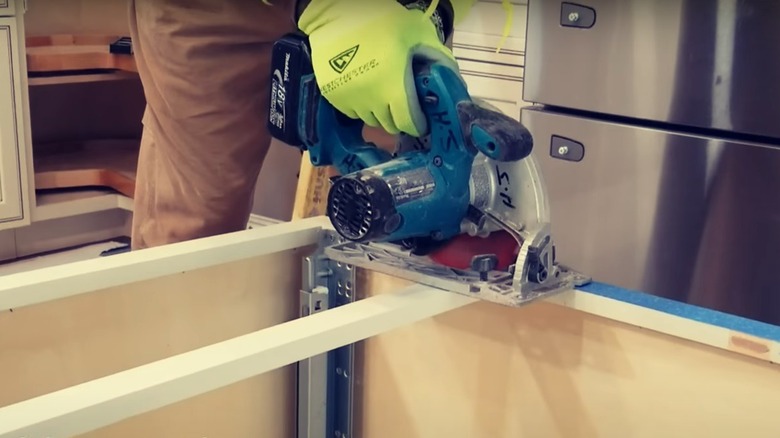
Start by removing the cabinet drawers. Most of them will have a plastic or metal lever on the slide that you can press to release the drawer and pull it free. You'll then need to take out the glides. They typically have small screws holding them in place, and you should be able to remove them by hand because they don't require a lot of force to unscrew. Remove any rail or brace across the front of the cabinet with a fine-tooth saw and exercise caution to avoid damaging the visible parts of the wood.
Though you'll have to install a shelf to support the weight of your microwave, first you need to make sure you have a working electrical outlet inside the cabinet to accommodate the appliance's power needs. This is a difficult — and potentially dangerous — job to DIY, so this is an electrical project you shouldn't do at home. Additionally, many microwaves require a dedicated circuit to meet their power needs, which makes the wiring process challenging for anyone but a professional.
You also need some ventilation holes inside the cabinet so the microwave can dissipate heat. Without adequate airflow around it, the appliance can overheat, which can damage it and even start on fire. Attach a hole saw to your drill and make several openings on the sides and bottom of the cabinet.
Installing the microwave inside the cabinet
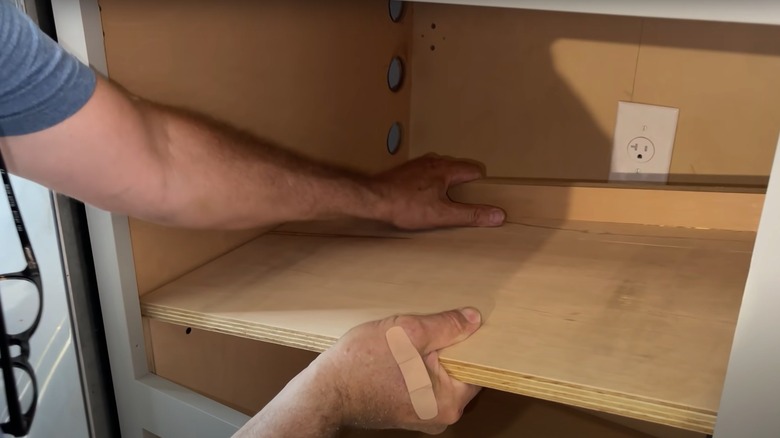
The shelf that supports the microwave should be flush to the sides of the cabinet. However, leave a couple of inches of gap at the back to allow for greater airflow for the appliance. Add a piece of wood to each side of the cabinet for the shelf to rest on, ensuring it can support the weight of the microwave. Afterward, attach small "L" brackets around the perimeter of the bottom of the shelf to secure it to the cabinet frame.
You're now ready to slide the microwave into your new space. Because you measured everything earlier, it should fit perfectly. It can be a challenge to plug the microwave into the outlet at the back as you're sliding it into the hole, especially if it doesn't have a very long power cord. If you have a short one, you may have to tilt it sideways or wiggle it back and forth after plugging it in to make it fit the space.
Finally, you can add trim work as necessary to cover any gaps between the microwave and the wood of the cabinet. You may be able to cut down old drawer fronts to create the piece of wood that covers the gap and matches the existing cabinets.


