How To Waterproof Your Bathroom Countertop With Silicone Sealant
We may receive a commission on purchases made from links.
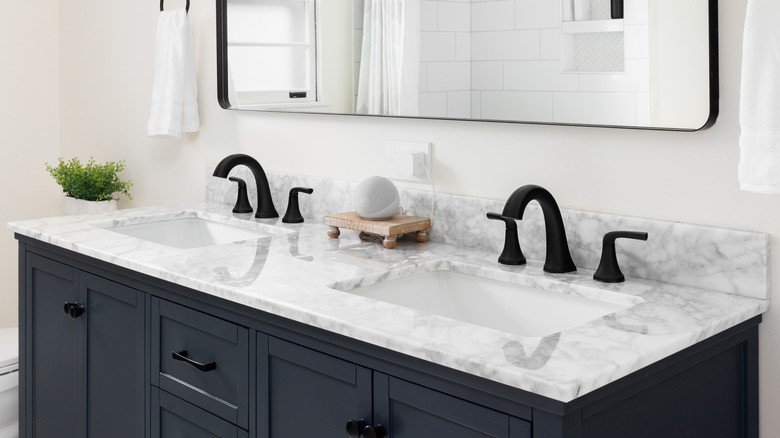
Your bathroom countertop deals with constant water splashes, steam from the shower, and fluctuating humidity levels in the bathroom. Over time, all that moisture can sneak into cracks, causing serious issues like warping, staining, or worst of all, mold and bacterial growth. The last thing you want is for your beautiful bathroom vanity to become a moldy mess. That's why learning how to waterproof it with silicone sealant is such a game-changer. To do this, you'll need a quality silicone sealant, ideally one labeled for bathroom use like the GE Supreme Silicone Caulk for kitchen and bathroom. Other essential items include a caulking gun, painter's tape, a utility knife, rubbing alcohol or a similar cleaner, and a clean cloth or sponge. It's also helpful to have a plastic smoothing tool. Following the package directions, apply the sealant generously to the seams of your vanity, especially where the counter meets the wall.
Unlike other sealants, silicone stays rubbery and is waterproof, so it can handle the constant expansions and contractions that come with moisture and temperature changes. In short, it's perfect for bathrooms. But before you grab that caulking gun or even try aluminum foil as a caulking gun replacement, it's essential to do some prep work to get the best results. Rushing through the process might mean missing spots or creating an uneven seal, which defeats the purpose of a waterproof barrier. The good news is that waterproofing your bathroom countertop isn't complicated, even if you're new to DIY.
Applying silicone sealant for a clean, professional finish
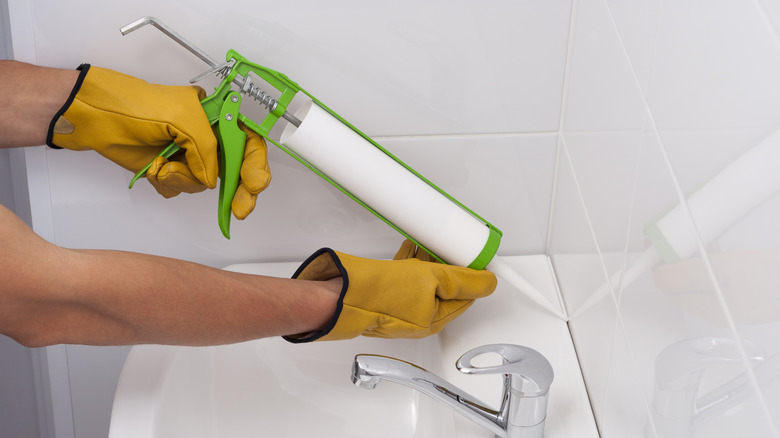
Start by clearing the clutter from your bathroom countertops and giving it a good clean. Dampen a cloth with rubbing alcohol and wipe away any grime, oils, or leftover soap scum. It's critical to have a squeaky-clean and dry surface, or the sealant won't stick properly. If there's any old, cracked sealant or gunk along the edges, use a utility knife to gently scrape it off. For a professional-looking finish, grab some ScotchBlue multi-surface painter's tape and apply it along the edges of your sink and any areas you don't want the sealant to cover. Then, it's time to load your silicone sealant. Cut the tip of the tube at a 45-degree angle and load it into the caulking gun. Then, gently squeeze out a bead of silicone along the seam where your countertop meets the wall or sink. Go slowly and try to keep the pressure steady. To smooth out the bead, use a plastic smoothing tool. Wipe away any excess sealant with a damp cloth, and don't forget to pull off the painter's tape while the sealant is still wet.
Finally, patience is key. Silicone sealant usually takes 24 to 48 hours to cure fully, so avoid splashing or using the countertop until it's completely dried. Once it's cured, you'll have a solid, watertight barrier that keeps moisture from wreaking havoc on your bathroom. And just like that, you've extended the life of your countertop and made your bathroom a healthier, cleaner space.

