Safety Precautions To Take When Installing Wireless Light Switches
The easiest way to move a light switch is installing a wireless model, and it's one of the simplest household wiring jobs you'll probably ever do. But dealing with mains voltage is always an occasion for extra caution, and this particular task presents a couple of special needs as well. The trick is to stop for a moment and think about all the safety precautions below before you dive in.
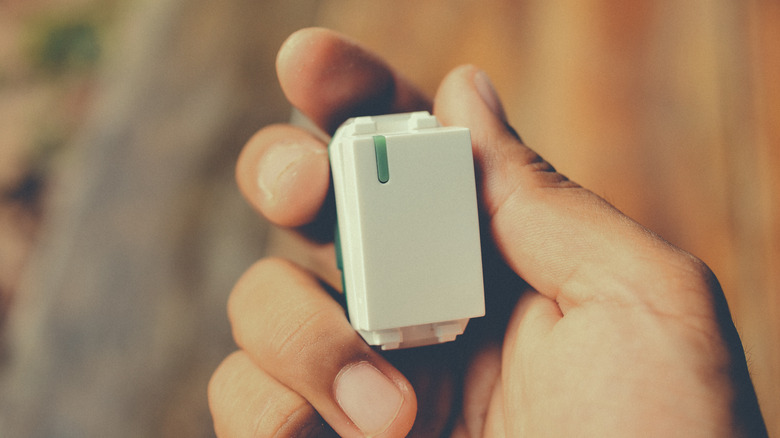
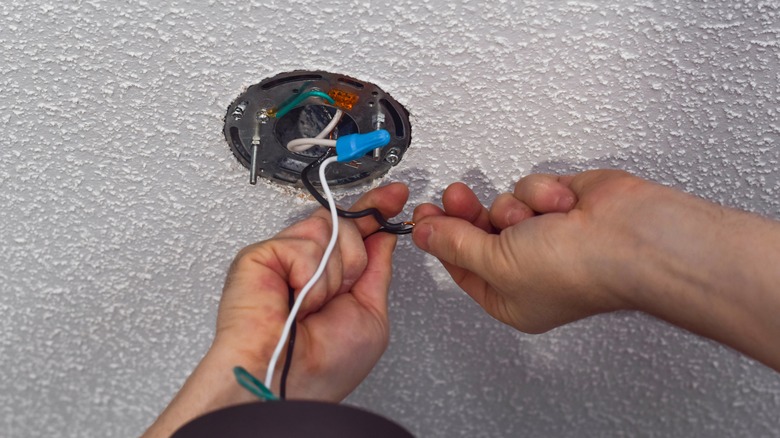
The task itself is straightforward: You'll be mounting a wireless transmitter (the switch) to a wall and introducing a wireless receiver into the light fixture's wiring near its base, where it meets the ceiling or wall. Most of the hazards you'll encounter along the way are the sorts of things you'll want to avoid any time you're dealing with 110- or 220-volt wiring. This starts, as always, with doing everything you can to keep that voltage and your skin separated. Wear insulated gloves and eye protection when doing any sort of electrical work. Whenever possible, use electricians' tools with electrically insulated handles as an added precaution against any unexpected current in the wires you're working with.
You will also, of course, switch off the breaker to the circuit you're working with. Regardless of how confident you are in knowing which breakers control which outlets, don't simply rely on flipping the light switch to the "on" position to determine if you've turned off the correct one. Always use a non-contact voltage tester to verify there is no power to the fixture or electrical box you'll be working in.
Making safe electrical connections
You want to connect the wires between your wireless receiver, your light fixture, and mains voltage in a way that will last longer than a few seconds. The amount of amperage needed to make you lose control of your muscles (and therefore be able to release the cord you just grabbed) is less than 1/1000th of the power you'd find in a typical light switch. For a safe start, determine which cables are hot, neutral, and ground. Because lighting fixtures and wireless receivers sometimes use colors that don't match household wiring (red instead of black hot wires, for example), take extra care to note the proper connections.
Use wire nuts to connect the cords to prevent them from coming apart or arcing between loose ones. The caps also cover the stripped section of cord so they don't come into contact with other conductors. They're color-coded by size, but they aren't always shaded with the standard colors, so try to use the provided wire nuts or look for guidance on the packaging of any that you bought separately. Failing that, if you have orange and yellow caps, try the orange first — if it doesn't feel secure, move to the slightly larger yellow connectors.
To attach the nut, strip ¾ inch of insulation from the wires to be joined and alight their ends side by side. Twist them together, using heavy-duty, square-jawed pliers if possible. Cut off the pointy tip that usually results from twisting, and screw on your wire nut until it's snug. Make sure all exposed copper is covered (unless you're joining bare ground wires).
Turn on a light before turning on the light
The process of installing a wireless switch also has a few peculiarities of its own. Because you're stuffing a wireless receiver into some kind of compartment, keep in mind the pitfalls of overfilling it. Putting too many devices and cords in an electrical enclosure can lead to a short, dangerous arcing or overheating of the wires. The National Electrical Code includes guidance about how many conductors standard electrical boxes will hold, including the common 4-inch round or octagonal models that connect to your lighting fixtures. But the rules don't address space in the fixture itself. The biggest challenge might be removing the light, connecting the receiver module, and replacing the fixture without damaging the conductors. It might help to cut the wires of the light and receiver to length, since they're often unnecessarily long and can be difficult to tuck inside an electrical box base or the base of your light. Remember that you will probably be working in the dark, and possibly on a ladder. Use an appropriate headlamp, work light, or other device to illuminate your area.
Be sure to mount the switch in an area where guests will naturally look for one, and consider using a dot of glow-in-the-dark paint to help visitors find it in the dark. If you need to install the switch in an unusual place — which is often the point of the device to begin with — consider establishing a second one in a standard location and at standard height (about 48 inches). This will keep your guests from fumbling about in the dark and possibly running into or tripping over things.


