The 3 Cleaning Stages You're Overlooking That Are The Key To A Spotless Home
If you find that your sparkling floors and dust-free countertops never last, no matter how frequently you clean, you may need to change your approach. You could be skipping a few crucial steps to achieve a truly effective and long-lasting clean. Not only that, but you may be spending more time and energy than is necessary in certain areas. Instead, you can streamline the process and achieve even better results with less effort by following a few key steps. These cleaning stages are commonly missed, but incorporating them into your routine will be a game-changer. They include simple, yet effective pointers like cleaning with dry tools before wet ones and tackling the upper half of the room first then working your way down. Adding these habits to your deep cleaning checklist will make your home sparkle with less effort and help you conquer the fight against household messes.
Deep cleaning your home is about more than just aesthetics; it's essential for your health and the health of the people you live with. A dirty and messy home is a welcome host for many unwanted guests, including dust, allergens, bacteria, and mold. Staying on top of your cleaning routine will ensure that you keep these contaminants at bay and lower the potential risks that come along with them, such as allergies, skin irritation, respiratory issues, and damage to your appliances and fixtures over time. Put these simple cleaning hacks to the test and see just how much of a difference they can make.
Three stages of effective cleaning that you may be missing
The first tip is to start your clean with dry tools first. This means dusting surfaces with a feather duster or a dusting cloth before cleaning with water or your desired cleaning solution. Further, it's important to always dust before vacuuming. While you dust, particles will naturally float to the floor. Vacuuming after dusting will ensure that you only have to clean once. To effectively dust your space, clear the surface and wipe with a dust brush or cloth. Once the space is thoroughly dusted, spritz the surfaces with your favorite mild cleaner or go-to cleaning substitute that gets the job done.
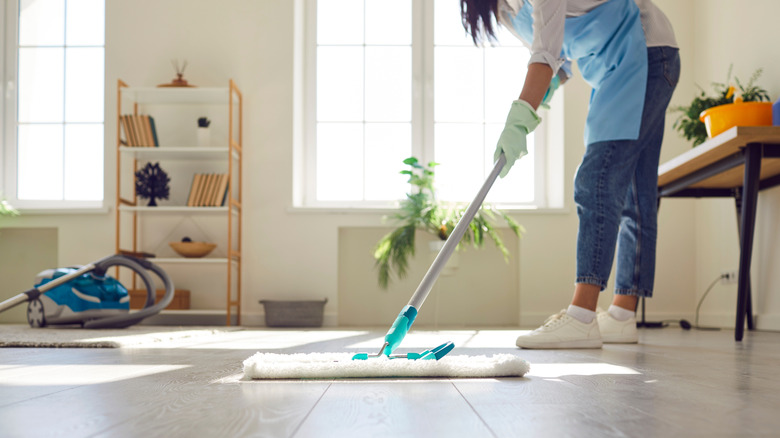
The second step is "top to bottom scrubbing," which means scouring the upper parts of the space first and working your way down. Start by dusting high ledges, wiping light fixtures, and removing cobwebs. Next, dust wall art, scour cabinets, clean countertops, and wipe down any furniture before moving onto the floor. This allows you to clean any remaining dust, dirt, and grime that floated down to the floor during the earlier stages. By turning your cleaning routine upside down, you'll streamline your efforts for better results.
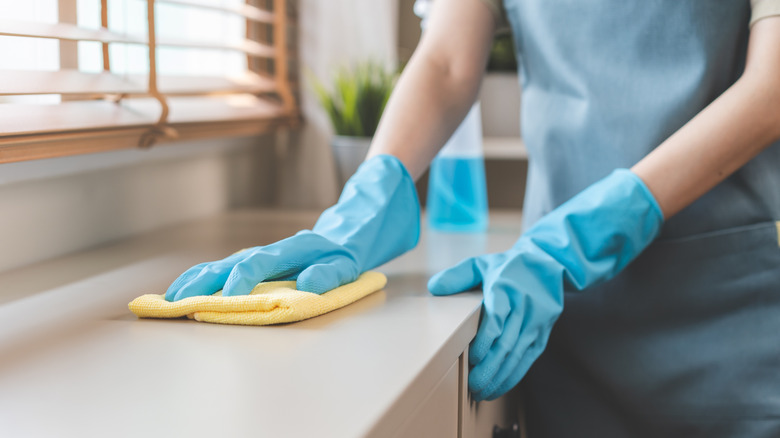
The final step is to wipe appliances and surfaces down with a wet microfiber cloth, then follow up with a dry one. Drying surfaces is an important final step, especially when it comes to stainless steel appliances or other surfaces prone to water marks and streaks. Plus, wet surfaces can create opportunities for mold and bacteria to thrive. Polishing with a dry cloth will add a nice shine to your clean and eliminate any negative effects.

