The Giant Concrete Planter DIY That Has Us Thinking Outside Of The Box
We may receive a commission on purchases made from links.
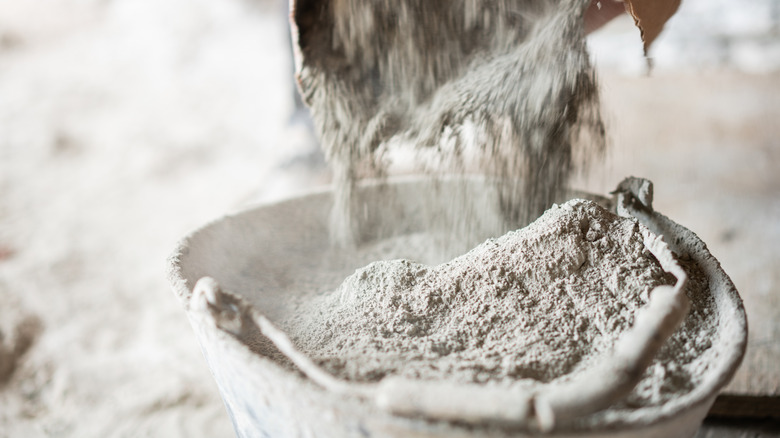
There are countless household items that can be turned into beautiful planters – from teapots to trash cans — and the list grows even longer when you pick up a bag of cement. You can reuse old egg trays or transform cheap plastic pots to DIY chic cement planters on a budget. One of our favorite projects, however, is also one of the most unexpected, as it uses concrete to transform towels into stylish planters.
Concrete is a great choice for planting because it's durable and perfect for both indoor and outdoor use. The material can withstand harsh elements, keeping plants protected from winds and insulated from temperature swings. However, because of their beauty and versatility, large concrete pots can cost hundreds of dollars, which makes this inexpensive DIY even more worthwhile. You'll need a towel, fast-setting concrete mix, a plastic bowl or bucket, and an improvised stand. Because the size of your towel will dictate the size of your finished planter, you can create just the right pot for your plant's needs — or DIY a matching set using a small face towel, a body towel, and a beach towel.
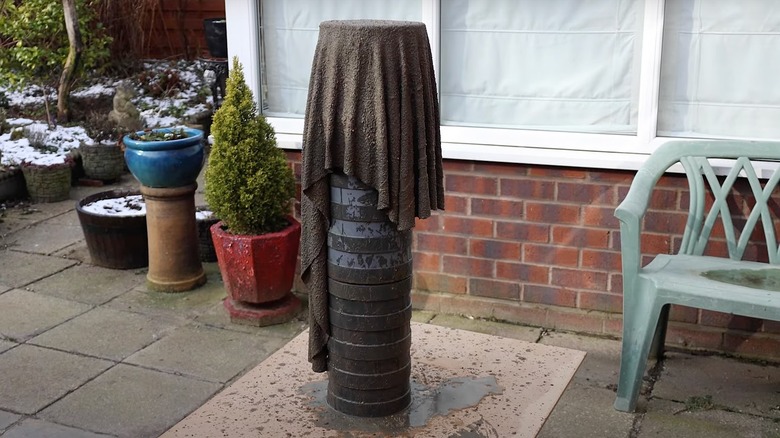
Prepare for the DIY by stacking buckets or plant pots to make a stand tall enough that the towel doesn't touch the ground when draped over it. Place an old bucket or plastic bowl covered in cling wrap on top to act as your mold — this will determine the shape and diameter of your planter. Keep in mind that your towel and concrete will be quite heavy, so ensure the ground is flat and the pots are sturdy or they risk collapsing.
This concrete planter DIY is truly unique
Start by folding your towel in half twice, then draw a quarter of an oval shape on the fabric. Cut along the line, removing the hem and outer edge. Wearing protective gloves, prepare the concrete mix, but rather than following the label's instructions, aim for a watery consistency. Soak the towel completely (a good hack is to wet it first), then drape it over the mold. Brush on extra concrete, as needed, and arrange the fabric into pleats. You'll want to cut drainage holes where the bottom of the planter will be at this point to save you the trouble of having to drill through concrete later.
Leave the towel to dry for at least three days, then lift it off the stand and gently shimmy the mold out, removing any loose particles. Finish by painting it. Exterior paint, spray paint, and acrylic paint all work well on concrete and allow you to get truly creative. Try using complementary colors on opposite sides, paint an ombre effect, or create a fun design with epoxy flakes.
The lime in the concrete can seep into the soil and change its pH level, which could be detrimental for some plants. To avoid this, either seal the inside of your planter with a product like the Black Diamond Stoneworks sealer or line it with a waterproof pond liner. If you use a liner, just make sure to cut holes that align with the planter's drainage holes. Your planter will be heavy and difficult to move once it's in use, so decide where you want it placed before adding soil and plants.

