Essential Tips To Ensure Your Candle Burns Evenly Every Time
Is there ever a bad time to buy a new candle? Probably not — but there is a wrong way to burn one. If one part of your candle burns down before the rest, you're not getting the full use out of the candle (or your money's worth). Eventually, there will be some wax left that the wick simply can't reach. Prevent that issue and make sure your candle burns evenly every time by trimming the wick, using a longer lighter, and burning the candle for at least a few hours each time.
The first time you light a candle is especially pivotal to getting an even burn. If part of the candle burns down and the rest doesn't, that part will continue to burn faster than the rest of the candle every time you light it again. That's because when wax melts and cools, it still remains slightly soft — softer than wax that has never melted.
The first time you use it, the candle must burn long enough that the entire surface melts. This can take a few hours, depending on the candle's size. If part of the candle never melts, even after you've patiently waited, that means the wick is too small to heat all of the wax. This situation isn't your fault — it just means the candle wasn't manufactured very well. Thankfully, you can still get as much use as possible out of your candle, regardless of the issue, with these tips.
How to prevent uneven burning
While the first burn is crucial to make sure your candles last a long time, the same advice applies every time you light your candle: let the entire surface melt before you blow it out. If you're not prepared to let the candle burn until then, skip lighting it for now. On the other hand, it's important to pay attention to maximum burn times as well to avoid scorch marks or unevenness beneath the surface. A maximum of four hours is a good rule of thumb. When you put the candle out, use a snuffer or wick dipper rather than blowing on it. Finish off by putting the cover back on, if there is one. This prevents ash, dust, or debris from getting into the wax and contributing to uneven burning.
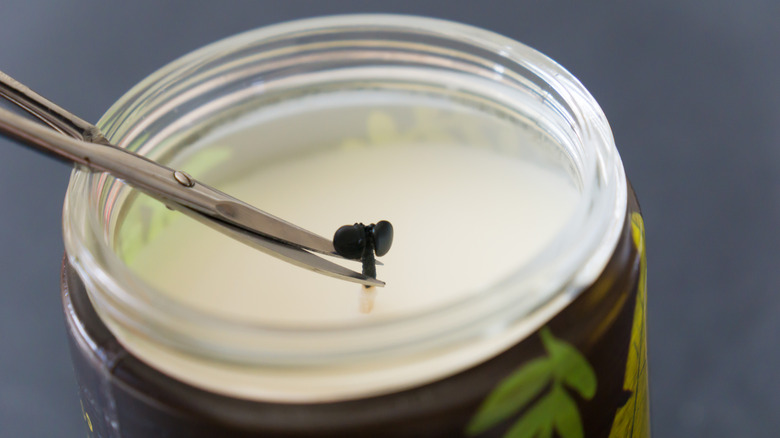
Another crucial step is to trim the wick regularly. Use scissors, nail clippers, or a specialized wick trimmer to cut the wick between ⅛ and ¼ inch above the wax. This helps prevent the flame from getting oversized and heating the wax unevenly. While it may be harder to reach a short wick with a regular lighter, it's best to use a longer lighter or match rather than leave the wick long. A longer lighter also helps start the burn evenly, since you don't have to tilt the candle to reach the wick. Lastly, it's important to keep the candle away from drafts and make sure it's on a level surface while burning.
Fixing an uneven candle
If you haven't been practicing these tips consistently, your candle may have already burned unevenly. One common phenomenon is "tunneling," in which a hole burns down through the center, leaving a ring of unmelted wax around the circumference. This can also happen if you happen to get a dud of a candle that doesn't have a properly sized wick. Luckily, it's fixable, especially if you rescue the candle while the tunnel is still pretty shallow.
One popular method is to use aluminum foil to insulate the candle and help the leftover wax melt down. Some recommend covering the entire top of the candle with foil after you trim the wick and light it, while others only put aluminum foil along the edges that haven't melted yet. Either way, make sure there is some kind of opening for the flame, and be careful handling the foil while it's hot.
Another option is to use a hair dryer on low to carefully melt the wax. Or, depending on the state of the candle, you may need to manually scoop away the wax from the top edges to even out the surface. However you manage to smooth the candle's surface out, let the wax set afterward. When it's time to use it again, light your candle more carefully or use a candle warming lamp instead.


