Elevate Your Backyard With A Fantastic DIY From Old Pallets And Some Pavers
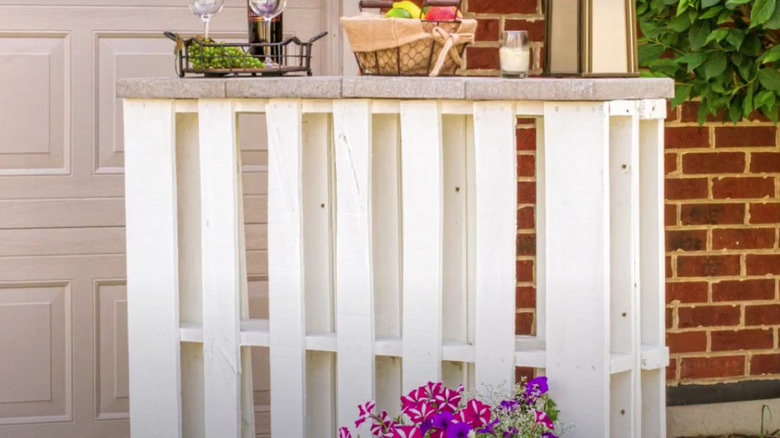
Patios are the perfect place to socialize, unwind, and focus on friends and food. Having a great patio space doesn't have to be expensive though. Using a clever DIY, you can make your patio the ultimate outdoor entertaining destination without spending much money at all. Cobble together a charming dry bar fit for any yard, using largely cast-off materials you likely already have around. Its small footprint will take up little space, making it ideal for even the smallest of backyards.
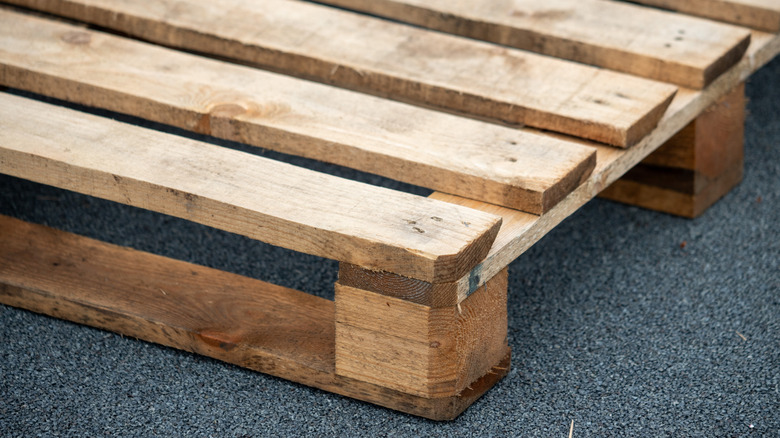
All you need for this DIY are two wooden pallets, enough rectangular or square pavers to span both the top and the bottom of the two combined pallets, a bit of outdoor paint, and some landscape adhesive. The best paint for this build is an outdoor paint and primer combo. Gluing a series of pavers along the base of the pallets will help counterbalance the weight of the top pavers, making a more stable bar.
Also have on hand some painting supplies, sandpaper or a sander, a power screwdriver, and self-tapping wood screws. You might even be able to pull off this build for almost no cost by finding free pallets, and by using paint you already have. This small wood pallet project for your garden takes minimal time, effort, and skill to complete, and there are endless ways to customize it to make it your own.
Time to build a bar with your pallets and pavers
This simple bar is the ideal wooden pallet DIY to upgrade your backyard on a budget. Follow a YouTubers' tutorial to the letter, or make slight tweaks to add desirable storage to your final product. You can orient the pallets' slats either horizontally or vertically; either way, you can use the cross boards that run between the two edge pieces as a support for a shelf.
Start by sanding the outside surfaces of both pallets; if you're making a version with a shelf, sand the interior side of one pallet instead of the exterior. Cover both pallets fully with outdoor paint, preferably two coats. Once the paint is dry, screw the two pallets together. Using wood screws, attach the two pallets with their indented sides facing each other. Adhere the paving stones, one next to the other, across the combined tops and bottoms of the pallets with landscape adhesive.
There's no such thing as too much storage with this pallet bar modification
If you're making the storage-enhanced model, you'll also need a piece of 1-by-6 that matches the length of the horizontal cross piece of your pallets. Before painting the pallets, place the 1-by-6 on top of the cross piece and secure it with wood screws. If your pallet also has a vertical center piece, cut your 1-by-6 into two pieces matching the length of the two sections between the vertical piece. Paint the pallets, and screw them together with both pallets facing the same direction.
The underside of the bar's counter is a great place for wine glass holders or hooks, and both the shelf and the lowest horizontal board of the pallet's storage area are great for bottles. The slats on the bar's face can hold over-the-door baskets for items like napkins, straws, stacks of disposable cups, and more. Screw a bottle opener to the face as the icing on the cake.

