How To Effectively Repair A Leaking Tile Roof By Yourself
As a homeowner, having water leak through your roof and ceiling is a frustrating dilemma. Should you try to repair the roof leak yourself or call a professional? If you have a tile roof, the fixes will often take several days and will be challenging because it's more difficult to install new tiles than shingles. For this reason, most homeowners with leaky tile roofing prefer to let a professional handle the work. However, if you enjoy DIY projects, don't mind heights, and follow the right steps, you can try to tackle the leaky tiles on your own and save on the roof repair costs.
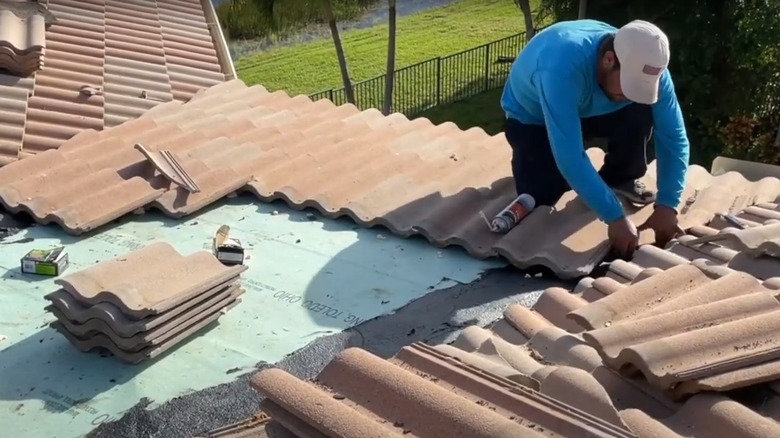
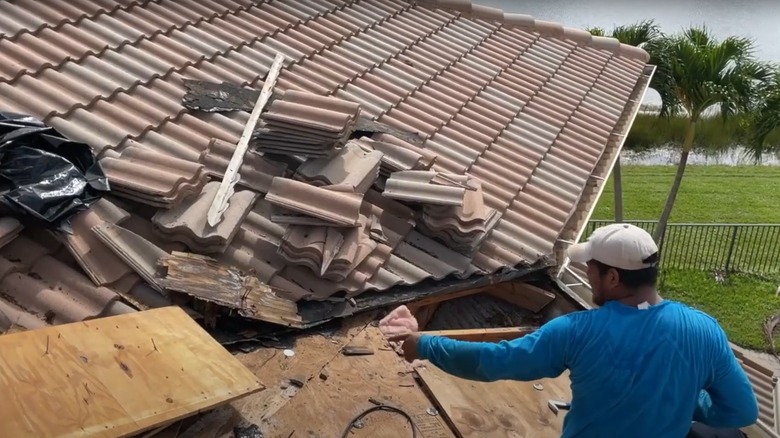
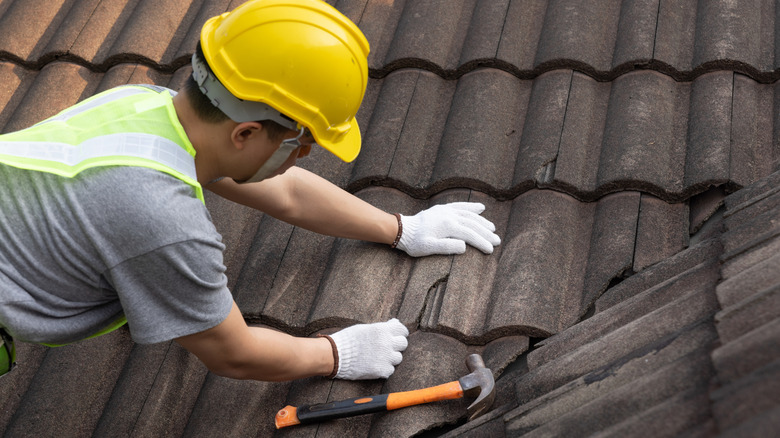
To start repairing the leaky tile roof yourself, make sure you have gloves, proper footwear, goggles, and a safety harness available. You'll need supplies like a pry bar, hammer, replacement tiles, roofing cement, nails, and underlayment. Start by inspecting the tiles. At first, look directly above any ceiling water stains you notice. If you can't see the damaged tiles, it's possible that water may have traveled across the attic, leaving the water stain far away from the actual hole in the roof. Look for chips, cracks, or missing pieces to identify areas of damage. Remove any of the broken or damaged tiles you see. You might have to use a pry bar to pull them loose. If you need to remove any intact tiles to get to the damaged ones, do so carefully so you can reinstall them later.
Replacing the underlayment and installing the new tiles
After taking out the broken tiles, you may need to remove the underlayment if it's also sustained water damage; this component may be nailed or glued in place. Next, inspect the plywood layer for damage or holes that would explain the leak. Replace any damaged plywood by attaching new sheets to the joists before putting down a new layer of underlayment. Be sure to paste the underlayment across the entire area, as well as to any adjacent sections, and overlap it at the joints. You're now ready to install the new tiles and to put the undamaged ones back in place. Before you do, inspect the new tiles for cracks or chips.
One of the biggest advantages of a tile roof on your home is how great it looks because of the unique way the tiles overlap. Apart from aesthetics, this interface between the tiles helps keep the elements out. However, trying to get the overlap just right makes the repair job challenging for a novice. For best results, apply cement or glue to the tiles to affix them to the underlayment, taking care to create a tight bond. Lay each tile in the proper position to ensure the desired fit and look for the tile roof. Perform a final inspection of the work you did, ensuring the new section of tiles lines up properly with the areas you didn't repair. Walk slowly and carefully across the tile roof to avoid causing any new damage to the tiles.
Should you consider hiring pros to repair a leaky tile roof?
Is it worth calling a pro? Some people simply aren't comfortable doing their own roof repair, regardless of the roofing material. There's always the risk of falls and injuries when you are working at a height, so you must use safety gear— some of which you may not be familiar with. Even with a harness, walking or standing on an angled roof is difficult you're a novice, but pros go through training and know how to do this type of work safely.
Roofs made of tile come with specific dangers and challenges for novice homeowners who are trying to repair a leak. If you step the wrong way on a fragile clay tile roof, for example, you could crack the individual pieces, causing additional problems beyond those you're trying to fix. A professional knows how to treat these tile materials safely when working around them. You may also want to call a pro if you see extensive damage that might cause a big repair job beyond fixing the leak, such as wood rot under the tiles, significant missing pieces, or multiple tile cracks.


