The Worst Things To Do When Leveling Ground For Pavers
Planning to install pavers? Whether it's a patio, walkway, or driveway, the results can be stunning — but only if you start with the right foundation. Leveling the ground for pavers might sound simple — after all, how hard can it be to flatten the ground? Turns out, it's one of those jobs where small mistakes can snowball into big problems.
A properly leveled base isn't just about aesthetics; it's also about functionality and durability. Without a stable foundation, your pavers will struggle to stay put. Water can pool in low spots, leading to slippery surfaces and potential damage. Also, an uneven surface can become a tripping hazard. You want your paver project to last for years, not to start crumbling before you've had time to enjoy it.
Now that you know how important leveling is, let's look at the worst things you can do. Skipping site preparation? Big mistake. Ignoring drainage needs? A recipe for disaster. Using improper base materials? It's definitely not the way to go. Neglecting to compact the base? Say hello to sinking pavers. And leveling the ground "by eye"? Let's just call that a confidence builder for a future re-do. With each mistake, things only get worse.
Skipping site preparation
Skipping site preparation is like trying to build a house on quicksand. Sure, it saves time upfront, but it's a guaranteed way to regret your choices later. Preparing the site means removing grass, roots, rocks, and any debris that could get in the way. If you don't, those leftover materials will decompose over time, causing the ground to shift. That means your pavers could be uneven, wobbly, or even cracked.
But it's not just about clearing out the mess. Skipping site preparation also means missing a chance to check the soil. Is it solid? Is it too soft? These are essential questions. If the soil isn't stable, your pavers won't be either. Taking a little extra prep time ensures everything stays in place and looks perfect. Plus, fixing issues now is much easier than after the pavers are down.
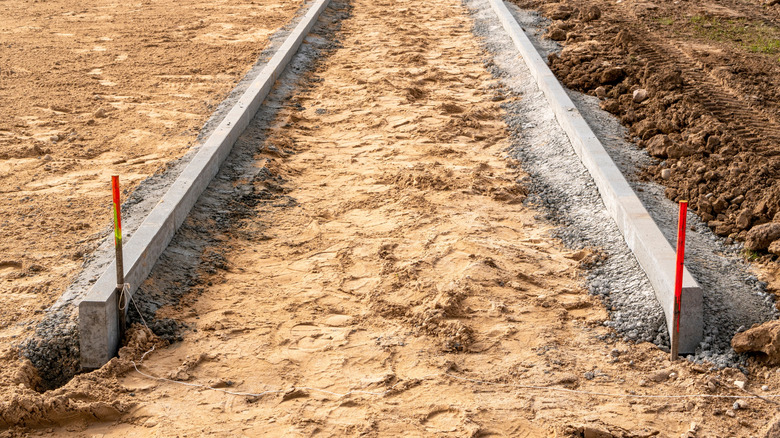
So, how do you avoid this mistake? Use a shovel to remove the top layer of soil, at least 7 to 9 inches deep. Get rid of all grass and roots. Smooth everything out, and make sure you're starting with a clean, solid surface. While you're here, you can also lay down some landscaping fabric to prevent weeds from poking through your newly-installed surface. It might take some sweat and effort, but your future self will thank you.
Water, water, everywhere
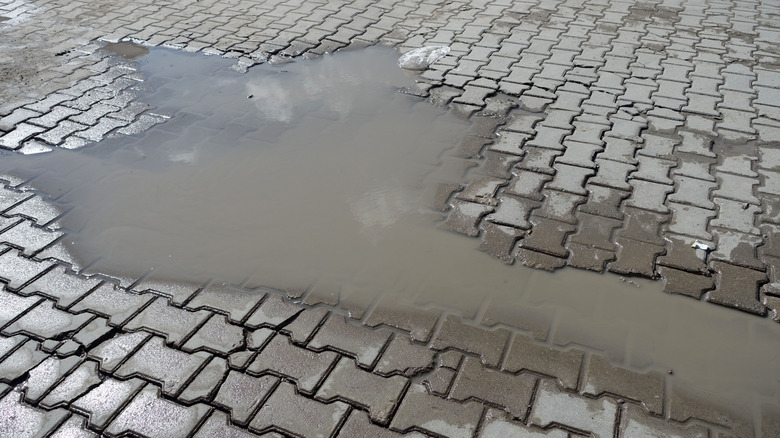
Water is sneaky; if you don't plan for it, it will find its way into every crack and crevice, causing all sorts of trouble. Water will pool on your pavers without proper drainage, leading to slippery surfaces, algae growth, or even structural damage. It's not just about how your project looks; it's about how it functions.
Adding drainage under your pavers ensures that water will flow through the pavers and away from nearby buildings instead of forming puddles. This prevents erosion, protects the foundation, and keeps your pavers looking fresh. Check your yard's natural slope and adjust as needed. Use a level and string line to guide you. The key is to grade the surface correctly, creating a slight slope — about 1 to 2 inches for every hundred inches of distance — away from buildings or structures. Skipping this step is an open invitation for puddles, frustration, and unnecessary repairs. Remember, water always finds a way, so ensure it flows in the right direction.
Dirt won't do
Have you ever tried to walk on a soft, sandy beach? Those dunes might be beautiful, but they don't provide much support when you take a step. The same thing will be true if you choose a similarly-slippery material as a base when laying your pavers. Your paver base is the foundation of your project, and not all materials are created equal. For instance, soil or loose dirt is a terrible choice because it shifts too much and doesn't create a stable base. Skimping on quality base material might save you money upfront, but it will cost you when your pavers start sinking or shifting as soon as you apply pressure to them.
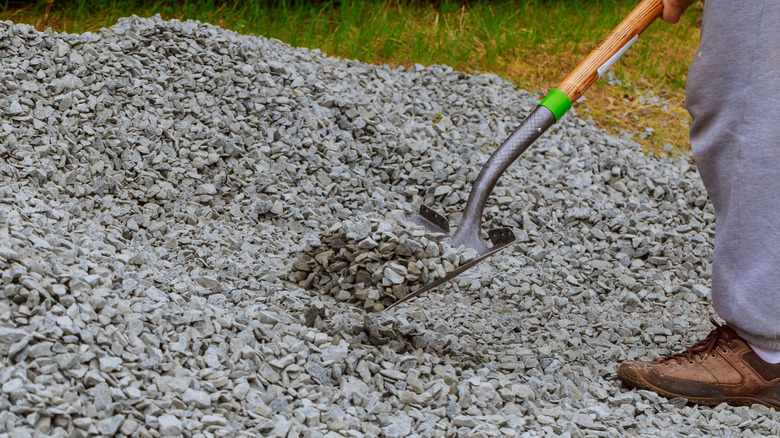
The best base for pavers is gravel as it's able to provide a sturdy and well-draining foundation. Sand alone isn't enough; it's great for leveling and filling gaps, but it lacks the structural integrity to support the weight of the pavers over time. Use at least 4 to 6 inches of compacted gravel to do it right. Spread it evenly, and tamp it down until it's solid. You can add a layer of sand on top for a smooth finish, but don't skip the gravel. It's worth the extra effort.
The unstable foundation
Compact, compact, compact! Compacting the base ensures it is solid and will not shift under the weight of the pavers. Failure to do so makes the ground settle unevenly, leading to wobbly or sunken pavers that make your beautiful patio look more like a wavy funhouse floor. Imagine walking across your hard work only to feel it wobble beneath your feet — definitely not the vibe you were going for.
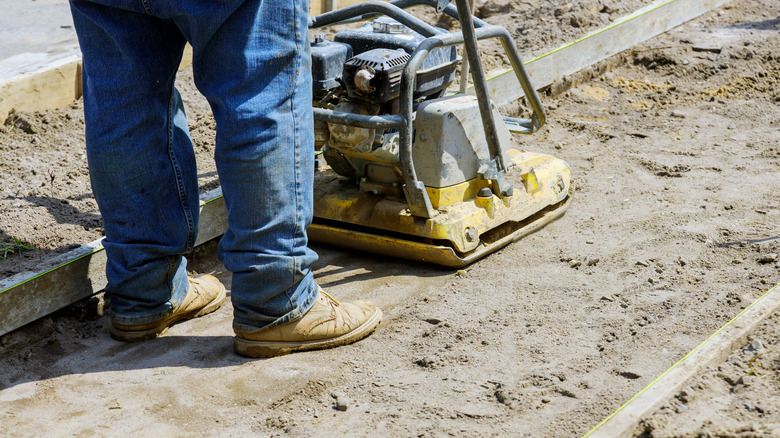
Proper compaction also prevents air pockets in the base material. These pockets can cause the base to shift over time, especially under heavy loads or changing weather conditions. To compact the base, you'll need a tamper or plate compactor — yes, it's an extra step, but your pavers will thank you. For best results, go layer by layer. Add pea gravel or crushed stone, compact it thoroughly, then add sand and repeat. Each pass eliminates voids and creates a foundation so firm it can withstand a stampede (or at least a few rowdy barbecue guests). If you don't compact your base before installation, it will become compacted with use, likely leaving you in a position where you have to pull everything up and re-level the surface.
The lazy eyeballing shortcut
Leveling by eye might work for hanging a picture frame, but it's not the best idea when laying pavers. You might trust your keen sense of detail, but even the sharpest DIYer can't match the precision of proper leveling tools. Skipping them increases the likelihood of ending up with an uneven surface — something both unsightly and unsafe. Uneven pavers don't just look bad; they create tripping hazards and can mess with drainage. Do you really want your beautiful patio to double as a waterpark every time it rains?
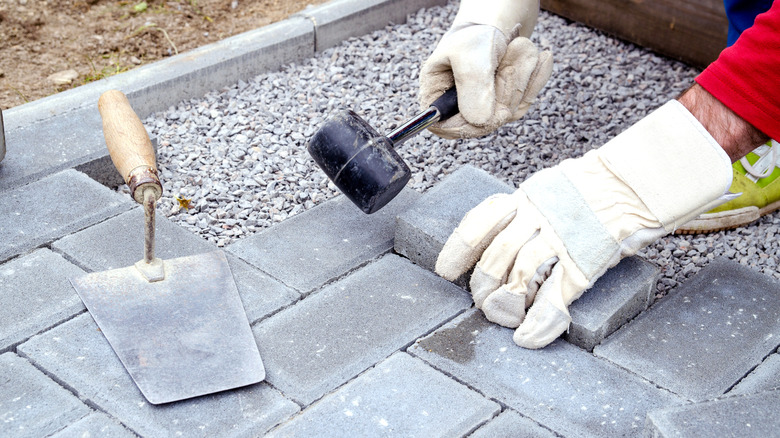
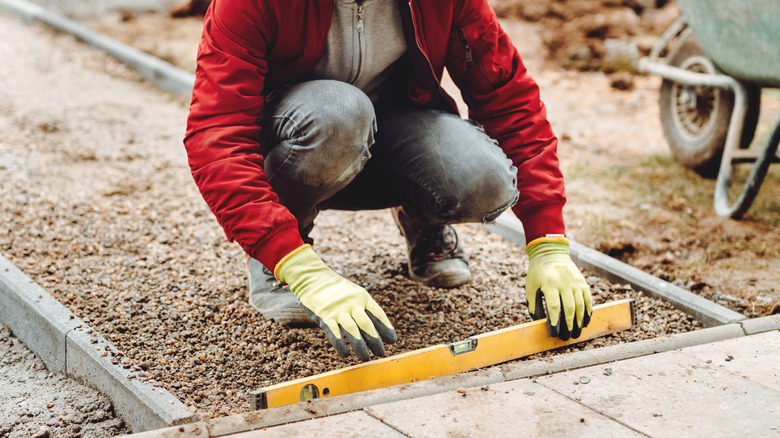
Let's not overlook the embarrassment factor, either. Imagine hosting a barbecue and having to explain to your guests why your patio looks like a rollercoaster track. Awkward. A little extra effort upfront using tools like levels, screeding boards, and even a rubber mallet can save you from these cringe-worthy moments.
The problem with leveling by eye is it's easy to miss the little things, like slight slopes, high spots, or areas where the ground dips. These imperfections can snowball into big issues, throwing off the entire project. Taking the time to use the proper tools ensures your patio or pathway isn't just aesthetically pleasing but also functional and safe.
