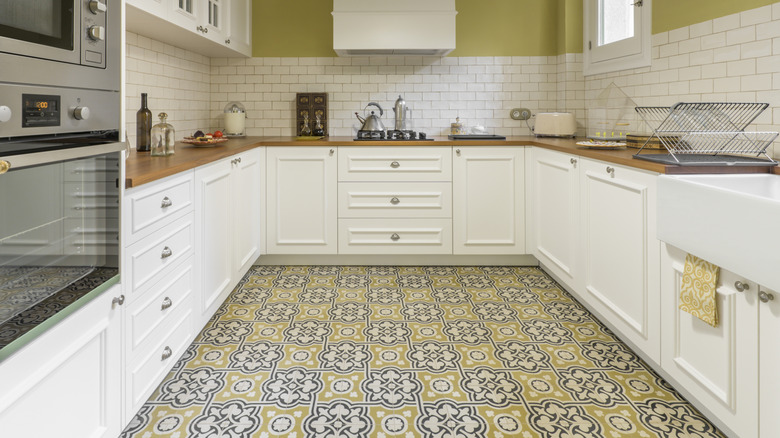
How To Get The Look Of Beautiful Concrete Tiles On A Budget
Tiling an entire kitchen floor or renovating your bathroom floors can be costly, but it's possible to spruce up your current flooring without ripping it up and replacing it entirely. Just like you can fake wood floors with a creative DIY, you can also give existing linoleum or ceramic tiles a chic concrete aesthetic. This simple and cost-effective hack uses chalk paint to deliver the look of beautiful concrete tiles for a fraction of the cost — and much less work than a complete renovation. The entire DIY will cost under $70 and requires just three products: an all-surface primer, like Zinsser Bulls-Eye 1-2-3, Rust-Oleum chalked paint in your preferred hue, and a polycrylic protective finish, such as Minwax Clear Polycrylic Water-Based Protective Finish.
Before getting started, clean and sanitize your floor thoroughly with a bleach solution made of 1 cup of bleach and 1 gallon of water. If you're working in the kitchen, it's also a good idea to give the floor a second pass with a degreaser. Once it's fully dry, use painter's tape to protect your baseboards, floor cabinets, bathtub, and anything else you don't want accidentally coming into contact with the paint. Then, it's time to get started.
How to hack the look of patterned concrete tiles on a budget
To DIY stunning designer tiles for a fraction of the cost, you'll just need to follow a few simple steps. First, coat the floor with a thin layer of all-surface white primer using a foam roller. Darker floors may require several coats -– just be sure to allow each layer to dry fully before applying the next one. Leave the floor white or apply your base shade of chalk paint, then it's time to execute the design. For this step, you can use painter's tape to lay down a pattern, then coat the whole floor with your chosen chalk paint and a foam roller. Again, you may need to apply a second coat to achieve your desired shade. Once dry, carefully lift up the tape and carry out any necessary touch-ups with a small paintbrush.
Alternatively, you can execute a more intricate design using a stencil, however, this will require a bit more time. Starting in a corner, tape the stencil down on the first tile, apply a thin layer of chalk paint with a foam roller (if you use too much paint, it may bleed onto adjoining tiles), and let dry. Lift the stencil, check that there is no wet paint on its back, place it on the next tile, and repeat.
Whichever design method you choose, the final step will be the same. Using a clean roller, apply two thin coats of protective finish, letting each dry completely. Air out the area and avoid heavy foot traffic for 24 hours before fully enjoying your new floors.
