Common Masking Tape Mistakes That Could Leave Marks And Damage On Your Walls
Have you ever been confused about what tape to use when protecting your walls before painting? Perhaps, in your search for the right tape, you've chosen masking tape. While this is sometimes used because of its relatively cheap price, it's not the best choice overall. Masking tape can leave you with annoying sticky residue, torn paint, or worse, a scarred wall. Some of the errors that leave behind these ugly marks include not choosing the right kind of tape, leaving the tape on for too long, and applying tape without smoothing out wrinkles. If you want to avoid these issues altogether, here are some simple hacks to avoid using making tape while painting.
Ever tried to peel off masking tape only for it to fight back like a clingy ex? That's stubborn adhesive for you. Some tapes are made with super strength — great for securing packages but terrible for your walls. When you use masking tape for projects it's not designed for, like painting, the adhesive bonds too well with the surface. To avoid this, pick a tape that's suitable for the job. For painting projects, painter's tape is a better alternative, as it's designed for easier removal.
Peel soon after painting
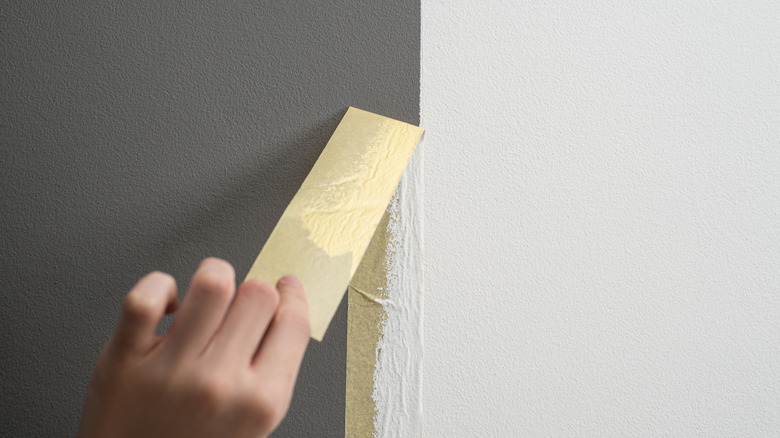
If you still decide to use masking tape for your painting projects, remember it isn't fine wine — it doesn't get better with time. Sometimes, life gets busy, and that masking tape you meant to remove yesterday still hangs out a week later. The adhesive hardens as the tape sits there and bonds more tightly with the surface. When you try to remove it, you're left with residue, chipped paint, or worse, damaged drywall.
Timing is everything when it comes to masking tape. The sweet spot for removal is within an hour of application. If you're painting, wait until the paint feels dry to the touch, but don't wait too long. Set a reminder to remove the tape as soon as the project is done. Put a sticky note on the fridge or set an alarm on your phone — whatever it takes. If you're a chronic forgetter, consider using painter's tape, which is much more forgiving if left on the wall and shouldn't cause damage when peeled off. If you use masking tape and accidentally leave it for days or weeks (oops!), use the hair dryer remedy to warm the adhesive before peeling.
First, gently heat the tape with a hair dryer. The warmth will loosen the adhesive and make it easier to peel off without damaging your wall. Remember to go slow, since ripping it off fast will only cause more harm. If there's leftover residue, clean it with a sponge and a bit of soapy water.
Keep it wrinkle-free
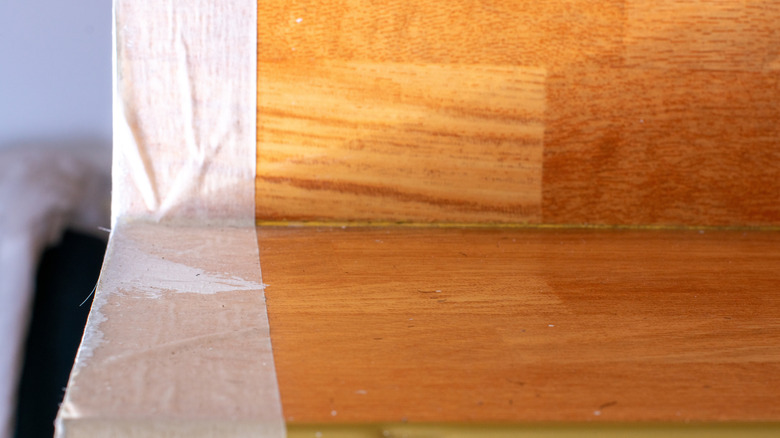
Sure, wrinkles are fine on cozy blankets or your grandpa's smile, but when you're looking for crisp lines when painting? Nope. Applying masking or painter's tape without smoothing the wrinkles or bubbles can lead to messy results. These imperfections create gaps where paint can seep through, leaving uneven lines or smudges. Wrinkly tape can also make it harder to peel off cleanly, leaving bits of tape behind or even pulling up chunks of paint. If you're concerned about the masking tape's tackiness and want to guarantee you won't damage the wall if you have to adjust your tape job, try sticking the strips to something else, like your pants, before applying it.
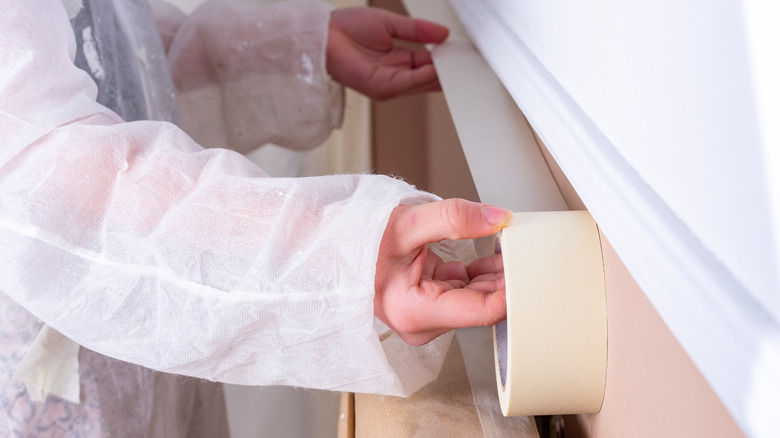
To avoid this messy outcome, follow an expert tip for taping a room before painting and take your time. Press the tape down firmly as you go, and use a tool like a putty knife or credit card to smooth it out. Start at one end and work your way across in small sections. If you notice a wrinkle, don't just pat it down and hope for the best. Peel back that section and reapply the tape properly. It might take a bit of extra time and focus, but these few seconds can save you a lot of trouble down the line.


