The Elegant Flower Vase You Can Make From Plastic Bottles And Hot Glue
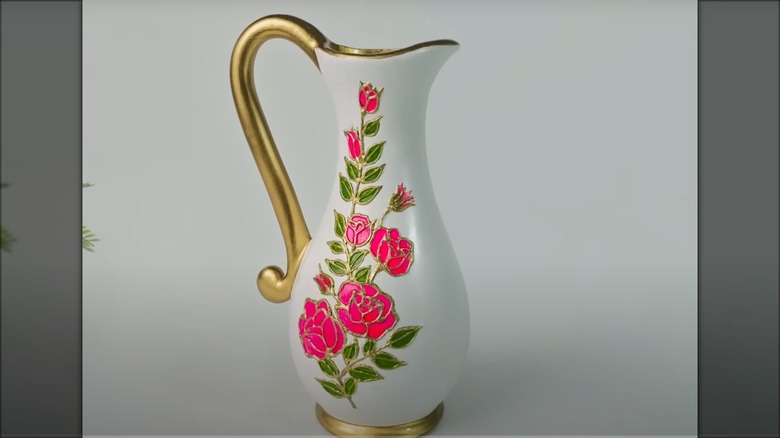
Beautiful and distinctive pieces of handmade pottery can be a beautiful way to add style to your home, where they add a delightful sense of texture to even the most minimalist or neutral rooms. While you can find these pieces in home stores and artisan fairs, the price of handmade pottery has gone up drastically. This may leave you longing to decorate your home with pottery on a budget. According to YouTube DIYer Kuti Bari, you can create stunning vases with a hand-hewn look without any pottery-throwing experience using just some plastic soda bottles, plaster of Paris, white cement, and a few other materials. The result is a beautiful piece of DIY pottery that looks much more expensive than it actually is.
You can also customize your piece completely, using different textures and accents on the surface, creating different styles and motifs to fit different aesthetics. Use these pretty handmade vases to hold flowers or just as an accent piece on a shelf or table where they complement cottage-style and rustic rooms.
Creating a vase from plastic bottles
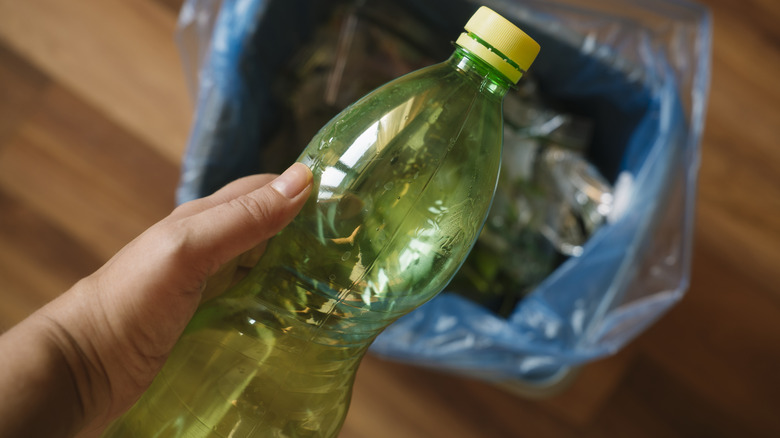
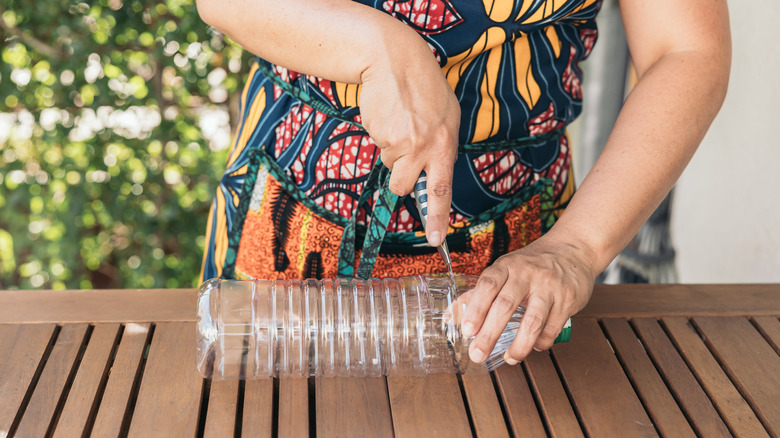
To create your vase, begin with two plastic soda bottles (YouTuber Kuti Bari uses the 20 oz bottles). Remove the labels, and cut the top rim off of one with a utility blade. For the second bottle, cut off the spout, then cut again about 2-3 inches down to create a cut-off funnel small enough to fit inside the new rim of the first bottle securely. Now you have the shape that will become the base and flared rim of the vase. Add some masking tape or hot glue to secure them in place.
Mix a 1:1 paste of white cement and plaster of Paris to form the mud that will give your vase texture. Dip some strips of leftover fabric or medical gauze until they're wet in the mixture, and wrap them around the vase. You can also use this as a way to repurpose old socks as a fabric sleeve that wraps around. Allow the pasted fabric to dry completely, then sand away any ragged edges with a scraper and some sandpaper under running water. This process will create a smooth surface for applying more of the plaster mix in a thick layer around the vase. Add several layers to the vase, and allow it to dry.
To create the handle, make a stencil with sturdy cardboard, and fill with cement mixture, using a wire to provide additional support in the scrolled shape of your handle. When it dries, pop it out and create a groove with a knife where it rests against the vase to give a seamless look. Use hot glue, E6000, or plaster glue to attach the handle to the vase.
Customizing a DIY vase
Options are endless for customizing your vase to fit your tastes and aesthetics. For a simple handmade pottery look, just paint the vase an earthy or neutral shade. To add additional relief as seen in the tutorial, use some of the plaster mix inside a small tube applicator to trace out a floral design which you can paint over to add an additional pop of color. When making the vase, you can also experiment with different plaster application techniques and varying ways of bunching the fabric that give different types of texture to your piece. You can also create texture with a hot glue gun on the outside to create scrolls, swirls, and botanical motifs before you paint.
Paint the handle the same color or use a luxe gold paint to add a bit of metallic charm. You can also add other accents to create additional texture and interest, including beads, buttons, and other three-dimensional objects to the outside with E6000 or a hot glue gun.


