Thrifted Dishes Are About To Become Your Favorite Wall Decor With A Cool DIY
We may receive a commission on purchases made from links.
Social media is serving up another use for thrifted dishes: reimagining them as wall art, which DIYers already know is a stunning kitchen trend that has everyone putting vintage plates on their walls. The new twist is a decoupage-like technique that offers possibilities as boundless as a laminated menu at a diner but with a cost that's more budget-friendly than an early bird special (even with a coupon). To complete this DIY, you'll simply affix images that you print at home onto the dishes.
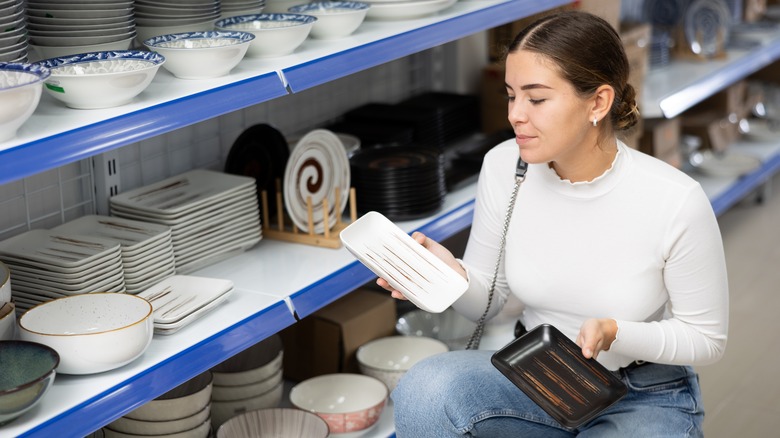
If you're an avid thrifter, you know how hard it can be to leave a thrift shop without swooning over (and purchasing some of) the plates or other dishes. There are so many to fall in love with and ones that just have to be had, even when you've got one, two, or even three sets of dinnerware at home (not only from your wedding registry, but grandma's kitchen, too). It makes no sense, right? But you can't resist. You end up buying a plate, maybe five, or another whole set, to repurpose as jewelry dishes, places to toss car keys, or stations in the kitchen for dishwashing soap and sponges. Well, turning some of those extra plates into art — whether they are new or old, plain or fancy, small or large — will transform them into your favorite wall art.
How to turn old (or new) dishes into art
The process is so simple that you might wonder why you've never thought of it before. Find images that speak to you, and print them out on waterslide decal paper. Once the ink has dried, cut out each image from the paper, staying as close to the edges as possible. Dip the pieces in water, and after about 30 seconds, the backs of the images will slide off. The water activates the adhesive on the back of the paper. You can then place the image where you want on a dish, sliding it into place and setting it aside to dry. It doesn't have to cover the whole surface, although it can. This is where your artistic eye comes in. It's a uniquely individual way to decorate your walls without using framed art.
There's clear waterslide decal paper, and there's white. Use whatever works best with the plate's color and the effect you want to achieve. With software such as Canva, you can opt for an opaque or clear background. Some create their own images, even using words. For more precise cutting, there are makers who use a machine such as a Cricut. It's also common to spray the image with varnish, letting it dry before submerging it in water. Since you're displaying these dishes and not eating off them, coats of clear urethane or acrylic, as well as the printer's ink, will be safe to use.
There are easy ways to hang them
Once your DIY dishes are complete, you can use them to decorate a large wall in your home in a whole new way. Or, maybe you only want to decorate just a portion of it. Since dishes can be arranged in limitless combinations due to their shapes and sizes, they work really well as vignettes in tight places, such as a strip of wall next to a cabinet in the kitchen. While the size of the wall will be a consideration, there's also the arrangement to consider. A formal design, for instance, might have plates of all one size, color palette, or design aligned in neat symmetrical rows. A more bohemian style might mismatch the sizes, designs, and colors and be hung almost like a gallery wall. But how to get them up there, you might be wondering. That's also an easy task.
There are several affordable kits on the market. One type of hanger uses springs that can adjust to the size of a plate. They are usually metal and come in gold or silver, like the gold Bilillo Stainless Steel Plate Hangers. The other common plate holder is a disc, like the Flatirons Disc Adhesive Plate Hanger Set. The back will become adhesive when activated with water. Note, though, that the discs are usually only recommended for small or medium plates.
