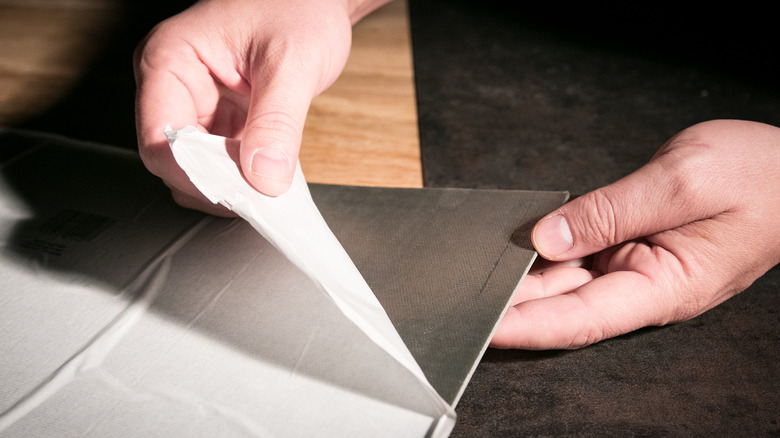
Achieve A Cleaner Look When Using Peel-And-Stick Tiles With One Simple Addition
Peel-and-stick tiles are known for being affordable and easy to install. Any material that's meant to mimic another will fall short in some ways, though. If you've shied away from installing peel-and-stick tiles because they don't look like real tile, we've got your back. To elevate this DIY trend, all you need is a bit of grout.
When you're installing a new tiled floor or backsplash, you need to use grout because it fills the empty spaces and better seals the surface. As the name suggests, peel-and-stick tiles just stick down and cover the existing flooring, so they're designed to be installed without grout. If you want to better replicate real tile and give your project a cleaner look, however, you can add grout for purely aesthetic reasons.
This will add a bit of extra work to your DIY project, so, again, it's not completely necessary. Your peel-and-stick tiles will function fine without grout. However, grouting peel-and-stick tiles isn't difficult. Before you dive in, make sure you purchase peel-and-stick tiles that are thick enough for this purpose, as thin, sticker-like tiles won't provide enough of a lip for the grout. Instead, you'll just end up smearing grout all over the surface, causing a massive mess.
How to grout your peel-and-stick tiles
Once you have your tiles and grout, you need to have a tiling sponge, a grout float, a tape measure, a utility knife, some spacers, and water. To start, you want to prepare your floors as you normally would to install peel-and-stick tile. After, set out the tiles in the design that you want. Rather than lying them flush against each other, you'll use spacers to get even gaps between each tile. If there are narrow gaps or spaces around the edges, use the utility knife to trim down your tiles to fit.
The amount of space that you should leave between tiles varies. Generally, you want a gap between 3 millimeters and 5 millimeters for floor tiles, and 2 millimeters or 3 millimeters for walls. If your goal is to closely mimic real tile, you should stick within these constraints. When everything is laid out as you desire, install your tiles according to their instructions. From there, get your grout ready and scoop it onto your grout float. Then, spread it across the gap, making sure to move in all directions. You'll use your tiling sponge to wipe up any excess grout from the tiles themselves.
Once everything is cleaned up and the grout is dry, your project is done! The only other thing you need to do is keep an eye out for something called "grout haze," which is a film that gets left behind after grout dries. To remove it and reveal a shiny surface, wipe your floor with a dry cheesecloth, damp towel, or diluted vinegar mixture.
