DIY Stunning Floating Shelves That Are Strong Enough To Hold Kitchen Supplies
We may receive a commission on purchases made from links.
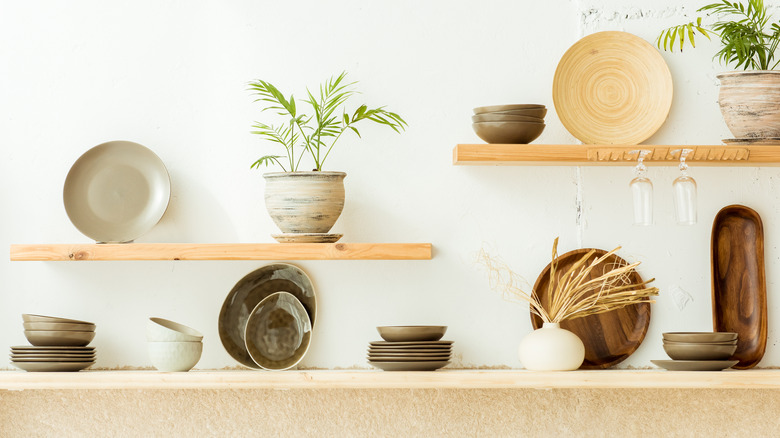
Simple and streamlined, classy and modern: floating kitchen shelves give the room a feeling of lightness. You can truly transform a space with floating shelves, but it's essential to make sure the function is as great as the form. If your kitchen storage won't hold stacks of dishes and bowls, there's really no point in putting in the time and effort. At first glance, floating shelves appear to be on the lightweight side. But even with lightweight materials, extra tough wall brackets make them much tougher than they appear.
Impressively-handy Melissa Woods shares the steps to crafting and hanging floating shelves on the YouTube channel Welcome to the Woods. Woods secures budget-friendly and truly lovely kitchen shelving to the walls with BATODA 10-inch heavy duty metal brackets that can hold up to 150 pounds each. You can copy Woods' durable design with a sheet of plywood, some power tools, and BATODA's burly brackets. Topped off with a few coats of stain and polyurethane, these shelves will stand the test of time. So, with some time and elbow grease, you can come away with DIY shelving that'll give your kitchen the storage space it needs.
Assemble your floating shelves
Get your own long-lasting floating kitchen shelves with a few sheets of plywood, a level, a circular saw, a stud finder, a drill with a drill bit and screwdriver head, and a nail gun. To copy Woods' double-layered design, you'll use two plywood panels of the same width and length. You can also simplify the design by only going with one layer of plywood. Woods fully hid the shelf brackets by cutting away the drywall along the studs, mounting the brackets directly to the studs, and resurfacing the cut area. This seamless look is stunning, but if that sounds daunting, you can still get a solid hold to the studs without removing drywall.
Attach one panel to the brackets through their undersides. Suspend one panel over the other with a series of 1-inch wood spacers, and cover the gap between the two panels with pieces of wood facing. Coat the faces that will be visible with a few layers of stain. Once the surface is no longer tacky, load up those shelves to test your handiwork!
Add your own stamp to your floating shelf
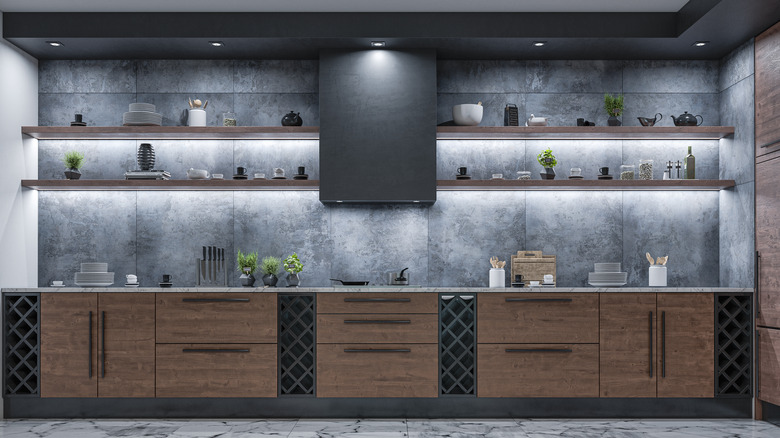
Along with storage space, it's hard to have too much light in your kitchen. One useful modification is attaching extra lighting to the undersides of your floating shelves. You can make it as simple as sticking up some rechargeable puck lighting or rectangular LED panels for task lighting. If you're more interested in visual effects than illuminating your workspace, borrow this trick for using LED lights to turn a basic shelf into a statement piece. Install battery-operated and trimmable illumination like LumBelle LED Adhesive Strip Lights to the seam between the wall and the underside of the shelf to add an alluring glow.
Wood grain is classic, and a few coats of rich stain are sure to make your wooden shelf pop. But maybe you're looking for something more modern or offbeat. A black paint, either matte or glossy, gives shelving a modern polish that blends beautifully into sleek kitchen fittings. You can also go in the opposite direction with a bold and unexpected hue like red or yellow.
You can make some tweaks to the wood you use, as well. Instead of facing your shelves with flat trim, try decorative molding or trim. Since the brackets make all the difference, why not find cuts of live-edge wood to hang? A light or clear stain is all you'll need to make these pieces of nature stand out.

