The Best Ways To Secure Paver Landscape Edging For Longer-Lasting Borders
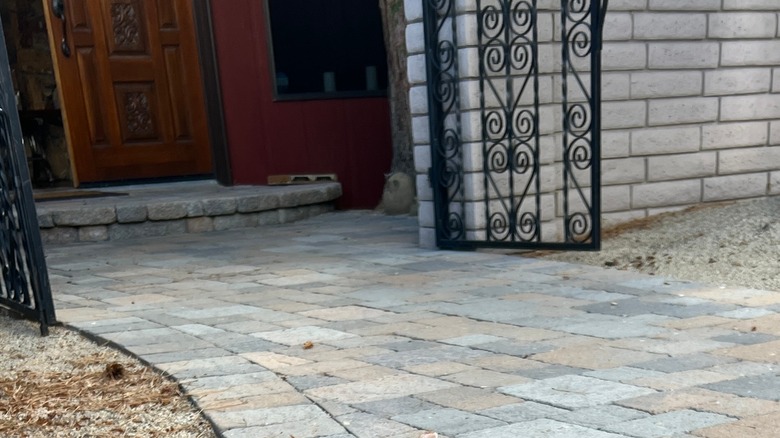
So, you've spent all that time (and, let's be honest, quite a bit of cash) setting up the perfect paver landscape edging. Those lovely little borders help keep everything in place: mulch stays where it belongs, flower beds don't spill over, and lawns have a neat, defined edge. But, like anything located outdoors, paver edges can shift, sink, or move over time. Imagine spending hours perfecting a garden only to see it all lean, shift, and spread as the months go by. If you want to create a paver edge that stands the test of time, properly securing it can make a big difference.
Paver landscape edging isn't just about looking good — it also helps prevent soil, mulch, and stones from sliding into unwanted areas and maintains the clean, separated look between garden sections. Without secure edging, you're left with a chaotic mix of garden materials, and it's hard to keep plants in their own space. Plus, if edges start to loosen or shift, it's a bit like inviting weeds to crash your garden party.
When securing paver edging, it is essential to consider how it will hold up through different seasons. Rain and sunshine can mess with hardened pavers, making them shift and move over time. You'll want materials that can handle it without giving up on you. Also, think about how deep you want the pavers to sit and whether the edge will need extra stability on sloped ground. With those basics out the way, let's check out the methods that keep paver edging in top shape.
Secure your pavers with a concrete base
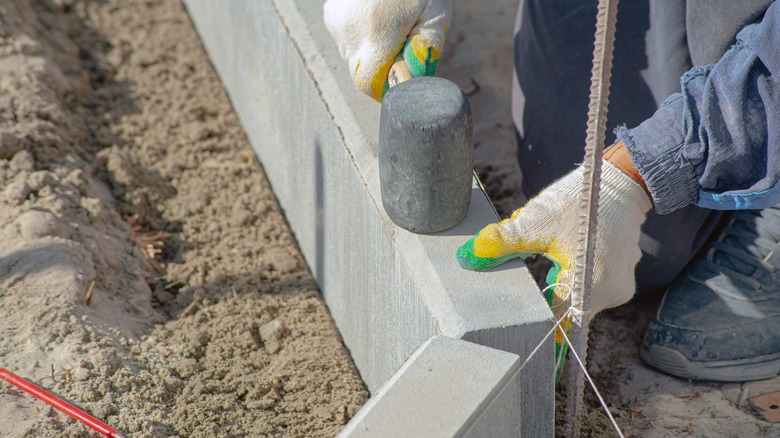
A concrete base might sound like overkill, but if you want paver edging that practically laughs in the face of shifting soil, this is the method for you. Concrete provides a stable, solid foundation that locks your pavers in place. Before you mix up the concrete, it's essential to ensure the ground is properly leveled and cleared. No one likes surprises, so roots, rocks, or debris should be removed first. Then, measure the width of the concrete used -– making it about as wide as your pavers so they sit comfortably on top. This prep work might feel like extra effort, but it strengthens this foundation.
Once the site is prepped, it's time to mix and pour. Start by creating a smooth trench along the edge where your pavers will sit, and then pour in the concrete mix. Smooth it out, and make sure it's even along the entire length. Allow the concrete to set a bit before lacing your pavers on top. After a bit of drying time, your pavers will be rock-solid.
Consider edge restraints
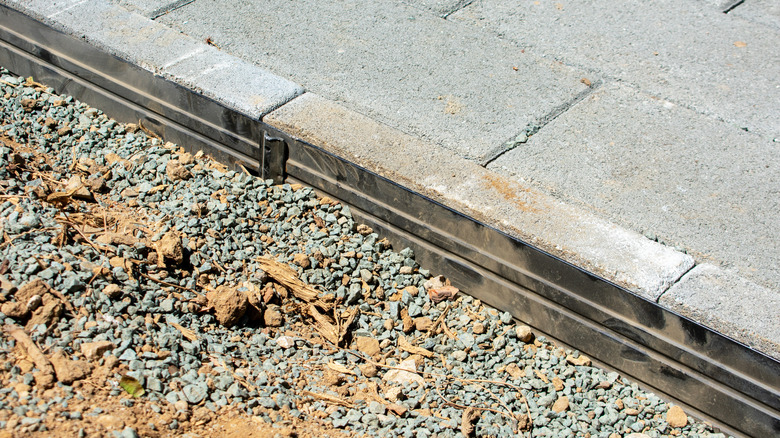
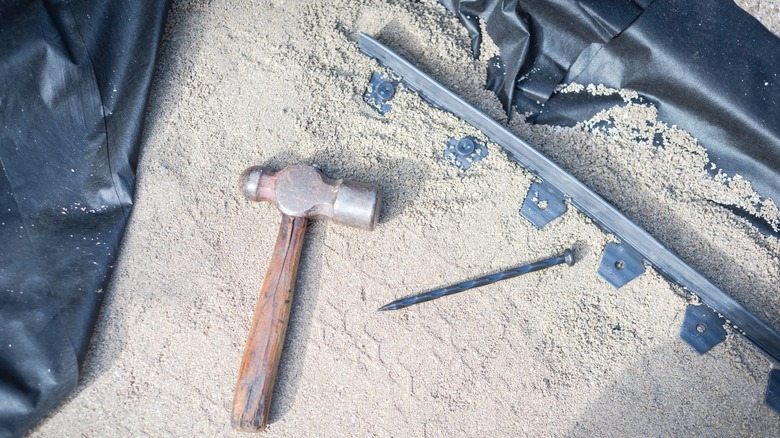
Edge restraints are another great option if the thought of pouring concrete doesn't excite you. This type of restraint consists of plastic or metal strips you line up along the paver borders. These little strips might look simple, but they pack a punch when it comes to keeping your pavers in line.
One of the best things about edge restraints is how straightforward they are to install. Just position them around the edges of your pavers, secure them with landscape spikes, and that's it. They are also flexible, meaning they can curve along any design you have in mind — whether straight or rounded. The restraint hugs the pavers in place, so you don't have to worry about them drifting off or separating over time.
If you want an extra dose of security, add a few more spikes along the length of the edge restraint. Ensure the spikes are driven into the ground deep enough to prevent movement. This method is fast, effective, and keeps your pavers nice and snug.
Backfill with soil or gravel
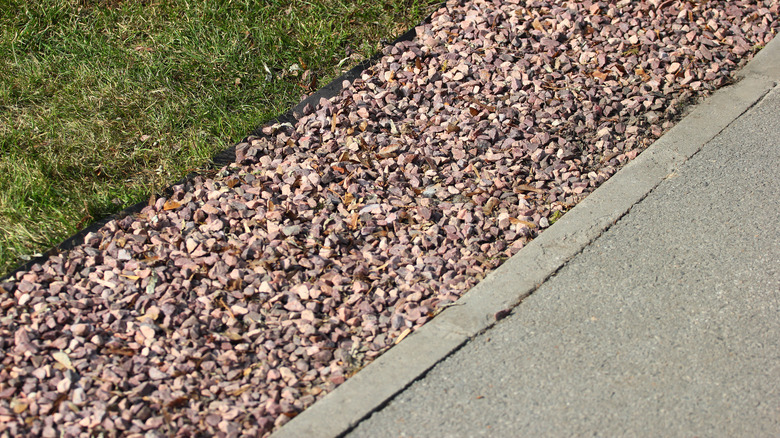
Another method to secure your paver landscape edging is to backfill with soil or gravel. This approach involves placing soil or gravel up against the paver edge, creating a kind of buffer that holds the pavers in place. After laying down your pavers, add a few inches of backfill behind them. Tamp down the soil or gravel to ensure it's compact and won't shift quickly. While this method doesn't sound fancy, it's surprisingly effective, especially for smaller areas that don't see a lot of foot traffic.
Backfilling is not just about holding the edge; it's about blending the pavers into the landscape. Soil can make the pavers look more natural, while gravel adds a nice decorative touch. Plus, gravel offers excellent drainage, which is especially helpful if your garden gets a lot of rain. By keeping the pavers snuggly pressed into place, this method works to stop movement without needing concrete or heavy-duty spikes. The choice between soil and gravel depends on your landscape style and needs. Soil is great if you want a natural look that blends in with garden beds, while gravel provides better drainage and keeps moisture from collecting.
Bedding sand for edging
Bedding sand is like the secret sauce for stable paver edging. It provides a soft but supportive base that keeps pavers from moving, all while absorbing minor ground shifts. Bedding sand is easy to use, affordable, and blends naturally into the landscape, making it a solid choice for keeping edges secure.
Dig out a shallow trench along the edge of your paver line to get started with bedding sand. Spread a layer of sand that's about an inch or two thick. This layer will act like a cushion, allowing your pavers to settle comfortably, while holding them in place. Make sure it's smooth before setting down your pavers. Once the sand is laid, use a tamper or walk over it to ensure compactness. This helps the sand create a firm base that won't shift with light foot traffic or weather changes. This method takes little time, but adds a lot of stability to your landscape borders.
The benefit of using sand as a base is that it's easy to work with and adjust. It also allows for a nice, snug fit without the rigidity of concrete. However, it's worth noting that this method is better suited to areas with minimal heavy traffic, as the sand can shift slightly over time. If you're using sand, be prepared to check and refresh it occasionally for long-lasting results.
Paver spikes for your paver edges
Paver spikes are long, sturdy pins that go straight into the ground to lock pavers in place. They are ideal for those who want a fast, easy solution that doesn't require mixing concrete or leveling sand. To use paver spikes, arrange your pavers and edge restraints as desired. Then, every 12 inches or so, drive a spike through the edge restraint into the ground. The spikes will hold the pavers in place, even with slight movement in the soil or weather changes. It's like using a giant nail to hold everything down, ensuring that your pavers stay exactly where you want them.
With paver spikes, you get a quick and reliable way to secure your edging that'll keep your healthy garden looking top-notch for years. Just make sure to choose the right size spikes for your pavers, and you'll have a sturdy, long-lasting edge that stays put — rain or shine.
