The 19 Ways To Repurpose Your Old Holiday Greeting Cards
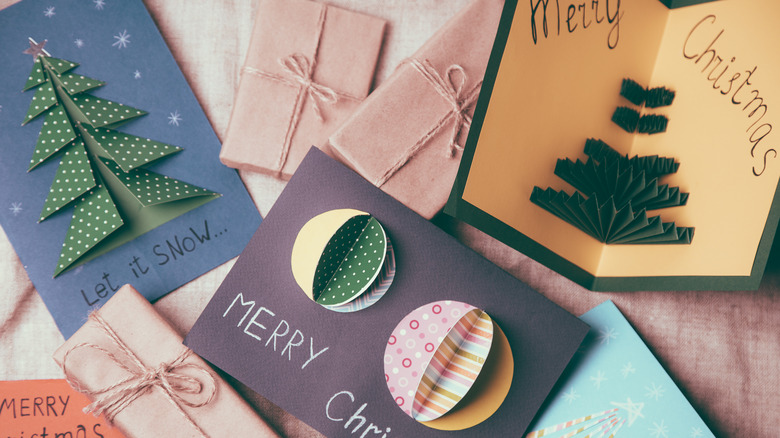
Greeting cards are a great way to let someone know you're thinking of them and add a customized touch to your holidays. Unfortunately, they're probably just taking up space. But instead of chucking them in the trash bin, repurpose them to give them a new lease on life. This serves two purposes — actively reducing waste and crafting new things for free. Ready to get started? One of the easiest ways to reuse your old cards is to gift them to someone else (just bear in mind this idea will only work if they don't feature dates, names, or personalized notes). Repurpose them as gift tags, bookmarks, place cards, envelopes, and more.
If you can imagine it, chances are you can fashion it out of the cards. Don't worry — you don't have to go looking for ideas. We've curated a list of the best ways to repurpose them. The best part is you don't have to be an expert at crafting or have any fancy tools. Most of these ideas just require a sharp pair of scissors and strong glue. So, grab your stash and keep reading to learn the 19 ways you can upcycle your old holiday greeting cards.
Create gift tags, wine bottle tags, or present toppers
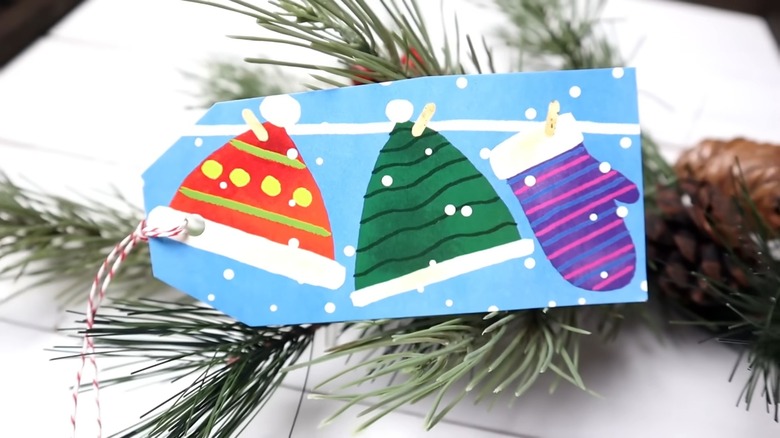
Why spend money on holiday-themed gift tags when you can DIY them for free? Just get your old greeting cards and cut out the desired shape. From here, loop in leftover twine or ribbon from your other projects. If you don't have any, get a three-pack of Crafter's Square Colorful Baker's Twine from Dollar Tree for $1.25. Similarly, if you're bringing wine to your fancy neighbor's housewarming party, select a card that matches the occassion and trim it down to size. A fancy scissor can also help you make a topper for your presents.
Fashion cute bookmarks
This idea is perfect for book lovers who don't want to throw away their old cards but lack the space to keep them. A few snips and you can immortalize them as pretty bookmarks. The easiest way is to cut a rectangle and use it to keep track of the pages you've read. There's no right or wrong way to do it. You can use the pretty designs at the front or cut out the heartfelt greetings from the inside — your choice. But if you want the best of both worlds, cut them out together for a flap-like design.
Make a holiday-themed garland
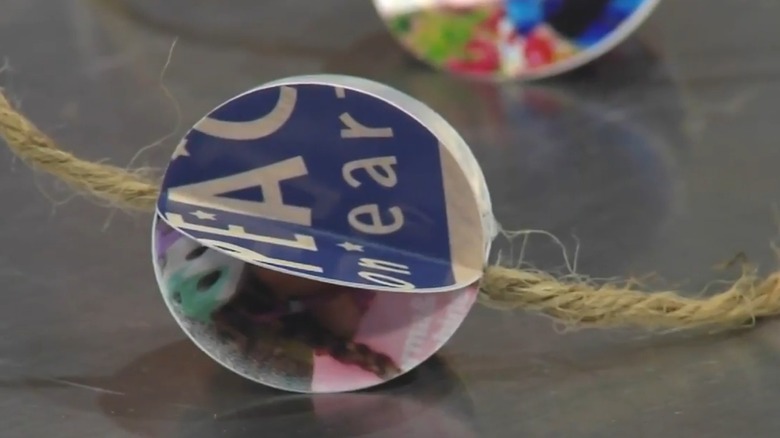
If you like hanging themed garlands for holidays like Halloween, Thanksgiving, and Christmas, use your greeting cards to decorate your home. You just need some glue, a ribbon, and your trusty pair of scissors. This DIY is really simple. Just cut a few cards into the preferred shape and glue them onto the ribbon. Have fun with the designs — try making conifer trees for Christmas-esque garlands, pumpkins for fall, creepy skulls for Halloween, and bunnies for Easter.
Design a beautiful indoor wreath
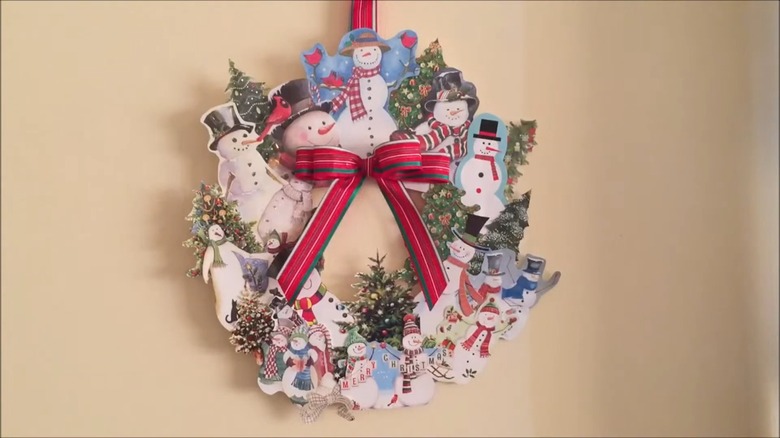
Add a dash of color and nostalgia to your home with a greeting card wreath. Decide on the theme you want to display and trim your cards accordingly. For instance, if you like decorating early for Valentine's Day, mini heart-shaped cards will do the trick. Similarly, a pumpkin-inspired shape will work wonders for fall, while a colorful arrangement is great for summertime. As for end-of-year festivities, bells and whistles work for Christmas and New Year. Add other decorative elements like hearts, tinsels, tiny pumpkins, miniature whistles, or sneaky wall signs to glam up your wreath.
DIY gorgeous gift pouches
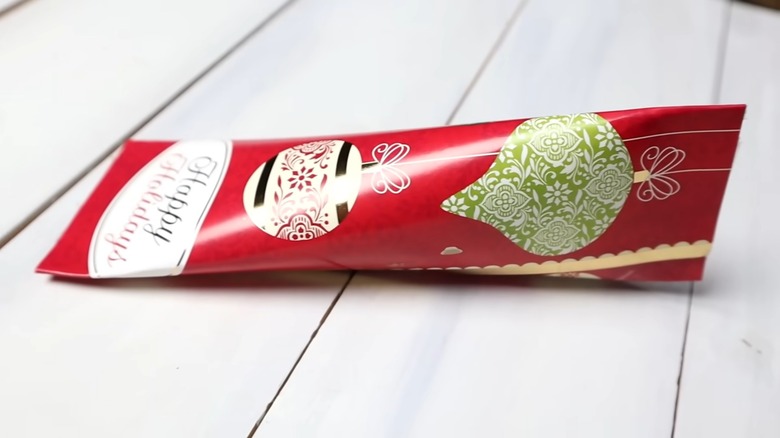
Need a gift pouch this holiday season but aren't keen on spending money on one? Bust out your old greeting cards and get crafting. Start by cutting off the back portion of the card and folding the front into a cylindrical tube. Now, fix the sides together with hot glue and tape to be 100% sure the tunnel won't open up midway and spill its contents. Afterward, pinch one open end shut, glue it closed, and add items inside the other end before securing it shut too. Voila! Your gift pouch is ready. You can even wrap tiny gifts in the old cards.
Craft gorgeous coasters for your dining and coffee tables
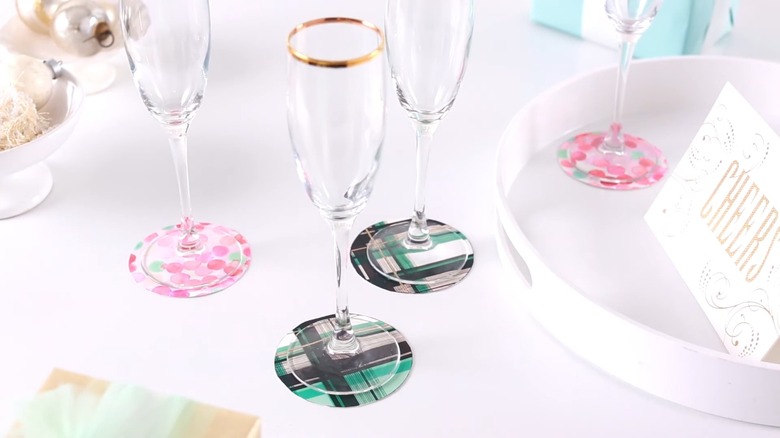
Making gorgeous coasters out of your old greeting cards is incredibly simple. Get a wide-mouthed glass (or mug), turn it upside down, and trace its shape on a card. Now, get a sharp pair of scissors, trim out the figure, and your coasters are ready for use. The only drawback? They won't last long since they're susceptible to water damage. To ensure your coasters last longer than a few days, coat the front and back with waterproof Mod Podge to keep moisture out.
Frame the special greeting cards
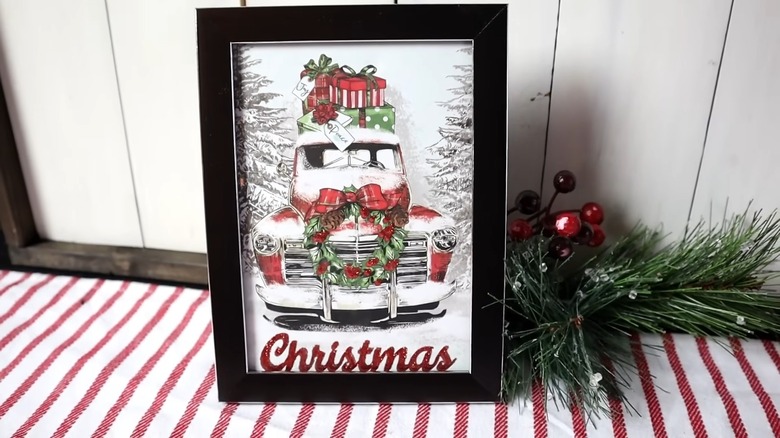
Have a few greeting cards you wouldn't mind glancing at every now and then? If you answered yes, frame and display them around your house. Just use one of your old photo frames or get a simple one from Dollar Tree for $1.25. Take out the placeholder picture and measure and trim your card accordingly. You might have to take out the mat, too, if the card is bigger than the stock photo. Not a big fan of Dollar Tree frames? Try a few of these DIYs to decorate your home with pictures for less.
Build a sturdy basket
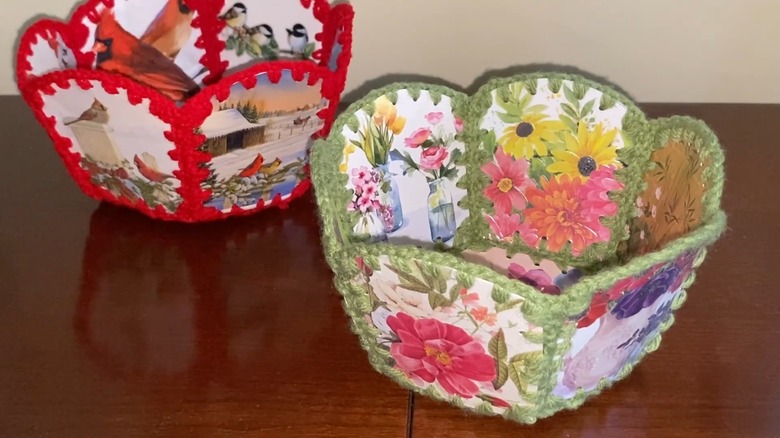
If you're fluent in sewing and crocheting, you can make a basket from your old greeting cards in no time. All you need to do is cut out the patterns you want, punch holes along their sides, and weave them all together with yarn. However, if you're not comfortable sewing, make super glue or E6000 your best friend for the day and stick the pieces together to resemble a basket. Once the adhesive dries, decorate the edges with yarn, twine, or ribbon to turn your simple containers into works of art.
Turn your greeting cards into decorative boxes
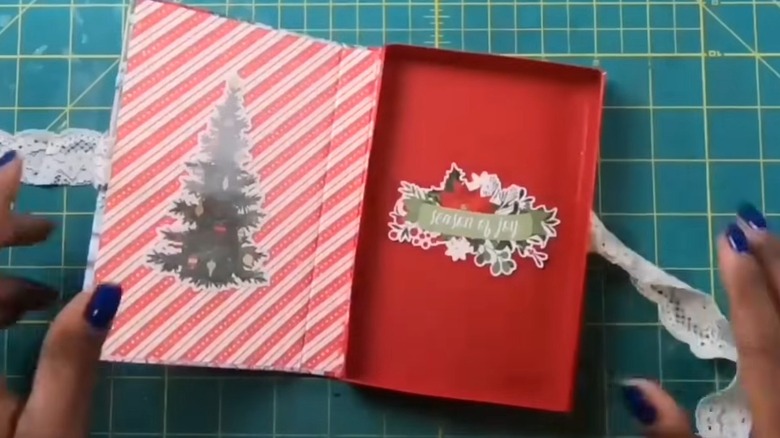
If you need tiny boxes to store various knickknacks around the home, get out your greeting cards to DIY a few. Pick the prettiest of the bunch to serve as the face and use another sturdy piece to craft the compartment itself (you can even use removable boxes from store-bought containers). If you're DIY-ing the box, there are many ways you can go about it, but the simplest is to cut the corners at an angle, leaving small strips that act as tabs to attach each side together with glue. Afterward, fold the edges over themselves and line your card's insides with decorative paper or another card. Finally, attach ribbons or lace and glue the bottom of the box to the back side of your face card so the front can fold over the top of the container.
Deck out your Christmas tree with greeting card ornaments
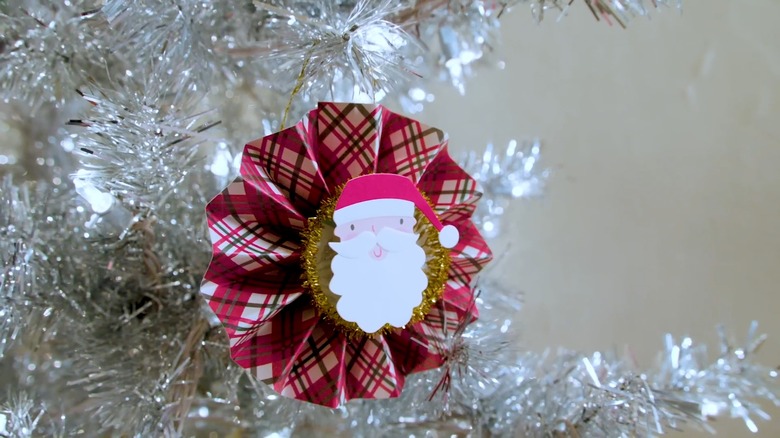
Looking for ways to have a sustainable Christmas in your home? Create cute ornaments for your tree using your old greeting cards. You'll need two for this. One will serve as the base and the other will add decorative touches. So pick one simple card and another that features showy elements like bows, bells, whistles, Santa, or his workers (aka reindeers). Cut the first card into two strips, fold them like you would a paper fan, and attach the ends together. Finally, glue a ribbon at the back and pop some decorative elements from the other card in the middle.
Gift yourself a holiday-themed notepad
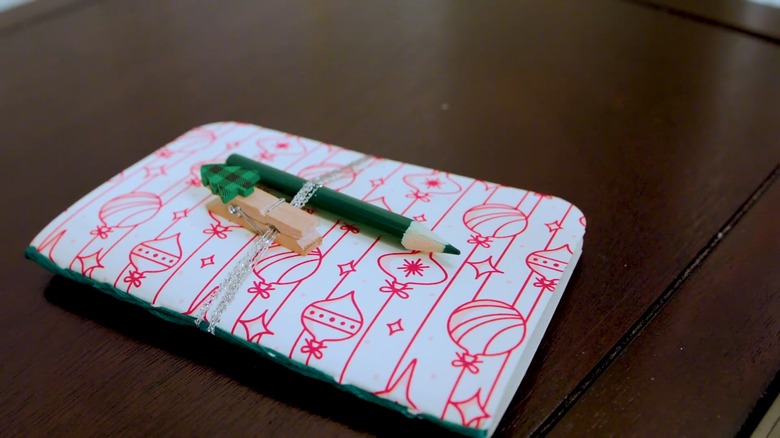
This idea is perfect for anyone who likes making lists and can't live without their pocket notebooks. Grab a few A4-sized sheets (or whatever you have handy) and cut them per your card's dimensions. Remember: You want each page to be slightly smaller than the card or they'll pop out through the edges of your cover. Poke holes vertically down the middle of the pages and card, sew them together, and bam — your notebook is ready. If you aren't comfortable going the sewing route, simply glue a stack of sticky notes to the card (Dollar Tree retails them for $1.25).
Make an envelope for your gift cards
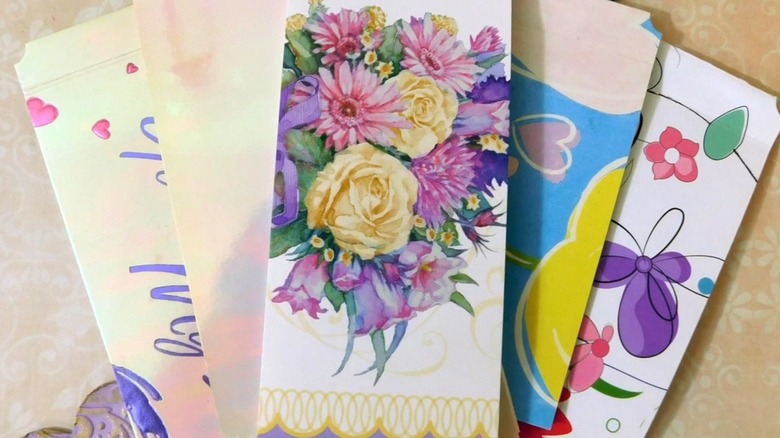
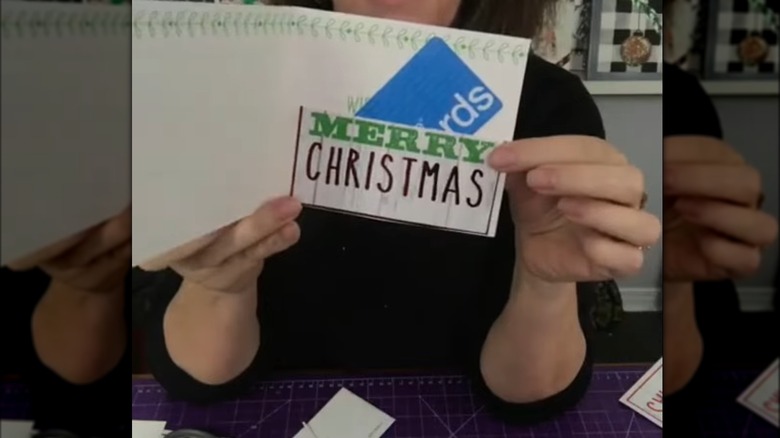
Getting your loved ones gift cards for the holidays can be tricky, especially if you don't know exactly where they like to shop. Luckily, you can soften the blow of potential failure with holiday-themed envelopes. You just need some glue, scissors, and your old greeting cards. Cut out a rectangular piece from one of them — preferably something with some festive lettering (see above) — and apply glue to its two sides and bottom. Now, stick it inside one of your cards and pop in your gift card. Feel free to cut your greeting cards to shape as needed.
Create a magnetic diorama
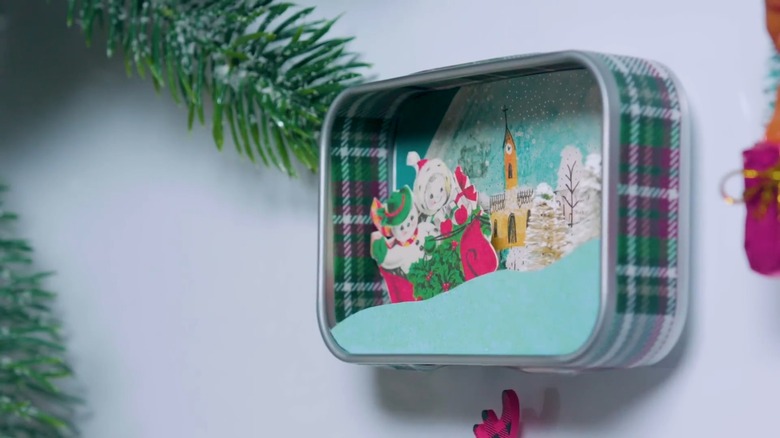
Decorate your fridge with tiny dioramas inspired by your holiday cards. The easiest way is to cut out a scene or element that brings you joy, attach a magnetic button to its back (Dollar Tree retails them for $1.25), and stick it on the desired surface. But if you'd like to DIY a 3D diorama, get an empty tin box and some foam tape. Now, let your imagination run wild to create a scene that'll put a smile on your face every time you look at it. Feel free to use miniature trees, craft tape, and ribbons to bring your diorama to life.
Spruce up your plain cutting boards
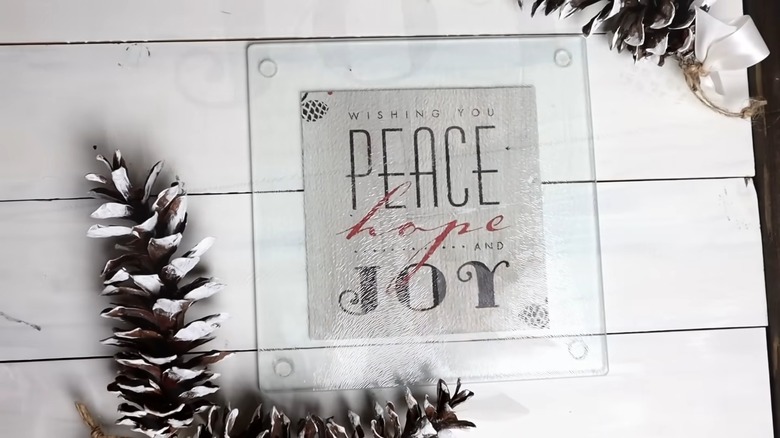
If you're thinking of replacing your plain cutting board with something a bit more fancy, you're in luck — just attach an old greeting card to the back to decorate your existing design. Start by cutting out a piece that matches your board's dimensions. For instance, if your model is square, cut out a similar shape. Now, grab your bottle of Mod Podge and apply a generous amount to the back of the board before sticking the card on top. Once the mixture is cured, apply another layer to be safe. You can even try propping it against your counter as a decor item. Just remember to avoid washing the board — wipe it clean with a towel after use.
Prettify your glass jars
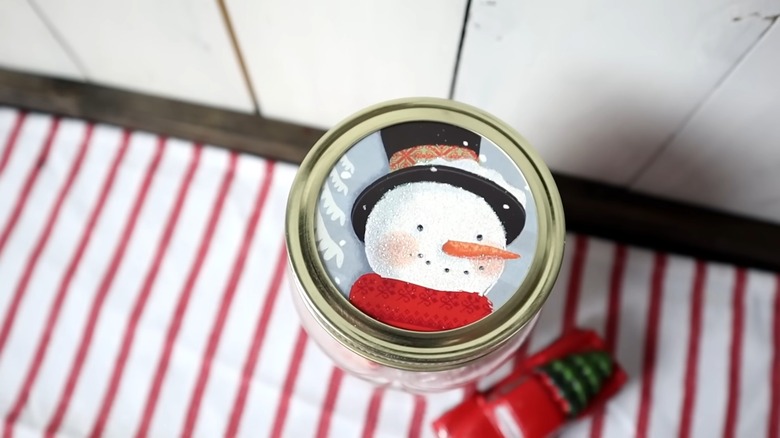
Repurposing jars for clever storage in your home? Why not prettify their lids while you're at it? Get started by grabbing your glass jars and a card with decorative elements. Poke out the inner circle of the lid and trace it around the card for a perfect fit. Now, cut out the traced shape and pop it into place. Note that this method will only work if your lid has removable parts. If it doesn't, just glue the cut part of your card on top of it to prettify your jar.
DIY a decorative sign using scrap wood and old greeting card
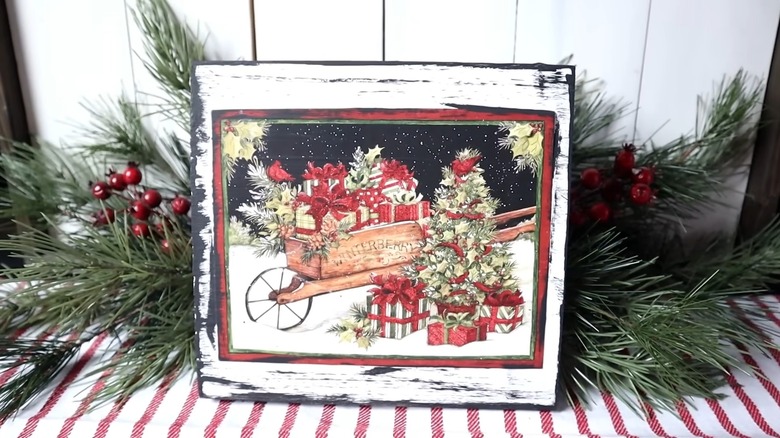
Have you been reserving a scrap piece of wood in the hopes it might prove useful someday? Well, that day has arrived. Go get the slab and paint it in your preferred shade. Brownie points if the coat matches the base tone of your card. Now, apply a generous layer of Mod Podge to the wood and stick your card on top (just the graphic part — you can remove the back). Once it cures, add another layer of the mixture to seal it in and your sign is ready. Add string lights or paint around the edges to really make the sign pop.
Craft a matchbox advent calendar
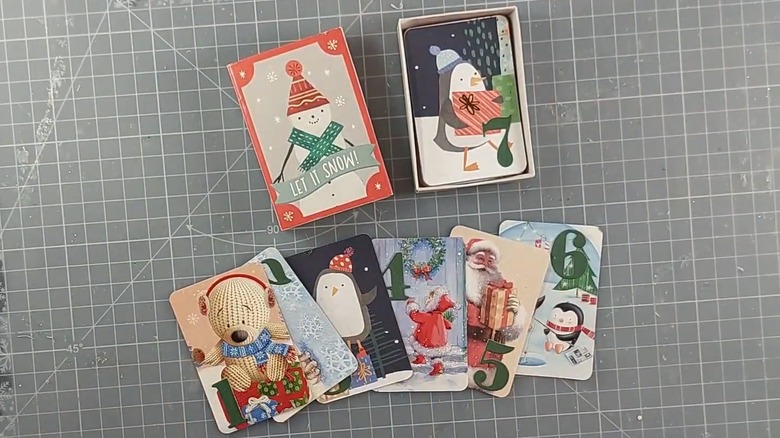
Advent calendars are fun, but maybe you aren't too keen on buying a new one each year. Well, the solution is simple: Craft your own with your old greeting cards, provided you have some spare time. You'll save money on the calendar and put your old cards to use. Win-win. The first step is to find a house — like a matchbox or tin container — for the days of the month. Now, cut out the cards based on the box's dimensions, number them from 1 to 31 (or 30, 28, or 29, depending on the month), and slide them into the receptacle.
Upgrade your boring candles into a holiday-inspired statement piece
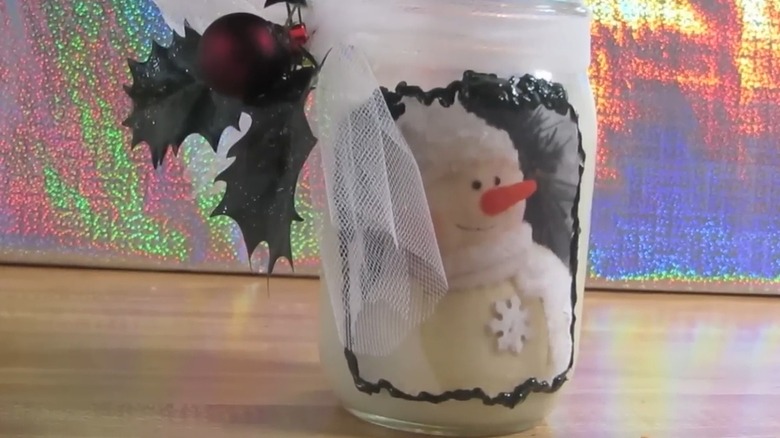
Why light up plain candles on holidays when you can customize them? Get an old greeting card and cut out the decorative graphic. Now, measure it against the candle and trim it accordingly. Apply some Mod Podge to the glass and attach the image on top. After it cures, apply another layer of the mixture to seal the graphic. If you want a dated or distressed look, ensure the image doesn't feature clean lines and add some dimensional paint around the edges to sell your story.
Make a tree topper for your Christmas tree
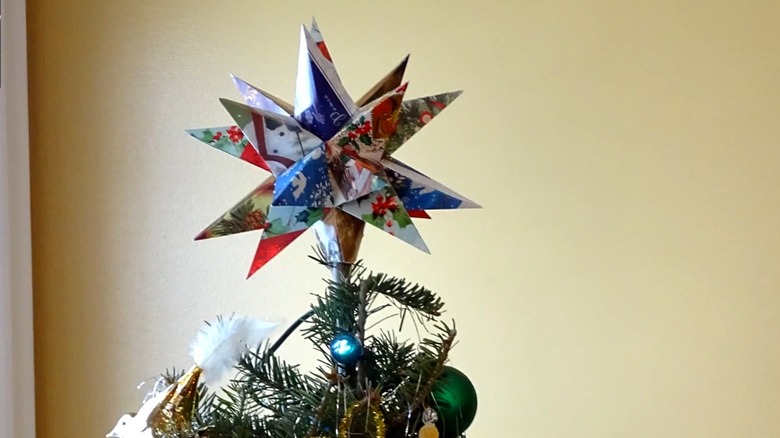
A meaningful star on top of your Christmas tree this year can really set the holiday mood. Set some time aside and grab your X-Acto knife, a couple of old greeting cards, and a hot glue gun. You'll also need a pen and white paper to trace the shapes. Create a 3D diamond out of one of the papers (this is the base) and a triangle out of the other. Now, use the triangle to trace out similar shapes from your greeting cards. Once you have enough, glue them to your base and pop the finished topper onto your tree.
