The Simple Method That'll Help You Level The Ground For Pavers With Minimal Digging
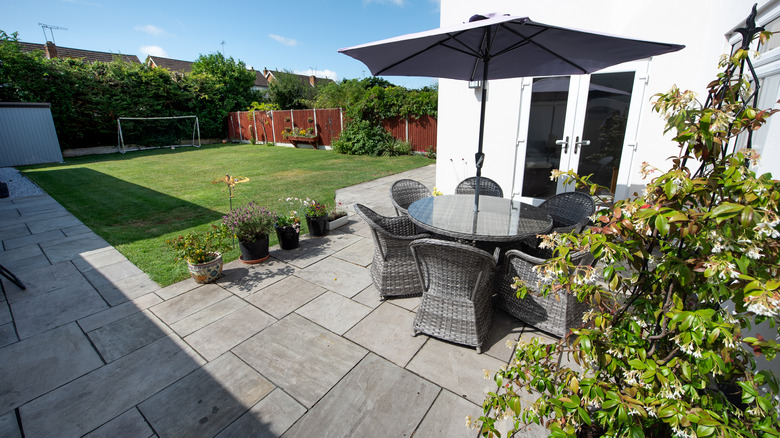
Whether you're installing a footpath through your lawn, creating a patio, or DIYing a garden hangout spot, DIY paver projects can instantly elevate your yard. In fact, they can even add value to your home if you plan to sell in the future; after all, outdoor space was the third most-important factor for homebuyers in 2021 (per a survey from Homelight Blog), and this continues to be an important consideration today. Imagine a line of rough-hewn stone pavers that guide someone through a carefully-manicured space or a patio with an umbrella and a warm drink on a cool morning. Sounds nice, right? However, there are a few things you should know before you start installing pavers. It can be a labor-intensive chore, especially if the ground isn't level. Some digging will be required, but if the ground is already relatively flat, you can minimize your labor by simply removing a small amount of topsoil and adding a layer of sand.
Most people will recommend removing about 6 inches of soil before laying down pavers, but if you want a less labor-intensive project, you can remove just less than an inch of dirt instead. However, it's crucial to keep in mind that this paver project may not last as long if you don't dig as deep, as it won't have as much support. Furthermore, this would not be a good idea for areas that will receive heavy foot traffic or places that will need to support heavy items like machinery or cars. Instead, this is a good solution for those who primarily want to beautify their yard with pavers.
Level a space for pavers by removing topsoil and spreading sand
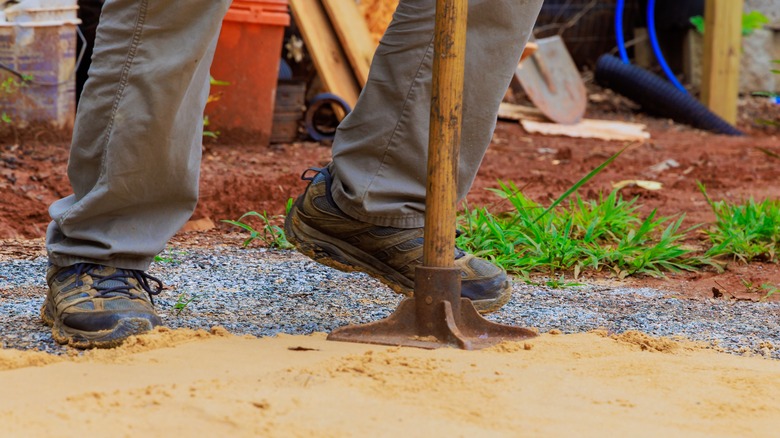
Start the process by determining where you want your pavers to go and mapping out the space. Add a couple feet around the edge of this area, then remove the top ¾ inch of soil with a shovel from the space you've marked out. The topsoil can be stored and reused in simple ways around the garden. After this, use a plate compactor to tamp down the soil and create an even surface. Next, spread a ¾-inch layer of sand and tamp it down as well.
Ensure that this is level but still has a slight slope, as this will promote drainage. A lawn leveling rake can help evenly spread sand over the workspace. After the area is leveled to your satisfaction, place the pavers down. If you're creating a walking path, aim for a placement that's roughly 24 inches apart from center to center. That's enough space for the average person to walk comfortably.
Once you place the pavers, verify that they sit level on the ground. Don't be surprised if a few need slight adjustments to lie flat. You can use a soft rubber mallet or even your feet to gently adjust each slab, tapping down on the sides. Optionally, after the pavers are in place, you can choose to fill in the space around them. Paver projects can take several days to complete. You might work up a sweat, but it's still far less of a workout than having to excavate the area.

