Get Organized By Building Adjustable Storage Shelves For Your Garage
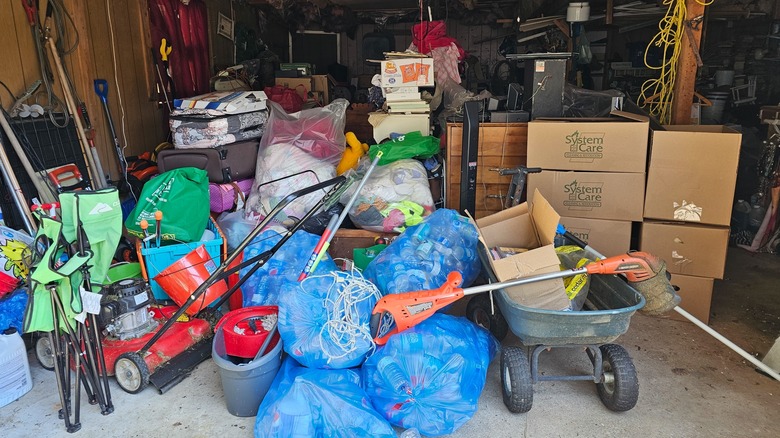
The garage. For some, it's a sanctuary for hobbies; for others, it's a graveyard of long-term items gathering dirt. Whatever the case, the garage often becomes a cluttered mess over time. They tend to fill up with tools, seasonal decorations, sports gear, and the infamous "miscellaneous" box. But imagine if all of that was neatly stored on adjustable shelves. You don't have to be a master carpenter to pull this off — all you need to do is create the frame of your shelving unit with 2x4s, and then use sheets of OSB (Oriented Strand Board) for the adjustable shelves.
The beauty of adjustable shelves is the flexibility they provide. If you're like most people, your storage needs seem to change every month. One day, it's all about storing holiday decorations; the next, you need a spot for gardening tools. Adjustable shelves can be moved up or down to make space for different-sized items, meaning you won't have to cram things into awkward spots or stack them precariously. This flexibility makes your garage more accessible and convenient, letting you find things quickly and easily without a scavenger hunt every time.
Aside from convenience, adjustable shelves also contribute to safety by helping reduce accidents. A cluttered garage can be hazardous, especially when heavy or sharp items are involved. With adjustable shelving, you can ensure everything has its place and isn't stacked in ways that could lead to falls or injuries. Storing items like tools, sports gear, and seasonal decorations on sturdy, organized shelves minimize tripping hazards and the risk of things toppling down.
How to build adjustable storage shelves for your garage
Building adjustable storage shelves might sound like a tall order, but it is really quite simple. You'll need some basic supplies like wood, a saw, and some screws. To ensure your garage storage shelves are strong, you'll need 11 2x4s, and a 4x8 sheet of OSB. Start by cutting six pieces for the legs, each about 6 feet long. You'll also need shorter pieces for the shelf supports and brackets, so go ahead and cut some boards to the appropriate sizes.
To assemble, connect the legs with crossbars to form a sturdy frame. Place the crossbars at the top, middle, and bottom, ensuring they are securely attached. Pocket screws are a great choice for assembly since they will provide strength and keep your structure from looking too rugged. Add shelf supports along each side once you have the basic frame, spacing them to fit your items. Remember, these shelves should be adjustable, so leave a little room to move the supports around as needed. By the end of this step, you'll have what looks like a ladder, perfect for sliding in and adjusting shelves to suit your storage needs.
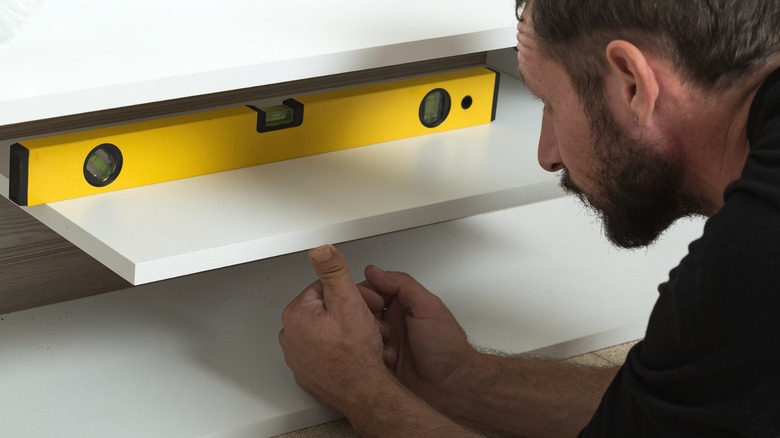
It's now time to add the actual shelves. Using OSB or plywood for the shelving surface is cost-effective. Cut each board to size and fit them onto the supports. You might want to add a little ledge for smaller pieces of wood so each shelf can sit securely on its support. If you prefer a polished look, a quick coat of paint or stain can go a long way.
Consider these tips when building adjustable garage shelves
When building adjustable garage shelves, you need to pick the right materials, plan your spacing, and keep safety in mind. Not all materials used in making adjustable garage shelving are created equal. Skip the flimsy stuff and opt for wood types that can handle the ups and downs of heavy-duty storage –treated plywood or hardwood can hold up against temperature swings and humidity, so your masterpiece doesn't end up warping overtime.
Adjustable shelves give you freedom, but don't just slap them up without a plan. Think about what you're storing: tools, paint cans, bulky bins — each requires space. Rather than a one-size-fits-all approach, use measuring tape and imagine how each item would best fit. When measuring, remember to do so twice and cut once.
Most importantly, safety first! When loaded up, shelves can get a bit, well, rebellious. Once you're happy with your shelves, secure the structure to the wall with brackets or anchors. Another safety tip is to store heavier items lower to keep balance in check and avoid placing anything too valuable or fragile on the top. Also, save yourself the circus act of balancing on boxes and store frequently used items at a comfortable height. Adding a few adjustable hooks or bins below the shelving system keeps smaller items at a comfortable height, which is a win for everyone involved.

