How To Install Brick Paver Edges For Your Garden Beds
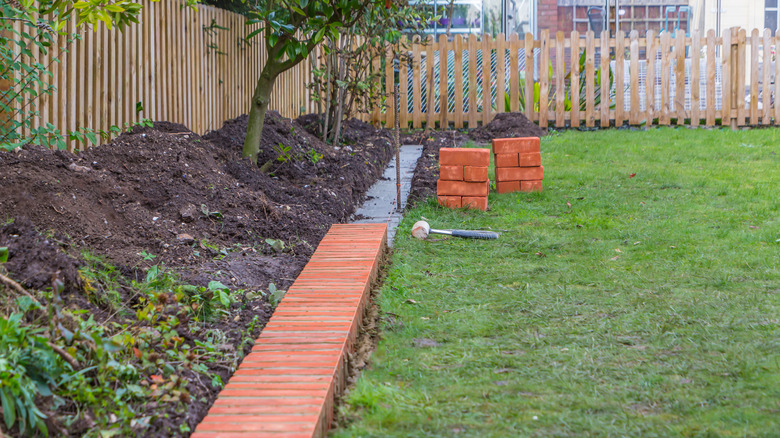
When installed correctly, brick pavers create a clean edge around your garden beds that lasts for years. In addition to helping define spaces and add a more formal look to your garden, using pavers to edge your lawn can help keep grass out and contain other plants that might otherwise spread aggressively. That includes preventing your grass lawn from creeping into your garden beds. With so many colors and styles of brick pavers available, you can create a tidy border that matches the overall aesthetic of your garden. From classic red bricks to rustic pavers, you'll definitely be able to find the perfect look to accent your flower beds. It's also a great way to repurpose old pavers in your yard if you've recently remodeled or have leftover materials from another project.
Even if you haven't done much DIY in your home or garden yet, installing a brick paver edge around garden beds is a relatively easy and forgiving beginner project to take on. All you need are the brick pavers, some landscape adhesive, a shovel, and plenty of patience to take your time during each step of the process. The key is to plan and measure the layout correctly to ensure you buy enough materials and achieve the desired look. Once you have the plan and materials in place, you can probably install the paver edges in a single weekend.
Planning your brick paver garden edge
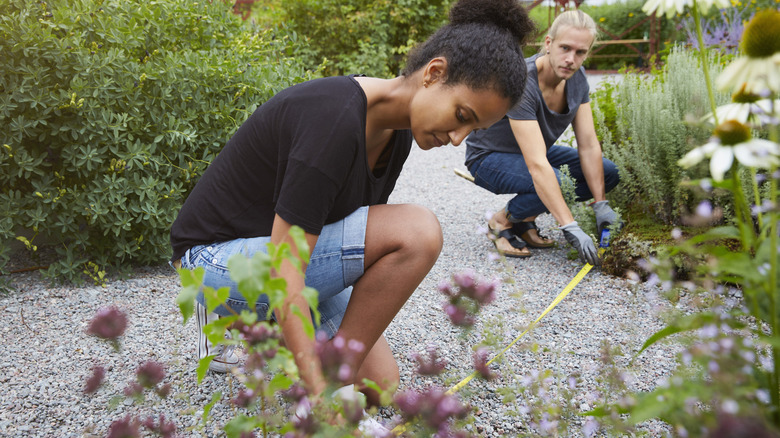
To start, grab some rope or string and a measuring tape. Lay the rope along the edge of your garden beds, making sure to bend it with the contours of the bed. Once you've traced the entire edge with rope, use a piece of tape to mark its location at the end of the bed. Then, pull the rope straight so you can measure it. That's the length of your edge.
If you're creating new beds, use the rope to create an outline of the bed in its intended spot. This is the time to play around with different shapes and sizes to better visualize what will look best in the space. Once you've landed on the dimensions you like, mark with tape and measure. Then, note the measurements on your sketch.
With these measurements, you can calculate how many brick pavers you should buy. Divide the total length of edging by the length of the brick pavers you want to use to find the number of bricks you need. If you'll be stacking multiple layers, multiply the initial quantity by the number of layers you're adding. Finally, buy the rest of the supplies you need for the project, like paver base material and landscaping adhesive. If you don't already have them on hand, you also need to buy a shovel, level, rubber mallet, wood stakes, and string.
Installing your brick paver garden edge
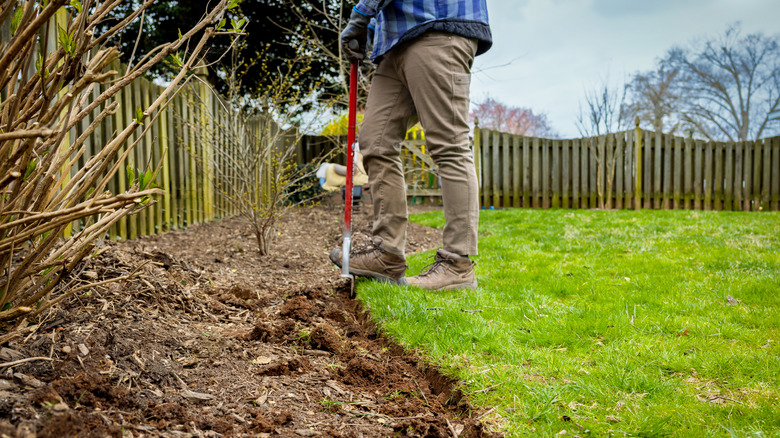
With all your supplies assembled, it's time to start digging. For sharp DIY lawn edging, use a flat-edged shovel to dig a trench along the entire edge. The trench should be between 4 and 6 inches deep and a few inches wider than the brick pavers you're using. While it doesn't need to be perfectly level, try to flatten and tamp the trench bottom a bit with your shovel or using a tamper tool.
Next, you'll pack in your paver base material. Usually a mixture of sand stone, pour in a 2- to 4-inch layer of the material into the trench. Use a plank to scrape it smooth and check that the base material is level along the entire trench. This is the part that's worth taking your time on — you need a stable, level base so that your bricks won't shift or become dislodged later.
Once the base is level, you can start setting your brick pavers on top. After laying the course, set the level on top of the pavers and tamp them down with a rubber mallet until they are even. If you're stacking additional courses, apply one or two lines of landscape adhesive across the top of your bricks. Check the cure time on the adhesive packaging. If you know you can place the entire second layer of bricks before it dries, go ahead and apply it across the full length of your edging. If not, work in sections. Once you've finished all the paver courses, you're done. Just make sure your edging isn't disturbed while the adhesive is curing.


