Light Up Your Home With A Stunning Wall Sconce Made From Dollar Tree Cones
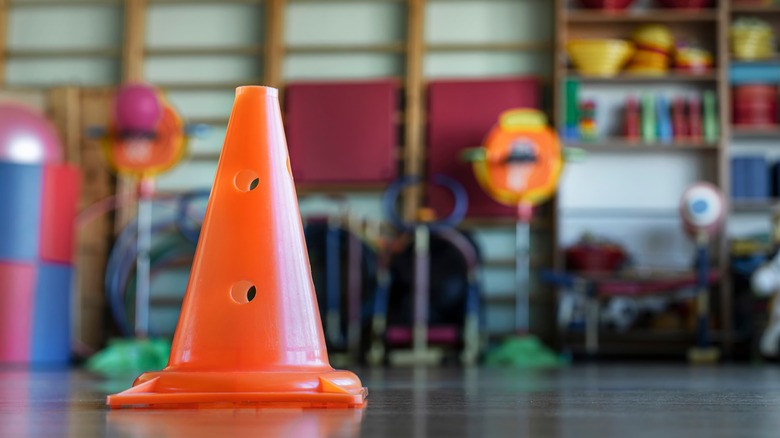
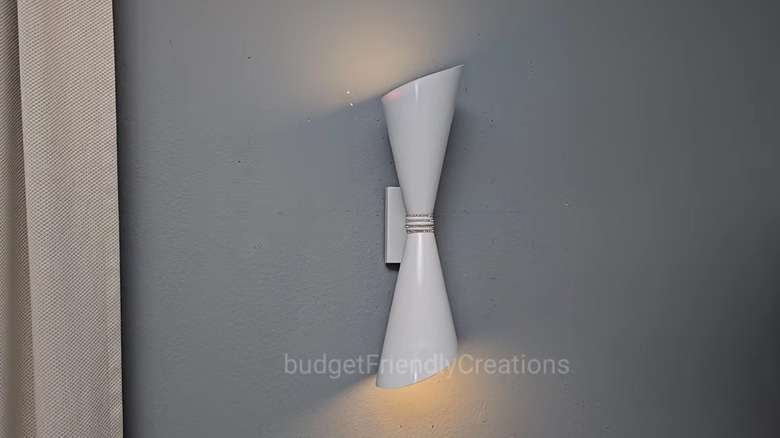
Mid-century modern design will never go out of style. Lovers of this timeless look rejoice at finding vintage décor pieces, but they can be challenging to track down and out of our price range if we do. If you loved those lamps in your grandma's 1960s kitchen but have given up the hope of owning one, you can DIY one with orange cones from Dollar Tree. Typically sold to mark soccer goals or for other athletic purposes, these plastic cones morph surprisingly well into a wall sconce worthy of a "Mad Men" set. They're cuttable with scissors, paintable, and lightweight enough to be held with glue. The brilliant human behind the YouTube channel Budget Friendly Creations shows us how to make a conical wall sconce dupe of what would probably cost hundreds at an antique shop.
To make this double-light wall sconce, you'll need a Dollar Tree playground cone set, a 2¾-inch long piece of dowel with a ½-inch circumference, a small block of wood like these Bright Creations 1-inch-thick wooden blocks, three 2-inch wooden rings, one 1-inch wood cube like these AUEAR natural wooden cubes, picture-hanging hardware, and two rechargeable remote-operated puck lights with magnetic mounts. Gather up some wood glue, E6000 or another plastic-friendly glue, sandpaper, scissors, a utility knife, a rubber band, a permanent marker, a ruler, some cardboard, and a drill with a ½-inch bit, along with a spray paint that's suitable for plastic.
Prepare the pieces
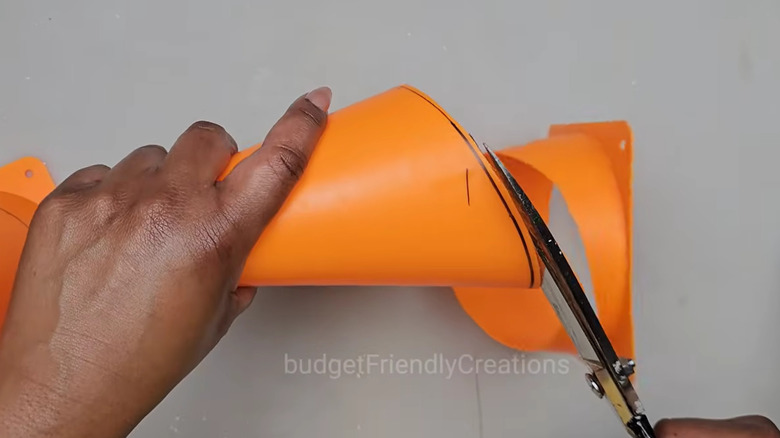
Start by shaping the lampshades from the plastic cones. Place your light inside the cone to see how far it needs to sit inside the cone. Then, stretch your rubber band around the opening at an angle, making sure the edge of the rubber band closest to the cone's tip still leaves at least a 1-inch margin between it and the light. Trace the shape of the rubber band with your marker, and cut away the rest of the cone. Before cutting the second cone, make sure your measurements match those on your first. Fine-tune the cut edges with your utility knife, then smooth any unevenness with sandpaper.
Next, you'll be crafting the light's base and the lampshades' attachment. Affix the picture-hanging hardware to the back of the wood block before drilling a hole roughly halfway through it. Add glue to the hole and slide in the dowel. The base for the lampshades will consist of three wood rings and a wood cube mounted on a dowel. Cut a piece from the side of one wood ring that's the same width as the dowel. Drill a hole in the center of one side of the 1-inch wood cube, about halfway through the cube. Secure the cube over the dowel's end, and slip the ring over the cube, with its cut edges touching each side of the dowel. Glue the two remaining wood rings on each side of the cut ring and cube to finish the fixture.
Let there be light!
Prep the two cones by giving their tips a scrub with sandpaper, as roughing up the plastic surfaces helps create a strong bond when you glue the cones to the rings on the sconce base. Wipe away any plastic particles, and glue the cones' tips to each side of the dowel-ring fixture with a generous amount of E6000. As you attach the cones to the rings, turn them so that the cone on one side has its short side facing up, and the other one's long side is facing up. Give the entire structure several coats of spray paint; try TikTok's time-saving tips to make spray paint projects a breeze. If the glue holding the two lampshades to the rings is too obvious, you can wrap decorative trim around it to give it more polish.
Trace two shapes of the puck lights on the piece of cardboard, and cut out the shapes. These will act as bases to hold the lights inside the cones. Once the glue holding the cones has dried and cured, secure the cardboard cutouts in the cones with an edging of E6000. After drying, adhere the magnetic strip to the cardboard, and affix the puck lights. Hang your handmade faux-vintage light anywhere you could use a bit of brightness.


