Enhance Your Entryway With Custom Crosshead Door Trim For Added Style
We may receive a commission on purchases made from links.
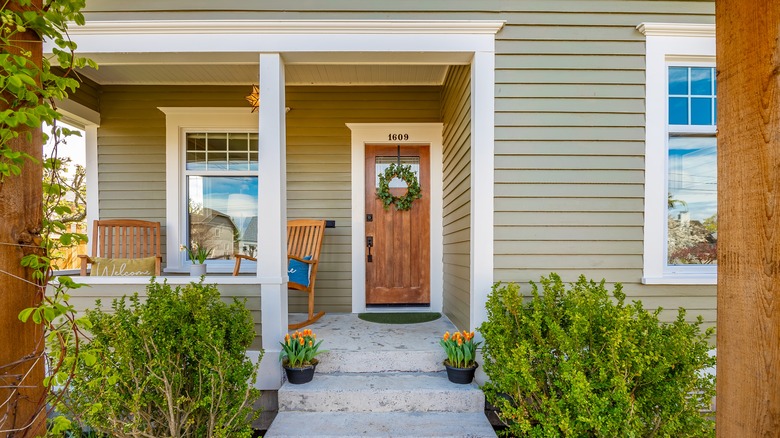
The entryway may be the first thing you and your guests see when entering your home. So it's one of the places where even a subtle change is sure to make a lasting impact. If you feel like your front door is looking a little lackluster, a mini makeover might be just what you need. Using an unconventional color to paint your front door or swapping it out for a different design can completely transform the look. But if you just want to add a bit of extra pizzazz on a budget, try building your own crosshead door trim.
While it might seem like a bit of an intimidating project at first glance, it's actually fairly simple to do if you have the correct materials on hand, even if you're not an experienced carpenter. To complete this project, you'll need wood glue, a saw, finishing nails, spackle, sandpaper, wood, crown molding, clamps, a measuring tape, and your paint of choice. Once you have everything gathered, you're ready to get to work creating your own custom crosshead door trim in just a few simple steps.
How to build your own crosshead door trim
According to a convenient tutorial posted by da P.A on YouTube, you're going to want to start by measuring the width of your door and cutting a piece of wood to size with your saw. Sand down the edges, then cut two more pieces of wood to go above and below this piece. The top piece of wood will need to be 4 inches longer than the first piece of wood to create a 2-inch overhang on each side. The bottom piece will need to be 1 3/4 inches longer than the first piece to create an overhang of 7/8 inches. Sand the edges of the wood to smooth them out, and then it's time for assembly.
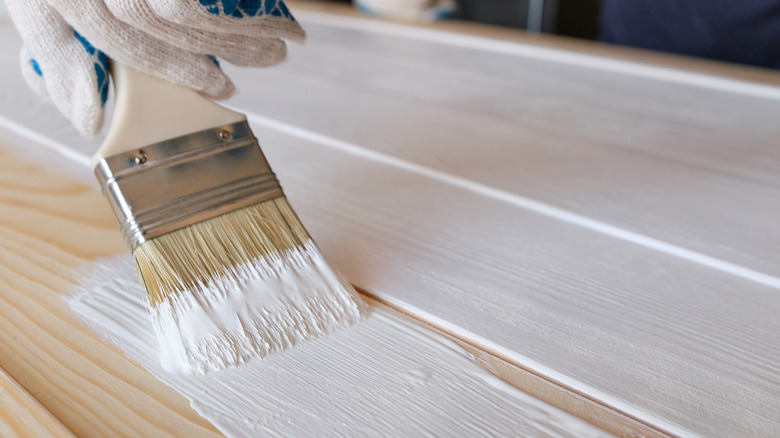
You'll want to attach the pieces of wood together first with wood glue, then with a couple of finishing nails. Now is also the time to cut down and install crown molding to cover the seams. To ensure there's a seamless finish on the corners, cut the pieces at a 45-degree angle so they line up perfectly. Glue these pieces down, attach them with finishing nails, and add clamps to keep everything in place until it dries. After spackling the nail holes and sanding down the surface, all that's left to do is prime, paint, and install the piece above your door.
How to make this project your own
Because you're DIYing this project, there are plenty of opportunities for customization. The first and most obvious is the paint color. White is a common choice for painting trim, but you can use this as an opportunity to bring in a pop of color or create some contrast with your door. If you're working with high-quality wood, you can also stain and seal it rather than painting to give your entryway a classic, earthy look.
There's also the opportunity to play around with the exact measurements and finishing touches on the project. If you're going for a more dramatic look, you can cut your wood to have more of an overhang above the door or use larger pieces of wood to create more depth. The crown molding you choose can also make a major impact on the final look. Opt for more intricate designs to bring in some interesting detail, or stick with minimalistic options like this Orac Decor C991 crown molding from Amazon for a clean look. There's also the option to bypass the molding completely, though you might need to do some additional work smoothing out the seams between pieces to ensure everything looks polished.

