10 Ways To Bring Old Laminate Floors Back To Life
Laminate flooring offers many benefits to homeowners. These floors are durable and have a long lifespan, and they are available in a range of colors and styles. They are also more affordable than some other flooring alternatives (namely hardwood), and are overall very easy to take care of. However, while they are generally long-lasting, even laminate floors won't remain in new and pristine condition forever. Eventually, they are going to start showing their age and may look faded or worn down. It is also possible for the corners of the planks to get chipped or cracked, or for scratches to be noticeable across the floor. You can't refinish laminate floors in the same way you can wood floors, but — luckily —that doesn't mean that there is nothing you can do.
If your old laminate floors are looking a bit worse for the wear, all is not lost. There are a few different solutions that can help you breathe new life back into your floors and increase their aesthetic appeal — along with the overall look of the rest of your home. From ways to conceal small chips to methods to bring back the flooring's shine, you have plenty of options to choose from.
A simple mixture of vinegar and water can remove dullness
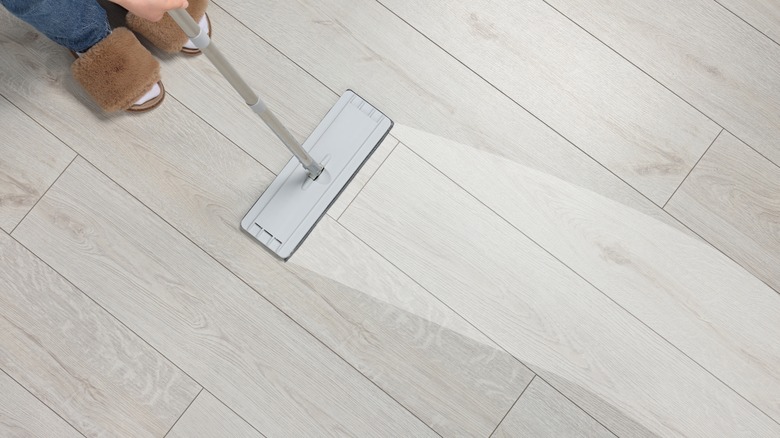
When they were first installed, your laminate floors had a gorgeous shine. However, as the years have passed by, that shine has likely dulled due to dirt and buildup. This dullness can not only make your floors look less appealing, but it can also make them look dirty. Fortunately, you can bring back the luster of your floors using a few ingredients that are probably in your kitchen right now: vinegar and water.
After sweeping or vacuuming the floors to remove any loose dirt or debris, mix a solution of warm water and distilled white vinegar (in a ratio of 10 parts water to 1 part vinegar) and spray it on your floors. Unlike other cleaning solutions that you shouldn't use on your laminate floors, vinegar and water are considered a safe option. Moreover, it won't leave a sticky residue like other products, and it will help break down the filmy buildup that covers your floors. After cleaning the floors with the vinegar solution, there is one more step that you shouldn't skip if you're looking to restore their luster: buffing. Buffing the floor will help return its brilliant shine. Using a clean and dry microfiber towel or mop head, work in small circular motions until your floors are glistening once again.
Try a flooring restorer to bring back the shine of the floors
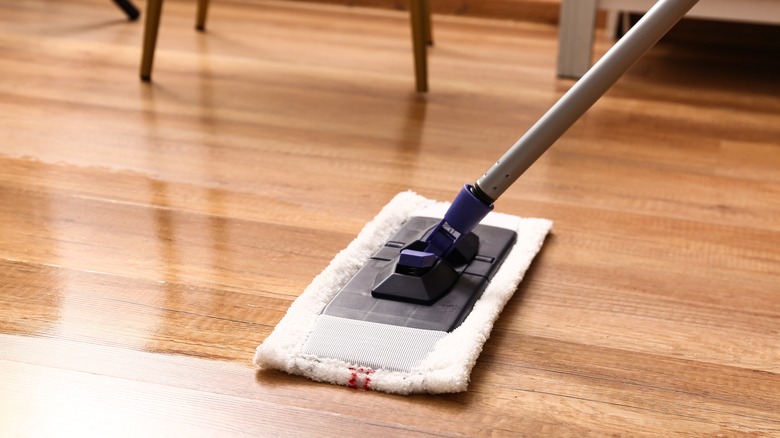
There are commercially-available products designed specifically for restoring the finish and shine of different types of floors, including laminate. Consider trying one of these for a targeted treatment option to help return the shine and overall appeal of your old laminate floors. One top-rated product is the Rejuvenate All Floors Restorer. This water-based acrylic polymer solution, which is designed for use on any sealed floors, doesn't require any sanding or prep work beyond sweeping or vacuuming the surface. It works to protect floors against future fading and fills in minor scratches. Unlike the vinegar and water approach previously discussed, a product like this achieves a restored shine by coating the floors rather than removing buildup.
It can be applied using a mop — the manufacturer recommends using the Rejuvenate Microfiber Bonnet Applicator — and dries after only 45 minutes. Here's what one satisfied user shared about their experiences with the restorer: "My laminate floors are about 30 years old and had lost their shine. They had many scratches and were dull. After my first application, the shine came back and they look great. I did not expect to get such great results."
Use some putty or wax to fill in light scratches on laminate floors
While deep gouges or scratches can be a sign it is time to replace your laminate flooring, you don't have to despair if you're dealing with a few minor scratches. Many times you can fill them in and blend them so that they are hardly noticeable. There are a few different materials that can help you fill in scratches on your laminate floors. The type of scratch you're dealing with and the color of your floors can determine which method is best for you to try.
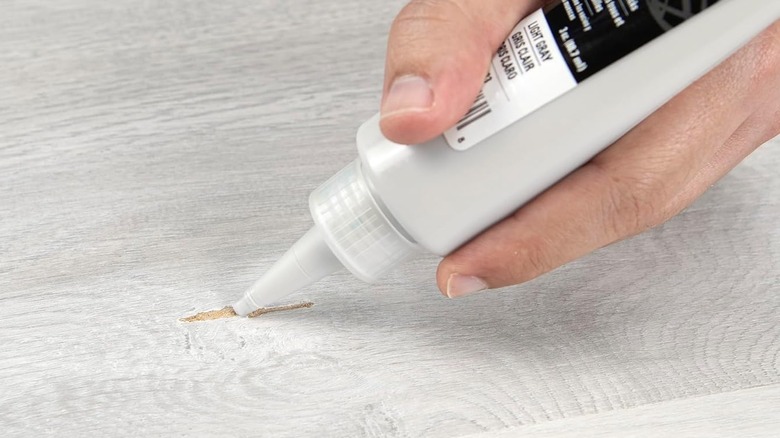
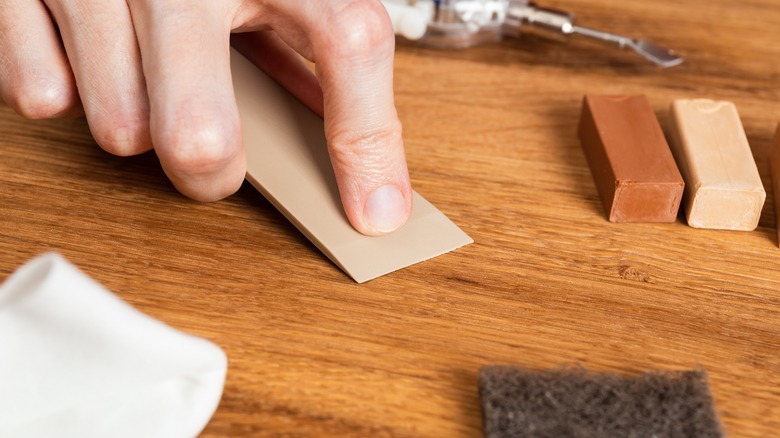
If you have a deeper gauge, one option is to use a color-matched putty, such as the Roberts Repair Putty. Use a plastic putty knife to apply the putty to the scratched area. Be sure to work it down to ensure it really fills in the scratch, and then promptly remove any excess from the surface of the floor before it has a chance to harden. Alternatively, if you have a minor scuff, you can use wax to fill in the scratch and keep it from sticking out like a sore thumb. Wood filler sticks, like the Seisso Wood Filler Sticks, offer different colors of wax crayons to help you find the right match for your floors. After rubbing the scratched area until the wax fills up the scratch, use a microfiber cloth to remove any excess wax from the floors and smooth it out.
Turn to wood filler to hide minor chips
If there are some minor chips that are really bringing the overall aesthetics of your laminate flooring down, you may be able to disguise them with the help of some wood filler. Because wood filler is meant to look like real wood, this approach will only be a good solution if your laminate floors have a faux wood pattern.
If you are going to try using wood filler, you'll want to compare different options, such as the Minwax Stainable Wood Filler or Gorilla All Purpose Wood Filler, to find one that will best match your floors and suit your specific repair needs. Follow the directions on the product you choose to apply it to the affected areas of the floor and let it dry as directed. Then, you'll need to sand down the area to ensure it is smooth and even with the rest of the floor and stain it to match the color of your laminate.
If you have huge chunks of laminate planks that are chipped, wood filling probably won't be a viable solution. Even if you can make it work, it is much more likely to stand out instead of blending in with the rest of the floor's grain, so save these products for small damages only.
Tackle multiple problems at once with a laminate floor repair kit
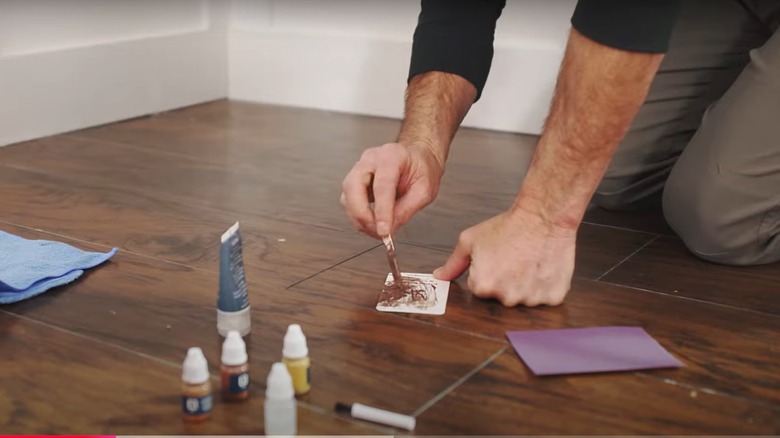
If you're dealing with more than one problem that is bringing down the look of your laminate floors, you can piece together multiple solutions. Or, alternatively, you can simplify things for yourself by trying a laminate floor repair kit. These kits include various supplies to help you fill in scratches and cracks and then finish the repair to ensure it blends in seamlessly with your floors. One such kit, the A-Heyida Wood Furniture Repair Kit, comes with 18 resin wood fillers in a variety of colors to match different flooring patterns and colors. The kit also includes wood putty to help you fill in deeper scratches and chips, sandpaper to smooth things out, brushes and scrapers to aid in the application process, and a disposable glove to protect your skin as you work.
The majority of customers who have tried this kit are satisfied with its performance; more than 300 reviewers have given it an average rating of 4.2 stars. "I like the number of color options in the kit. It is also very easy to use. I filled a hole in my laminate and was able to mix colors to find the right match," shared one customer.
Fill in the gaps between laminate floorboards with waterproof caulking
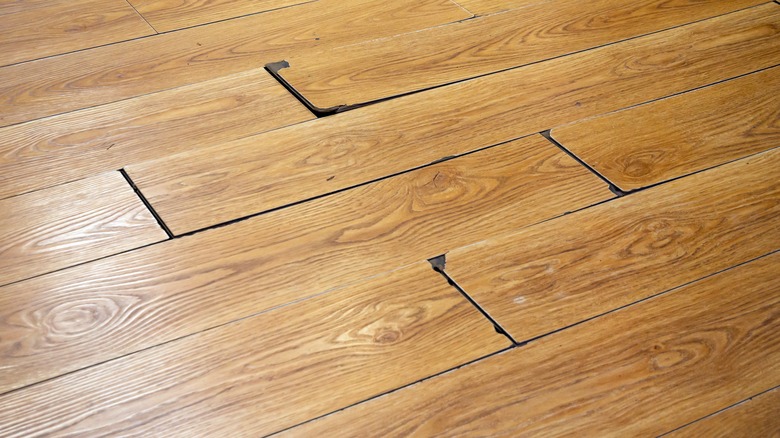
One of the important things to understand about installing laminate flooring is that you should allow the planks to acclimate to your home for at least two days. Doing so gives them the opportunity to adjust to the temperature and humidity conditions in your space, and swell or expand accordingly. If you — or a previous owner or contractor — didn't follow this advice when installing your floors, it is possible that there may be large gaps between the boards. Beyond the eyesore that they create, these gaps can also spell trouble. They can allow water to pass through to the subfloor, causing costly damage.
Sealing these gaps can help prevent such damage and leave your floors looking more uniform and attractive. It is important to choose a water-resistant silicone caulk that is tinted to your floor's color. The water-resistance is key in ensuring that the sealant you choose prevents water from getting through to the subfloor, and choosing one with similar coloring ensures that the gaps disappear from sight. Such an example is ColorSeal Oak Wood, Laminate, Tile, Stone and Vinyl Flexible Flooring Sealant, which comes in an array of different wood shades. Simply put the product into the joints between the planks to seal the gaps and openings. However, please note that this is a temporary solution. Since gaps have formed, the planks will likely shift and move again, breaking the seal and necessitating you to reapply it.
Paint the floors a new color
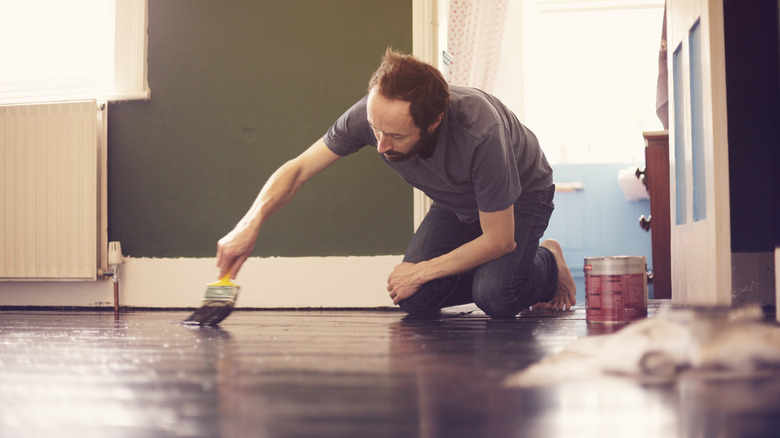
If your laminate floors have really seen better days, and installing a new floor simply isn't in the budget right now, you could consider painting the floors a new color. With so many painted floor ideas, this solution opens up a world of possibilities and puts you in control of the look of your space. You could always stick with something more traditional, such as a brown or gray to mimic the look of wood. Or, if you're feeling adventurous, you could try a more daring color, such as blue, pink, or green. You could even use stencils for a custom and unique design.
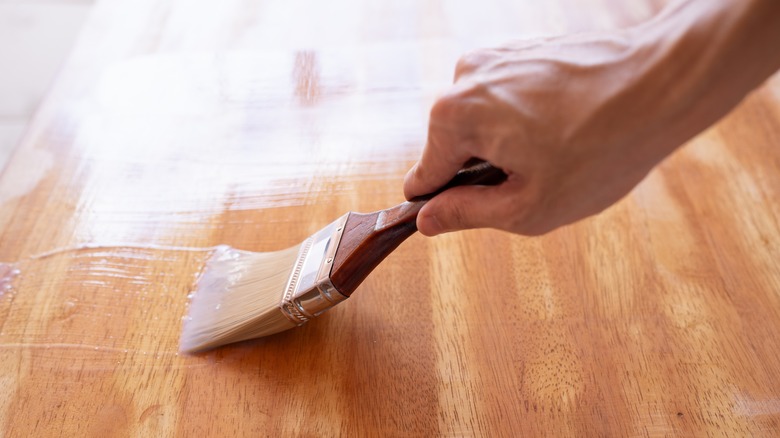
Before you grab a can of paint and a paintbrush, there are a few important things to know before painting your floors. First, prep is key. It is essential to start with a thoroughly cleaned surface that has also very gently been sanded to remove only the glossy top coating. You cannot sand laminate floors the way you can hardwood, so be careful. You'll also want to fill in those scratches and gaps using the strategies shared above before you start painting. This will provide you with a clean, even canvas to work with. Before painting, you'll also want to apply a coat or two of latex primer. As for the paint itself, opt for something that is going to hold up well, such as latex or porch paint — you and others will be walking across the floor often, after all. Once dry, seal the entire floor with polyurethane, creating a protective layer on top to delay wear and chipping. However, make sure to have an extra bucket or two of your chosen color on hand. Painted floors eventually scuff and lose their color in high-traffic areas, so this will need routine touch-ups throughout the years.
Clear up hazy floors with the right floor cleaner
If you've noticed that your laminate floors have become more and more hazy-looking over time, the fix may be a bit easier than you were thinking. First, it is important to understand why laminate floors may develop a hazy appearance. Most commonly, it is the result of using too much of a cleaning product when mopping them and then not rinsing it all off. When the chemical cleaning solutions aren't fully rinsed off, a residue is left behind, giving the floors a dull and hazy appearance.
To remove this hazy layer, you can use a targeted cleaning product, such as the Quick Shine Multi-Purpose Floor Cleaner, which contains baking soda. This cleaner works to dissolve the buildup from cleaning products on the surface of the floors and helps bring back their original shine. In addition to being used on your laminate floors, it is also safe to use on other flooring types — including hardwood, vinyl, stone, and tile — so it's a good product to have on hand.
Apply a new finish to the floor
If all else fails, there is one more option you might want to consider before completely giving up on your laminate floors: apply a new finish to the floor. However, before you think about undertaking this project, it is important to understand that it is a complex task and might not turn out as desired. While many assume they can refinish laminate floors in the same manner that you would refinish hardwood floors, that is unfortunately not the case. You can't sand the surface down in the same way that you would a wood floor because you'd end up with just an exposed fiberboard core.
What you might be able to do, with some skill and patience, is to sand off only the glossy finish of the floors. Just remember that if you end up sanding too much, you'll scratch the image covering them, effectively ruining the floor (or at least any chance of it adding aesthetic appeal to your living space). You can try using a liquid de-glosser, such as the Klean-Strip Liquid Sandpaper, or renting a floor buffer and using a 120-grit sanding screen with it. After removing the old finish, apply a new layer of polyurethane finish, such as Minwax Fast-Drying Polyurethane Protective Wood Finish. However, if you're a novice when it comes to sanding or refinishing, it's best to skip this option, as you can potentially cause more harm than good.
Avoid future damage by being proactive
Once you put in the time and effort to rejuvenate your old laminate floors, you want the results to last. You don't want to end up in the same situation only a few months later. To avoid letting your floors get chipped, scratched, cloudy, or otherwise dull in appearance, there are some proactive measures you can put into place. First, it is essential to know the right way to clean laminate floors. Keep the floors free of debris by sweeping and mopping regularly. When mopping, choose a pH-neutral cleaner and thoroughly rinse the floor afterward to prevent a residue from building up. Also, be sure to clean up spills promptly.
There are also things you can do to protect your laminate floors. Use felt protectors, such as the Scotch Felt Pads, under furniture. Also, consider area rugs and entry mats to cover high-traffic parts of the floor, and use furniture moving pads, like the X-Protector Felt Furniture Sliders, instead of pushing something heavy across the surface. Keeping pet nails trimmed and maintaining an indoor humidity level between 35% and 65% can also help prevent the floors from warping.
