Tips & Tricks For Installing Shower Tiles (& Mistakes To Avoid)
We may receive a commission on purchases made from links.
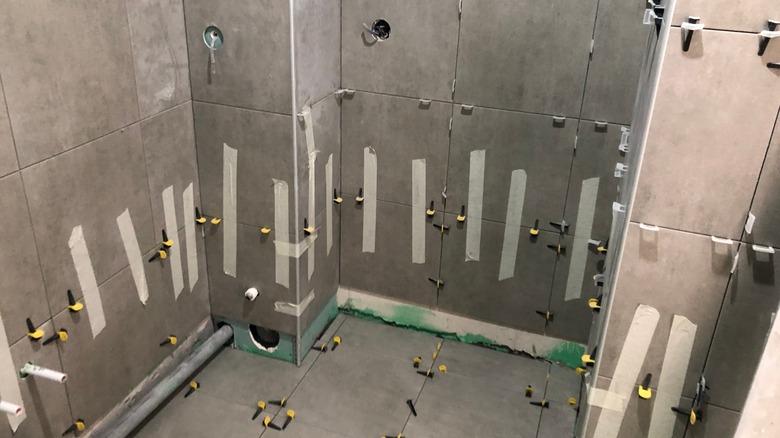
Tiling projects are not the easiest of DIY tasks. The tiles need to be measured, cut, and properly adhered to a surface so that the final product is both sturdy and visually appealing. Tiling showers is a particularly challenging job, since you're working with a wet space and effective waterproofing becomes paramount. Adding to the sophistication of the task are the small dimensions of the wall and floor, and the numerous corners and interfaces that demand precise measurements and meticulous planning to look professional once the tiles are in place. To help you tackle your shower tiling project, we've put together a few tips and tricks that make the installation process easier and help you avoid major mistakes.
One of the most important tips we can share is to prepare the surface thoroughly before you start tiling. Quality preparation involves checking whether the substrate is level and strong enough to support the tiles. At this stage, it's easy to make the mistake of not waterproofing the substrate and failing to run a flood test. These omissions will cause the shower to leak. Once you're ready to tile, thoroughly planning the tile layout will help you avoid alignment issues. Below, we will discuss all of these best practices, and share other tricks for navigating through the job's toughest parts.
Make sure the surface is even
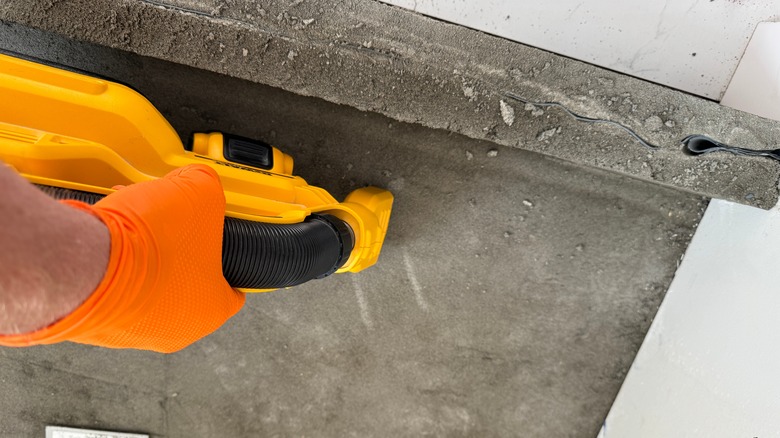
Before you do anything else, check to see whether the surfaces you're planning to tile — whether they're walls or floors — are level and in a good state of repair. If you skip this vital step, you condemn your project to failure before a single tile is even cut or laid. Sticking the backer board and tiles onto an uneven substrate will lead to tile lippage, a condition in which tile edges are not aligned and some sit proud of others. Worse, if the structural members meant to support the tiles are damaged or missing, they may not support the weight of the tiles after you adhere them.
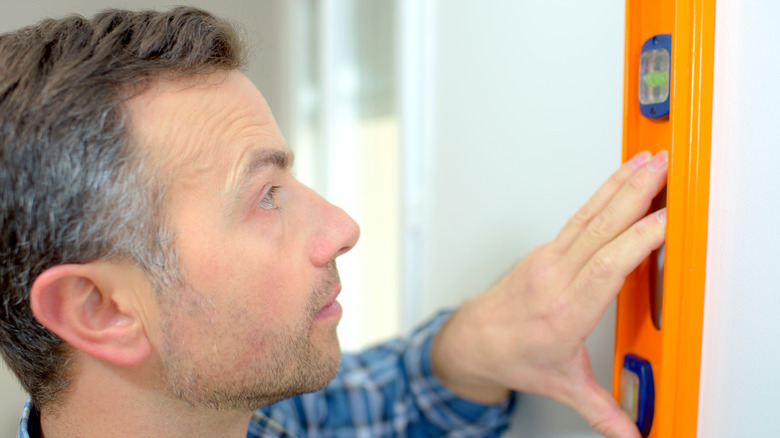
First, inspect the studs and subflooring to make sure these elements are not suffering from age-related wear or other issues that would undermine their structural integrity. If you come across obviously faulty components — such as rotten, broken, or missing studs — replace them before you do anything else. Next, place a long level against each of the studs in the walls enclosing the shower. If any of these structural elements are not plumb or level, try correcting their alignment by planing them down. Whenever this approach doesn't work, replace the defective structural member with a new one. This process may take a few days, but don't be tempted to take shortcuts to get the job done faster. Only start the tile installation once you're 100% satisfied that the structure is perfectly plumb, level, and sturdy.
Get the tile layout right
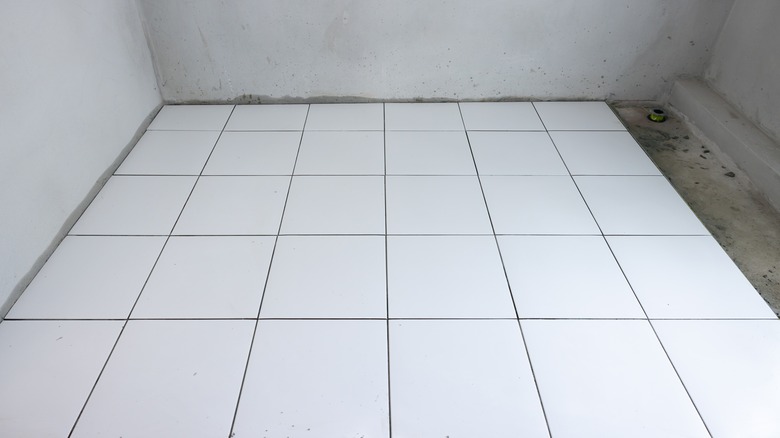
Do you want your tiling job to look professional? Tile lippage isn't the only telltale sign of an amateur tiler. Get the layout wrong, and your tiles' misalignment will be painfully visible. Not only that, but you'll be forced to cut narrow tile pieces to make the layout "fit" — we're sure you've seen these tile slivers before, and yes, they're equally cringeworthy.
To work out the layout, you can lean on the same 3-4-5 method used to square a room for tiling. In a nutshell, this method employs the pythagorean theorem to confirm whether a tile layout is square with the contours of the surface where the tiles are laid. To start the calculation, find the midpoints of two perpendicular sides of the area you're tiling. For example, if working on the shower wall, take a vertical measurement and mark the middle point; then, do the same along the horizontal plane. Now, draw two straight lines from the two marks you made — they will intersect in the center of the wall. From the center, measure four units (these could be lengths of tile, feet, or inches) along the vertical line and mark the location. Next, measure three units along the horizontal line and make a mark. Now, draw a diagonal line connecting the two marks you've made, and measure it. If this diagonal line measures five units, you can safely start laying tiles and end up with a square layout.
Add a stone cap to the shower curb
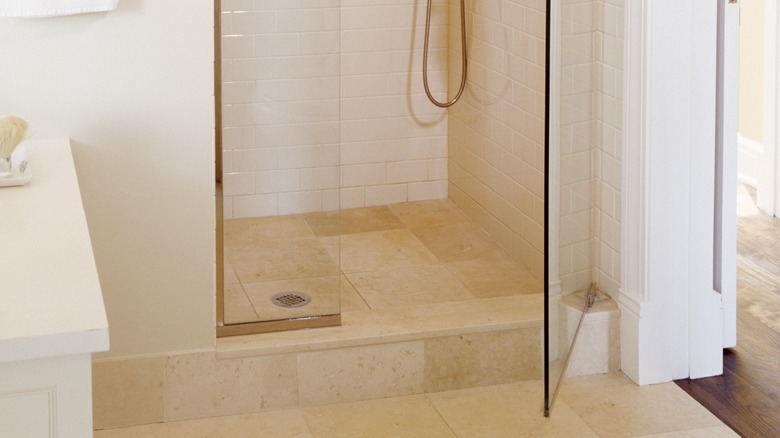
Does the shower you're tiling have a curb? Shower curbs play the vital role of keeping overflowing water from spilling from the wet area onto the bathroom floor. Shower curbs typically measure 2 inches in height, and this height creates a sufficient barrier against water overflow. But tiling this tiny element — and curb corners in particular — can be an immensely frustrating task for DIYers. That's because the job involves making small, precise tile cuts and making them fit together, which often sounds easier than it really is.
One way to avoid these headaches is to install a stone cap along the top of the curb instead of tiling it. Think of the cap as a single, continuous tile that spans from one wall to the other. With such a stone installed at the top, you won't need to tile the corners of the curb. To make things even easier, you can use the same material on both sides of the shower curb instead of tiling. This way, you'll achieve aesthetic cohesion and save yourself lots of time. That said, make sure the stone you choose matches the bathroom tile colors you've picked for the walls and the floors.
Don't make the mistake of skipping proper waterproofing
You may follow all the best practices when applying mortar, grout, and sealing the tiles, but it's not enough to protect the substrate from water ingress. Water will inevitably find its way through the tile joints, and unless the walls and floor are properly waterproofed, you risk subjecting the surrounding structural elements to water damage. To keep water from seeping through the tile, you need to waterproof the shower walls and floor properly.
There are several ways to add waterproofing while giving your shower a makeover. The most economical method is to use a liquid membrane like this product from USG DUROCK, which costs about $60 per gallon. You apply this liquid to the substrate at the walls and the floor with a roller or brush, just as you would with paint. Alternatively, you can install a sheet membrane to the floor and walls instead. This method entails sticking the plastic sheets to the substrate with special adhesive or thin-set mortar. One advantage of waterproofing with a sheet membrane is that it lets you soundproof the space at the same time.
If you're tiling the shower floor only, you can opt for a metal pan liner. You'd typically fasten such a liner to the shower drain after creating a sloped mortar bed. Then, the metal layer blocks any water seeping through the tiles from traveling further down into the substrate and channels it toward the drain.
Don't forget to run a flood test before installing the tiles
You may think that you've done an awesome job waterproofing the shower, but before you give yourself a pat on the back and start tiling, you have to verify the quality of your work. A flood test is a procedure checks whether the waterproof barrier you've created can hold water without letting it leak out. Neglecting to run a flood test is a shower tiling mistake that lets minor imperfections go unnoticed, causing the shower to leak when it enters service.
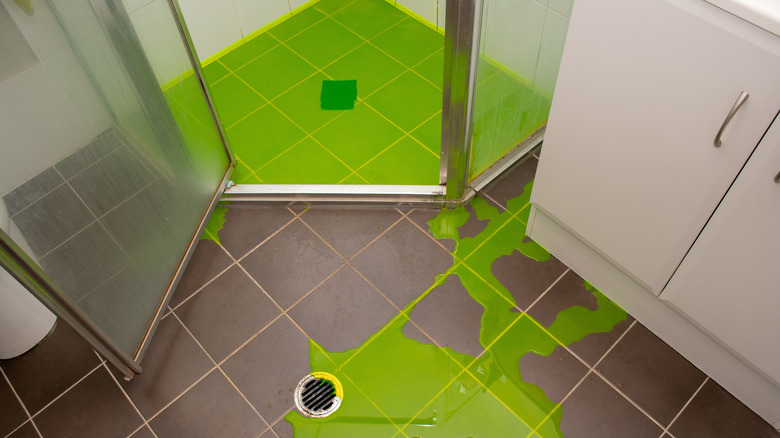
To perform a flood test, plug the drain with a pneumatic expansion plug, then flood the base of the shower. The water shouldn't come from the shower, but rather from a different source not connected to the shower plumbing. This way, a leaky shower pipe won't accidentally skew the test results. Once the base is flooded, measure and record the water level. Then allow the water to stay in place undisturbed for a full 24 hours. At the end of this period, check the water level one more time and compare the reading against your initial record. If the water has receded, there's a leak somewhere in the waterproofing barrier. If you're not sure where the leak is coming from, add dye to the water and see if it leaves a trail while leaking out. You should find and repair the flaw before proceeding with tile installation. If there is no change to the water level, then your waterproofing efforts have been successful and you can go ahead with laying the tiles.
