Reuse Vintage Cookie Jars For Unique Home Decor Your Plants Will Love
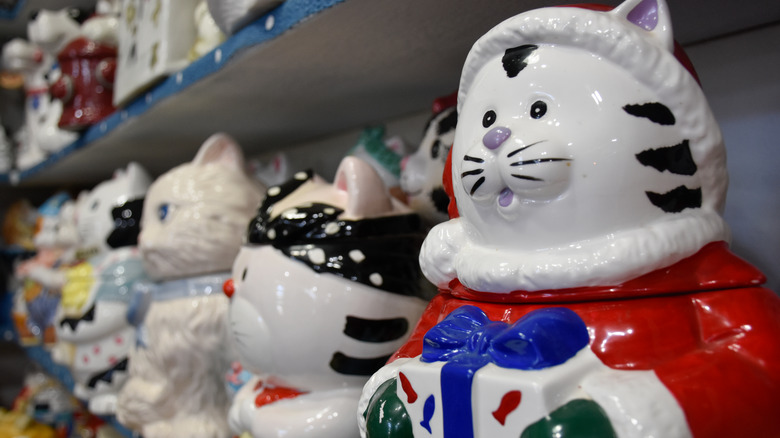
Among the many vintage thrift store finds you can turn into stylish DIY planters, we have another one for you: cookie jars. Thrifters on a constant lookout for quirky finds know the feeling of spying a cookie jar that's beyond adorable, but is missing the lid. Or maybe you have your childhood cookie jar that's no longer being used to hold the Oreos, but is too special to get rid of. Regardless of the story behind your vintage cookie jar, you can give it a second life by morphing it into a planter. Slip a nursery pot inside it, or equip it with some drainage holes for direct planting, and your plants will be living large.
If you don't have a drill and don't plan on buying one, you can create drainage in houseplant pots with zero drilling. The easiest cookie jar-to-planter conversion is simply slipping an already-potted plant inside a ceramic container with no drainage. As long as the nursery pot and the jar's mouth are compatible sizes, not only is this fast, it can also let you swap plants into seasonal planters or themed jars for a special occasion.
Truly, any lidded ceramic container that has lost its top is a candidate for a planter. Tea pots, sugar bowls, countertop storage jars for flour, sugar or coffee, or lidless pottery compost pails all make functional and potentially charming planters. Greenery overflowing from the lip of a vintage jar also hides those inevitable chips around ceramic openings that come with time.
Drill some drainage
The main thing that prevents cookie jars from being perfect planters as-is, is the lack of drainage holes. Boring a hole into the base of the jar can be daunting, especially in Grandma's former kitchen staple. However, here are some un-scary steps to drill a hole in a fired ceramic base: First, you'll need a carbide-tipped drill bit, a ceramic bit, or a diamond bit to make a hole without cracking the base. For the easiest way to add drainage holes to your cookie jar, gather your drill, a bit, some painters' tape, a spray bottle of water, and a folded towel or other soft material to set the pot on as you drill the hole. For safety, grab some eye and ear protection. The particles created during drilling can be serious lung irritants, so take your work outside or into a well-ventilated area.
Don your safety gear, and invert the pot on the folded towel. Place two pieces of painters tape over the base in a cross shape; do your best to situate the cross point of the two pieces right in the center of the pot. Spray a bit of water to the taped surface, and begin drilling slowly at the cross between the two pieces of tape. This isn't a process you want to rush; use light pressure, go slowly, and spray more water on the drilling site as needed. Take breaks frequently to see how the hole is progressing. When the bit has pierced the base completely, take off the tape and wash away the dust. Your repurposed jar is now ready for its new stage in life.
