Upcycle Basic Plastic Bins Into Rustic Rolling Storage Units
We may receive a commission on purchases made from links.
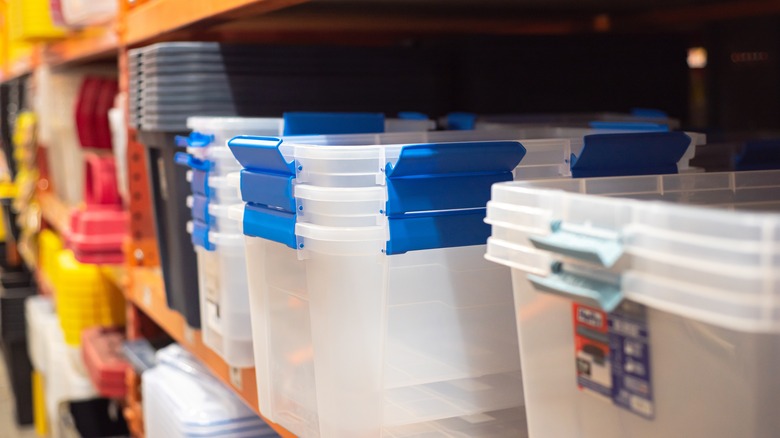
In today's world of more is more, you can never have enough storage. If you want to organize your home like The Home Edit, you need the right tools. Shelves of various stores across the country are lined with a variety of containers to help. The only downside is the lack of personality some of these units have. Most are also stationary, leaving them in one place in your home. Not ideal if you're storing items to be shared in a playroom, or magazines to be read around the living room. YouTuber HomeTalk found a solution for this problem. With a little elbow grease, wood planks, caster wheels, and a few decorations, you can make your own custom rolling storage using plastic bins, which you might already have at home.
By adding movement to a classic tote bin, you create a whole new product. Easily access yarn while knitting, or transport heavy books across the office. With the help of a little fabric and sisal rope, it can do all this and match your decor. Create stylish storage in your home with this scrap wood, container, and caster wheel combo. Check out how to put the design together at home, and start customizing your own containers.
Get rolling with your new storage container
To start this project, you'll need to gather some supplies, including a plastic storage bin. YouTuber HomeTalk used a Sterilite 40-quart bin from Walmart, but you can upcycle any tote you have around. You'll also need a drill, a saw, two strips of wood wide enough to secure your wheels to, hot glue, screws, fabric, sisal rope, and something to get the unit moving. This set of four 2-inch caster wheels is a good choice. After you've assembled your materials, it's time to get to work.
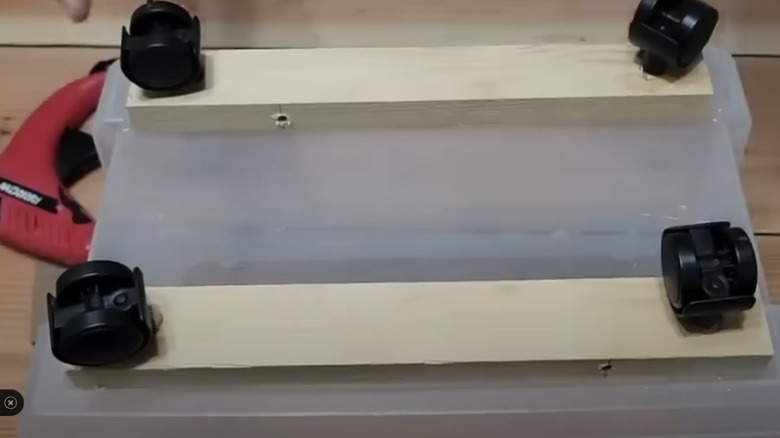
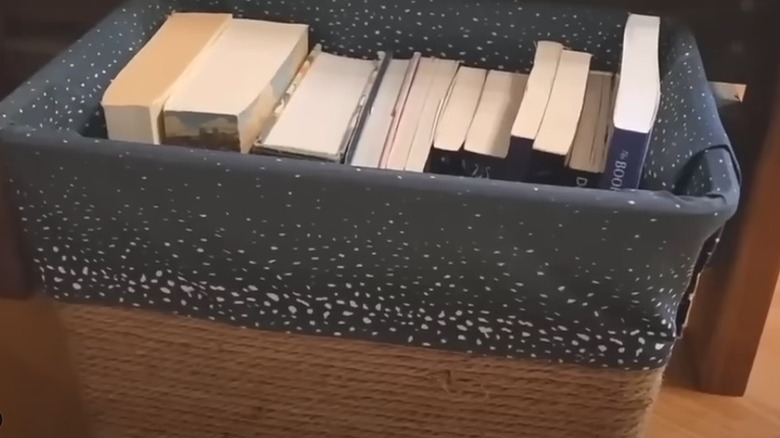
Remove the lid and any side clasps on the bucket. Next, flip the unit over and measure out the two strips of wood against the base, marking where they fit best, and sawing off the excess. Use hot glue to hold them in place while you turn the bin back over to screw the plastic to the wood from the inside. Affix the wheels to the underside of the wood so there's one in each corner, and use hot glue to wrap the container halfway up in sisal rope. Finish by gluing fabric to the top half, and you've got a beautiful, stylish rolling storage unit. Continue personalizing the project to match your taste and current home decor.
Continue customizing your rolling creation
The best thing about making these units yourself is having the freedom to modify them to meet your needs and tastes. Personalize your cart by using sisal rope on the entire bucket rather than half, or by painting instead of using fabric. Embellish further with ribbon, trim, or fringe. You could even use an iron-on transfer design to label fabric before adding it to your creation. Make a laundry basket for lights and one for darks, or matching rolling book racks with "reading" and "to be read" signs.
This project is an intermediate to advanced experience-level DIY. But if you're the type of person who is always seeking out the best products at The Container Store to help you organize your life, this craft is for you. Make a few and place them in different rooms around your home to make heavy loads lighter and jazz up your storage options.


