Reuse Plastic Bags To Make Customized Coasters To Match Your Personal Style
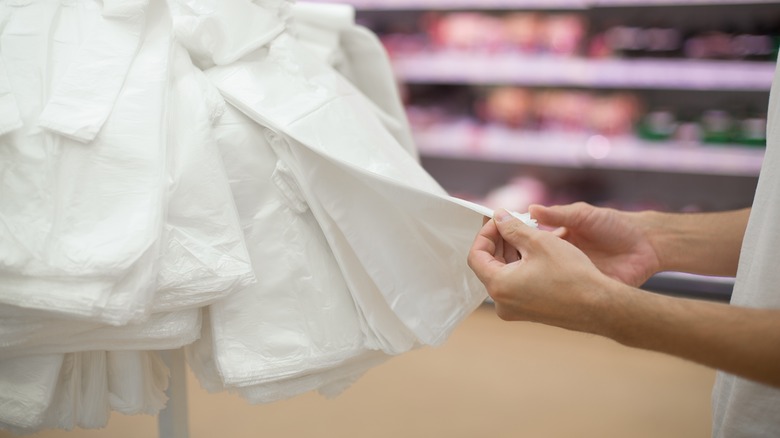
If you tend to do in-person shopping, you probably bring home a lot of plastic bags. But they can be used for a lot more than just carrying groceries and other items you purchase from the store. You can use them as trash can liners and dog or cat waste bags, and you can even repurpose plastic bags with a clever patio pillow hack. With a pair of scissors, an iron, a round stencil, a marker or pen, and some parchment paper, you can also convert your plastic bags into cute coasters by layering them on top of each other.
Your DIY drink coasters should be roughly 1.5 millimeters thick, so you'll need to use several bags to create this depth (just be sure to clean and disinfect the plastic bags before you reuse them around the house). If the bags are very thin or if you just prefer thicker coasters, use a few more. Since the bags will be placed on top of each other, you may also want to consider the colors. To create a two-sided coaster, use one color for the top layer and another for the bottom. You can also vary the middle colors, which will be visible from the side.
For the stencil step, the size you choose determines the circumference of the coasters. You can make them all the same size or vary them. From start to finish, you can craft several coasters from plastic bags in less than 10 minutes, and there are many ways to customize them to match your personal style.
Instructions for making coasters out of plastic bags
First, decide what bags you want to use, keeping colors, words, shapes, and patterns in mind for the top layer. Maybe you're a fan of the Walmart sparklets, Target's red-and-white bullseye logo, or Bath & Body Works' blue-and-white checkered bags. Once you've chosen your top bag, layer the others underneath it on an ironing board or other heat-safe, flat surface, ensuring they're completely flat and extended to their full width, without folds. Cut the bottom sections off if necessary. You may also want to cut the sides to make all the bags evenly sized, if they're not already. A minimum of four bags should suffice, but you can add more.
After the flattened bags are piled neatly on top of each other, place a large piece of parchment paper over the top bag, covering its entire width. With your iron at medium heat, gently press it against the paper. Pass the iron over the entirety of the paper for about 30 seconds, or until you see that the bags have melted together. Then, take your circular stencil (the top of a drinking glass or the lid of a peanut butter jar will work well) and trace it on the top layer with a pen or marker. Each circle represents one coaster, so trace as many as you want, as space allows.
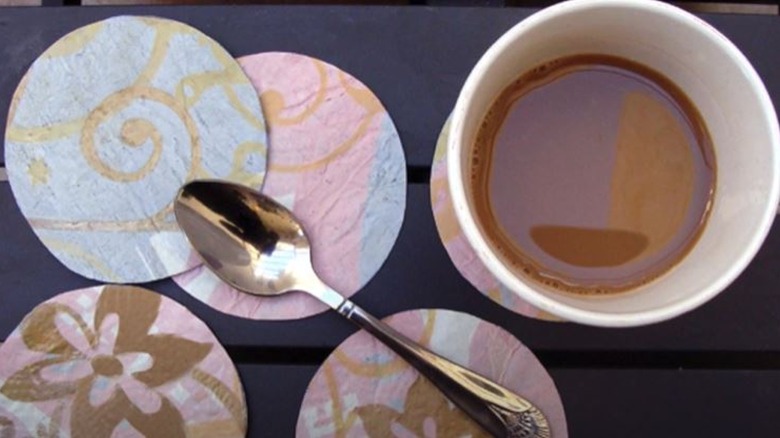
For the final step, cut the circles out, keeping the edges as smooth as possible, and you're done! Your DIY coasters can now be used to protect the wood furniture in your home from condensation, heat, and scratches caused by drinking glasses.

