Follow These Tips & Tricks To Perfectly Install Tin Ceiling Tiles
Tin ceiling tiles boast an old-world charm not often found in cookie-cutter modern homes. Made from aluminum or steel, these tiles were once used in older homes as a way to add lightweight stamped detailing on the ceiling as a budget-friendly alternative to plasterwork. You can find them in Victorian-age homes today, as well as commercial buildings like bars and restaurants that have embraced their old-world charms. Installing these great architectural elements is easier than you think, but will take some careful planning and consideration of your ceiling material as it exists now. With some modifications combined with careful measuring and layout, installing tin ceiling tiles can be painless and add stunning architectural interest, particularly in vintage-inspired or industrial décor spaces.
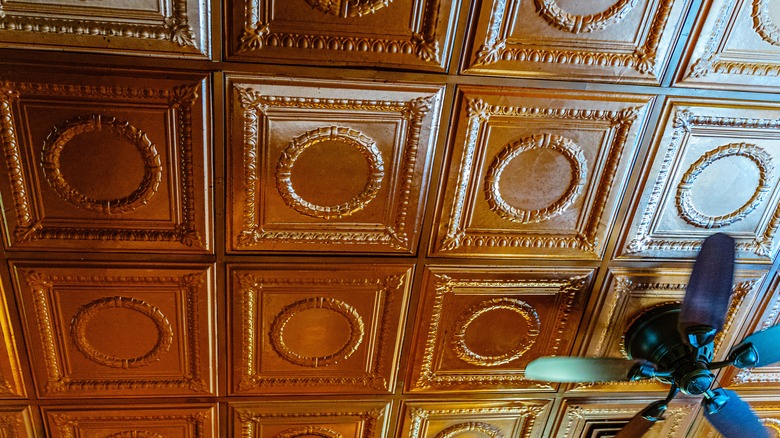
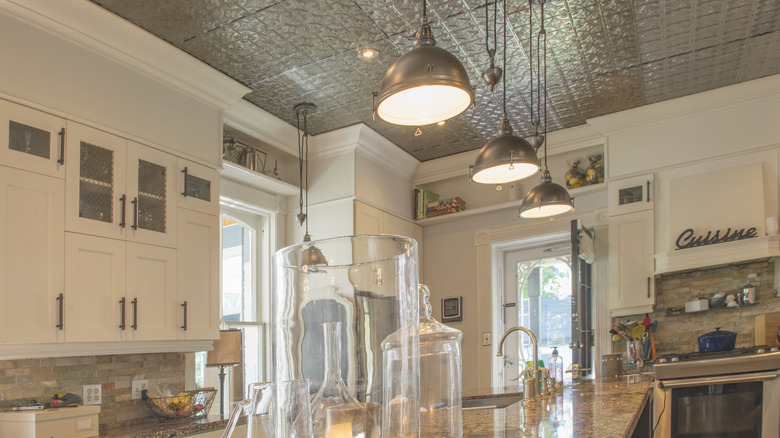
Today, new ceiling tiles are usually made of steel coated with tin and come in a variety of dimensions and designs, many with beautiful geometric or botanical flair. They also come in a variety of finishes, from classic copper and brass to chic silver, matte black, or crisp white. An eye-catching way to decorate your ceilings, they can also be painted and combined with other kinds of decorative molding made from metal or wood for a luxurious and historic-inspired look. In addition to the ceiling, these tiles are perfect to use elsewhere in your home, including a stamped accent wall or textured backsplash.
Planning out your tin ceiling
What variety of tin ceiling tiles you will want to work with depends largely on the type of ceilings you have. Many industrial and commercial buildings have brought tin ceilings back in style with dropped grid ceilings which accommodate drop-in tin panels. If you have drywall or popcorn ceiling, there are also locked tiles that pop together, screw directly into drywall, and do not require any ceiling modifications at all. If you're a renter and want this luxe look on a temporary basis, there are tin-look peel-and-stick tiles that you can place on the ceiling for a similar feel.
If you do not have a wooden ceiling and want to install traditional non-locking tiles, which offer the most affordability and design options, you will need to add a plywood sheet before installation. Use sections of 1/2 or 3/8th-inch plywood screwed with 2 to 3-inch screws directly to the joists as your base for hanging.
Installing tin ceiling tiles
Before you add the plywood, measure your ceiling and check for imperfections, like bowing or unevenness that may make the project more difficult. Once you have installed the wood, use a chalk line and tape measure to mark the exact center of the room, lining up your first four tiles in line with those marks (this is also a great tip for locking or peel-and-stick tin tiles). Work outward from the center toward the edges of the room.
Most ceiling tiles have bubbles along the edges that can help guide you in placement if you leave a slight 1/4-inch overlap to alight the divots. Use brad nails driven into the plywood to secure individual tiles to the ceiling as you go, working in small sections. If you make a mistake, it is easy to remove the nails and place them again in the affected area before continuing. Continue to the edges of the room where you will likely have to do some cutting with tin strips to get the final pieces to fit. Installing a tin or wood molding or border will finish the look and hide any messy or uneven edges. Gorgeous trim will also dry the eye up to the decorative new ceiling and elevate any room in your home.


