Reuse Packing Peanuts To Make A Stunning Piece Of Wall Art
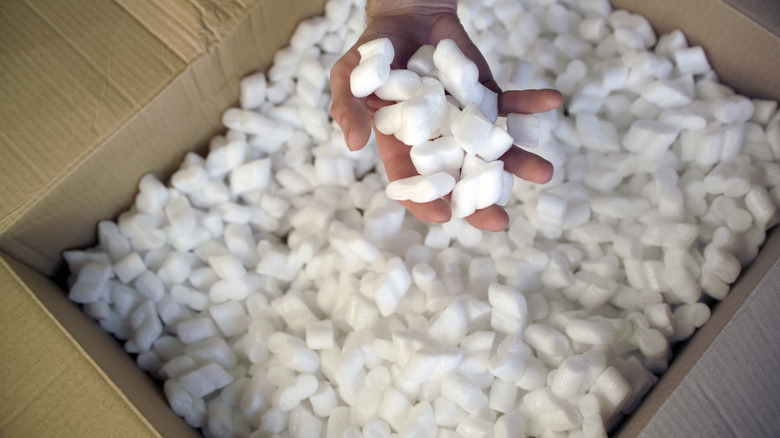
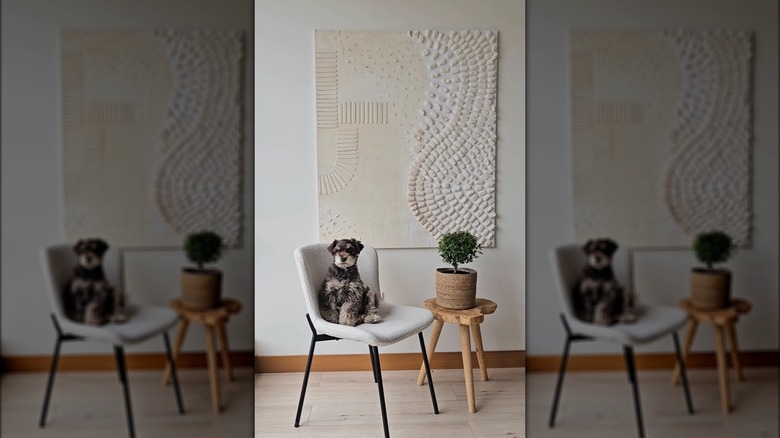
After being used for their intended purpose, packing peanuts usually just end up in trash bags on the way to their final destination: a landfill. They can do a great job of keeping fragile items in tip-top shape during a move, but, with some creativity, they can also make an exquisite, 3D piece of wall decor for the DIY art enthusiast. To make your own upcycled wall art, all you need to do is glue the peanuts with a glue gun or a similar adhesive to a large canvas or foam board in the arrangement of your choice, as seen in an Instagram post by creator @atixhome.
To create your own DIY budget wall art out of packing peanuts, first decide how large you want the board to be, or boards, if you plan to make more than one. Make sure the surface is clean, dry, and free of dust. Place the board down on the floor or a table and lay the peanuts out to match any design you have in mind. Don't, however, glue them right away. Use this time to experiment with different arrangements before committing to one. Once you've chosen the layout for the peanuts, start gluing them on.
You can decorate other portions of the board as well, either with creative paint colors or other items. What's nice about this creation is that it offers so many customization options to match your room's décor, your favorite colors and patterns, or your personal style.
Ways to customize your packing peanut wall art
One of the first ways to personalize the packing peanut wall art is by changing the appearance of the board. You can keep it blank or paint it before adding the peanuts. A dark color can nicely complement the white foam pieces, while using several paint shades from the same color family can create an ombre effect. You also have the option to paint the pieces. Want the peanuts to form a pattern on the board? Choose between a wave, chevron, or spiral style, or get creative by mixing and matching.
In terms of placement, the peanuts can be glued on specific areas of the board or spread across the entire thing. If you do cover only one area, you can decorate the empty spaces with items like popsicle sticks, rocks, and other materials, similar to @atixhome's method. Just as with the peanuts, make sure to experiment with different arrangements before gluing. Alternatively — or additionally — you can draw or paint your own 2D decorations on the board.
With so many personalization choices, this DIY wall art can take as little as 15 minutes for a minimalistic look or up to an hour or more for a more intricate piece. It all depends on how many peanuts you use and how creative you want to get. So the next time you get a package with peanuts in it, save them. They might just inspire your next project.

