Bobby Berk's Favorite Purple Landscaping Plant Is A Pollinator Magnet
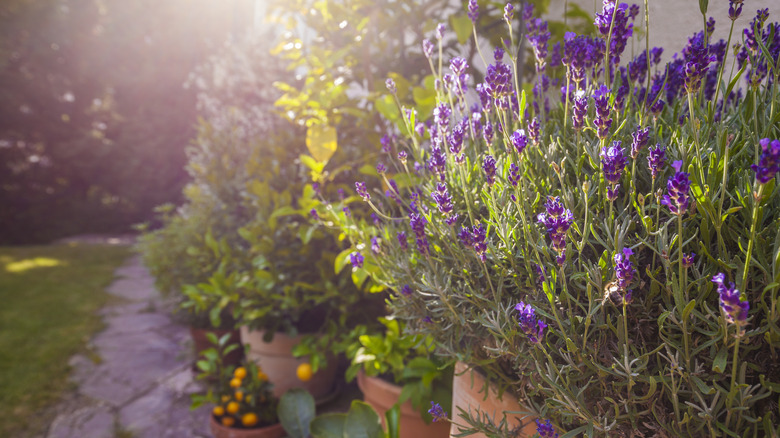
If "Practical Magic" fans are to be believed, lavender (Lavandula angustifolia) is grown for luck. But according to design expert Bobby Berk, this popular purple plant is a great choice for upping a home's curb appeal — and attracting pollinators in the process. Berk recently told Domino that he's partial to more of a natural look when landscaping outside a home, which is why he opts for lavender, rosemary, and other things that "create flowers that bees really, really love."
Native to the Mediterranean, lavender thrives in sandy, well-draining soil under full sun — and can tolerate a bit of neglect. So, it's okay if you forget to water for a few days. In fact, lavender would prefer that you did. Once established, the green-gray foliage has a bushy habit that stays relatively low at about 12 inches, but will jump up to about 20-24 inches when in bloom. Tiny clusters of purple flowers will appear during the summer months, and are highly prized for their scent (not to mention beloved by bees.) Bunches of cut lavender will even retain their aroma once dry and can be saved as potpourri, or you can put the fragrant herb in sachets to ward off cockroaches.
A fan favorite of butterflies and moths in addition to honey bees and bumblebees, lavender is a great option for pollinator gardens, borders, and anyone who maintains beehives for the honey. When planting lavender, you should add a bit of grit to the hole, or build up a mound to promote drainage. Lavender should be cut back following each bloom cycle so that it doesn't become too woody.
How to propagate lavender in your garden
While the herb can be grown from seed or picked up at a local garden center, propagating your own lavender at home from already-established plants can be a fun exercise to multiply your stock. Propagation simply entails using a cutting from a parent plant in order to help it reproduce. While not every plant behaves this way, lavender responds really well when given the right conditions.
The first thing you'll want to do is to take a cutting from a vigorous and healthy mother plant just below a set of leaves using clean, sharp scissors or snips. Remove the lowest leaves (about 3 or 4 sets) allowing some to remain at the top. From here, poke a hole in your potting soil, dip the stem into root starter, and then carefully tuck the cutting into the pre-made hole. You can repeat this process and fill a pot with cuttings, leaving an inch or two between each one. Keep the cuttings moist, but don't let them become sopping wet. It's also a good idea to place the pot onto a heating mat so that the entire setup stays at about 70 degrees Fahrenheit. You'll see roots after about a month, at which point you can carefully transplant each cutting to its own pot and grow out further. Be sure to pinch the plant regularly after putting on some growth to encourage branching.

