The Multipurpose Storage Bench You Can Create From An Old Door
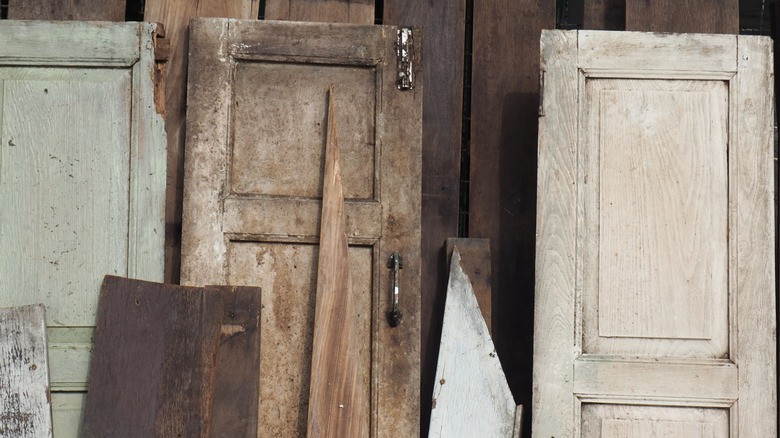
A storage bench is a great addition to an entryway or mudroom, providing a comfy place to take off shoes and to stash outdoor apparel. This project repurposes old doors in your home to make the bench. You'll need two salvaged solid wood doors, two hinges, wood screws, and a salvaged stair banister for a finished look across the top of your piece. Look online, in salvage yards, or at your local Habitat for Humanity Restore location to pick up vintage and reclaimed items at affordable prices. You can leave the original patina on your doors for a shabby chic vintage look, or paint the bench to give it a modern farmhouse vibe. This bench will make your mudroom more practical and stylish.
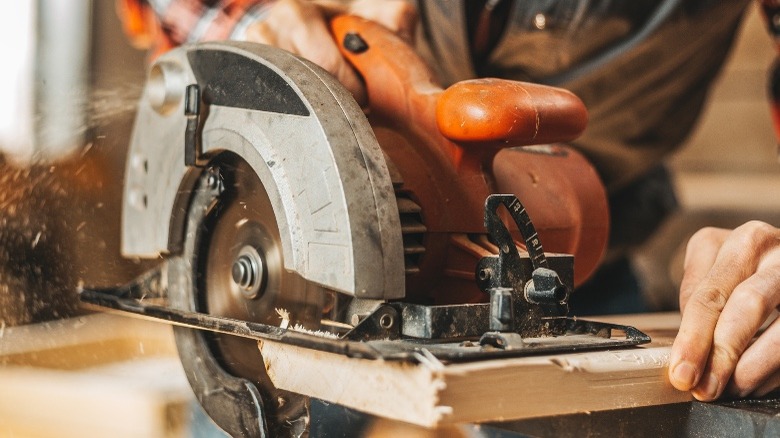
Because salvaged doors vary in width and design, you'll need to adjust measurements and cuts based on the pieces you have. Youtuber @thepoultrypeople completed this project using one 4-panel door and one 6-panel door, and you'll start building the bench beginning from the back. You'll need to have a circular saw with a precision guide to make even cuts, a carpenter pencil to number the pieces, a drill for assembling the various pieces with wood screws, two flat steel mending plates (for joining the top half to the bottom half of the bench back), a sanding block for finishing, and paint if you choose to paint the bench.
How to make a storage bench from old doors
Once you have your tools and hardware laid out for easy access, begin cutting the doors. Cut the 4-panel door in half horizontally: The top half will be the upper part of the bench back (use your carpenter pencil to label this as piece #1). Cut the other section of the door in half vertically to make the bench sides (mark these as pieces #2 and #3).
Cut the second door into three parts. First, cut the top horizontally, using the space between the panel rows as a cutting guide. This is the piece with the smallest panels and will be the front of the bench (mark this as piece #4). Make your next horizontal cut in between the remaining set of panels. Set one piece aside to use as your bench floor (mark this as piece #5). Cut the remaining piece vertically to create the joiner piece (#6) to raise the height of the back section and the seat (#7) of the bench. Once the pieces are cut, measure the height of your bench sides. Measure your joiner piece and seat back combined, then cut your joiner piece (#6) to bring the seat back to the height of the sides when attached.
Assemble the storage bench
To assemble the bench, join the top half of the bench back to the joiner piece (pieces #1 and #6) with your steel mending plates using the manufacturer's instructions. You now have your completed bench back. Attach the sides (pieces #2 and #3) to the back by standing the back panel upright and connecting the two side panels to it using screws. The sides of your bench should be flush with the back so that everything aligns neatly. Once you have the sides of the bench secured to the back, place your floor piece (#5) tightly into the bottom center and screw all the sides into the flooring piece.
Add the front panel (piece #4) by screwing it into the sides and floor with wood screws. You've created a box at this point. To make the seat, use piece #7. Attach the seat to the back panel of the bench using your hinges. Lift the seat to make sure it doesn't scrape the sides, then sand or plane to fit if needed. Finish the top of the bench with your salvaged banister railing. Paint it if you want a decorative bench for your entryway or mudroom, or leave as is for some rustic décor. A cute addition to this project would be coat hooks on each side to make the bench even more useful.

