Tricks To Prevent Pesky Weeds From Growing Between Your Pavers
We may receive a commission on purchases made from links.
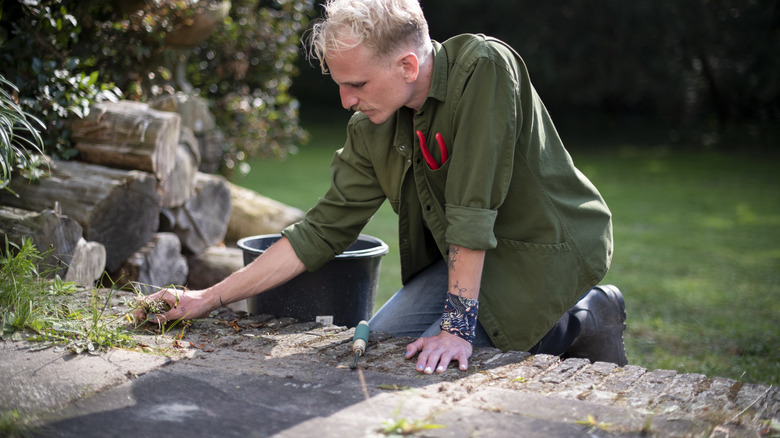
Pouring boiling water on the weeds overtaking your patio pavers or pulling them out by hand is laborious and only a temporary solution. Since the soil conditions remain the same, the weeds will continue to grow back. Power washing has the bonus of cleaning your pavers at the same time as blasting away weeds, but, once again, it doesn't prevent them from re-colonizing the cracks quick-smart. Thick or tall edging can help reduce the amount of weed seeds getting into the cracks between your pavers, but it's not going to stop the problem altogether. Solutions that actually work range from cheap but time consuming, like sweeping or regular application of some kind of natural or chemical weed killer, to more permanent solutions like laying down weed mat or filling paver gaps with polymeric sand.
Why is getting rid of weeds in your pavers even necessary? Perhaps the most obvious reason to tackle pesky weeds between pavers is that you don't want to waste all the time and money you put into that beautiful DIY paver project that instantly elevates your yard. Outside of aesthetic concerns, weeds can cause your pavers to warp or lift as their stems and roots bulk up and fight for more growing space. They also hold moisture that, over time, will weaken the bonds of joint sealers (like polymeric sand) and the concrete of the pavers themselves. A weedy patio is also a haven for insects like ants, which build their nests under the stones, piling up sand and soil in those telltale — and unsightly — above-surface mounds.
Sweep your patio pavers regularly and thoroughly
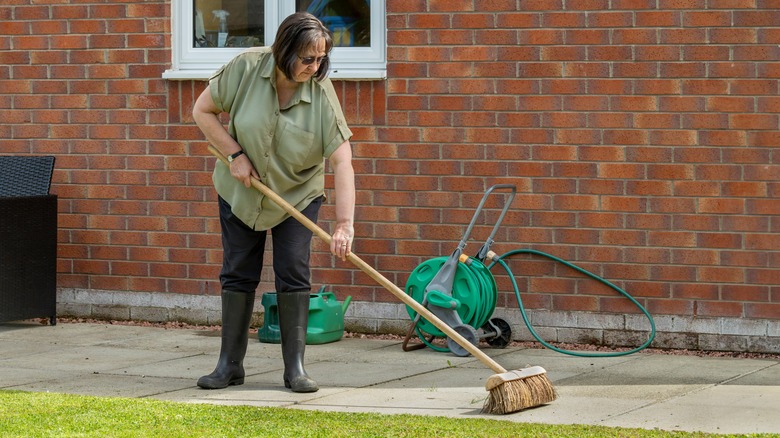
How often do you sweep your paved outdoor areas? Believe it or not, but adopting this one simple cleaning habit can keep weeds away from your patio pavers. You keep the problem under control by quite literally brushing away seeds and seedlings before they have a chance to get established. Sweeping also reduces the patches of soil they set their roots down into. It's cheap and easy to do for almost anyone. Use a hard-bristled push broom. We like the Quickie Bulldozer 18-inch multi-surface heavy duty push broom, which sells for less than $30 on Amazon. A powerful leaf blower may also do the trick. Bonus: Sweeping prevents moss build-up, too.
Of course, there are a few downsides to this method worth mentioning. First up is the fact that it's time consuming. You need to sweep your pavers every day if you want to keep the weeds away for good and really dig deep into those gaps between the bricks at least every quarter. You'll need to sweep more often in spring, too, since it's prime weed (or any plant, for that matter) growing season. You'll also want to collect the debris and destroy or bin it to prevent re-seeding or re-sprouting. If you leave it on the edges of your patio, bits of stem or rhizomes of some common patio weeds, like purslane and Bermudagrass, will quickly take root in even the teeniest patch of soil. Composting invasive or hard-to-control weeds is generally a bad idea for the same reasons.
Use natural ingredients to rid paved areas of weeds
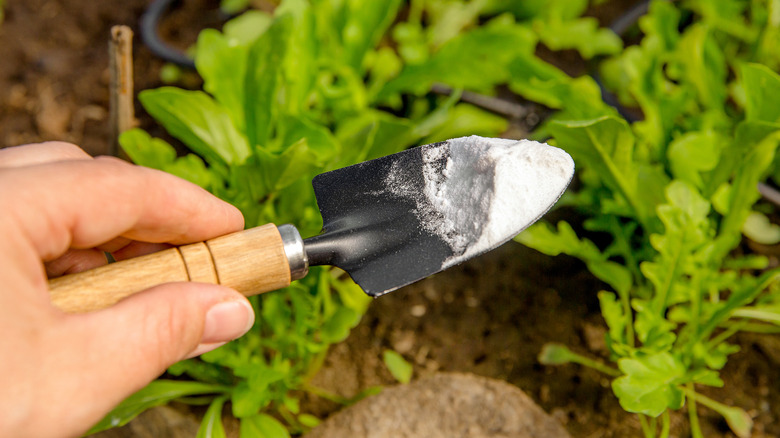
Raiding your pantry for ingredients to repurpose in your patio paver weed elimination efforts isn't as far fetched as you might imagine. Baking soda is just one of the pantry ingredients that can prevent weeds from growing in cracks. As a drying agent, it works by sapping weeds of their much needed moisture; they effectively perish from dehydration. Wet your patio and not the surrounding lawn and garden, then spot apply baking soda to the weeds emerging from the cracks between pavers. The powder will stick to the damp weeds. Regular ol' table salt is an alternative to baking soda; it works similarly.
Many landscapers swear by a combination approach, mixing, for example, a half-cup of salt and a gallon of pickling vinegar with a few teaspoons of dish soap to create a potent brew. Spray it liberally over your patio on a hot, sunny day and watch the weeds wilt away. The weed-killing power of these recipes lies in the acetic acid in the vinegar, which, at concentrations above 10%, is a proven herbicide that breaks down plant tissue.
Horticultural experts note that natural remedies need to be applied in high concentrations and repeatedly to be effective. They are not systemic herbicides like many of their purpose-produced counterparts (more on those below). Plus, while many people believe so-called natural pesticides to be harmless, this isn't always the case. Salt, for example, can build up in the soil, reducing its health, and even migrate to other areas of your backyard. And vinegar with acetic acid concentrations above 8% is considered harmful to human health.
Apply chemical weed control to your pathways
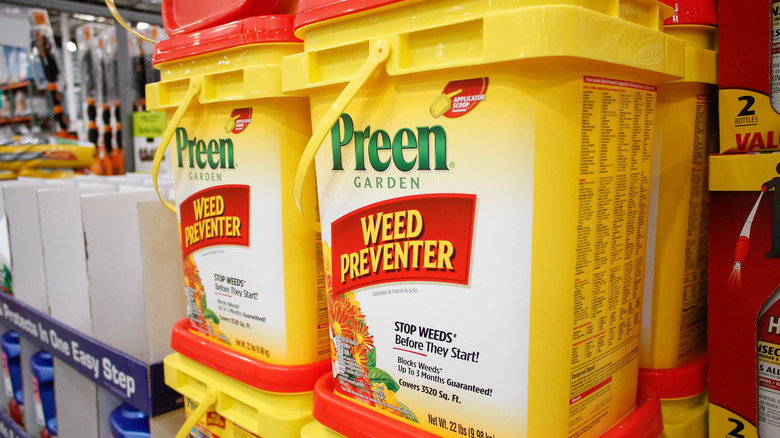
Chemical controls typically require fewer applications to achieve the same results. Bi-annual applications of a granular herbicide like Preen in the cracks between your pavers will keep broadleaf weeds and annual grasses at bay. A 5.6 pound shaker bottle costs less than $14 at Walmart. Tackling stubborn perennial weeds — plants like white clover, dandelion, and nutsedge — is trickier, and you may have to turn to a glyphosate-based herbicide to get rid of them. For example, Roundup Ready-to-Use Weed and Grass Killer in a sprayer bottle sells for under $15 at The Home Depot.
Of course, not everyone is comfortable with using chemical weed controls, and for good reason. The safety of glyphosate, in particular, is hotly debated globally, despite the U.S. Environmental Protection Agency stating it poses no risk to human health when used as directed on the label. Educate yourself on the less-than-ideal outcomes of using chemical weed killers before you apply them to your patio, driveway, or pathway pavers, especially if you're using them close to your lawn or garden beds. Follow the manufacturer's instructions to the tee to ensure you reduce any risks to you and your family's health. For example, trifluralin, the active ingredient in Preen, can irritate your eyes, skin, and lungs or if applied to pavers without appropriate protection. Glyphosate is a non-selective herbicide, meaning it will kill any plant it comes into contact with, weed or otherwise, and remains in soils for at least six months.
Fill the gaps between pavers with polymeric sand
Prevent pesky weeds from growing in your pavers with an easy addition: polymeric sand. While it looks like beach sand straight from the bag, polymeric sand contains a mixture of silica sand, polymer-based bonding additives, and sometimes concrete that activate and harden when exposed to water, forming an impenetrable yet flexible seal in the cracks between pavers. You no longer need to worry that the sand will wash away, nor will weeds be able to wind their way through the gaps. Regular sand works, too, though it washes out and needs to be reapplied every few years. Weeds will find their way through eventually. You can apply a paver sealer after brushing it in to reduce, though not solve, wash out.
Laying polymeric sand so that it looks professionally applied is simple even for newbie backyard DIYers. Use an online calculator to work out the volume of sand you need for your paved area, and make sure you get a hue that matches your pavers — unless you like the contrast. A 40 pound bag of Dominator polymeric sand sells for less than $90 on Amazon and comes in six colors. Clear the paver joints of existing filler and weeds with a garden hose or pressure washer, check over the patio and replace uneven or broken pavers, then fill the gaps with polymeric sand using a jug or pour it over the pavers and brush it in with a broom. Compact the entire surface with a plate compactor (an optional extra), then water the sand using a garden hose set to light spray.
Got large paver cracks? Plug them with backer rod and sealant
Does your driveway or outdoor entertainment area boast large concrete pavers with wide joins? You're in luck! You can fill those hefty cracks with backer rod and sealant to keep weeds out. Backer rod is a type of foam piping used in construction to fill cracks so you don't need to use as much sealant or mortar. When used together, the materials stop moisture and sunlight penetrating between pavers, cutting off two of the most essential inputs plants need to thrive.
Backer rod comes in various diameters; measure the gaps between your pavers before you buy. It's relatively cheap: a 20 foot length of half inch M-D Building products backer rod in gray costs less than $5 on Amazon. Sealant-wise, you're best buying something that will self-level, like Sikaflex self-leveling joint elastic, about $17 for a 29 fluid ounce tube at The Home Depot. (If your paved area patio slopes, don't buy the self-leveling option or it will pool to one side.) Finally, get yourself some masonry sand, ideally in the same color as your pavers.
To DIY this solution, simply press the backer rod into all your paver joins. It's squishy, so use a thin implement (a carpenter's pencil, ruler, or a utensil handle) to jam it onto the gap tightly. It should sit about half an inch below the paver surface. Fit your tube of sealant into a caulking gun and slowly squeeze it out onto the gap. It should completely cover the backer rod with no visible gaps between the paver and sealant. Sprinkle sand gently over the sealant as it's drying.


