How To Install A Gorgeous Diy Brick Feature Wall That Will Last
Brick is a classic building material that invokes images of cozy heritage buildings and feelings of resilience in the face of time and wear. Installing a feature brick wall inside your home is a long-lasting solution for infusing traditional character into the interior design and making the home feel more luxurious. But if the thought of laying bricks indoors leaves you worried about the ensuing mess, or you feel that the material is too cumbersome for indoor work, let us set your mind at ease. With interior brick veneer, quality adhesive, and the right installation tools, you can build a robust brick feature wall right over a section of drywall quickly and with minimal disorder in the house.
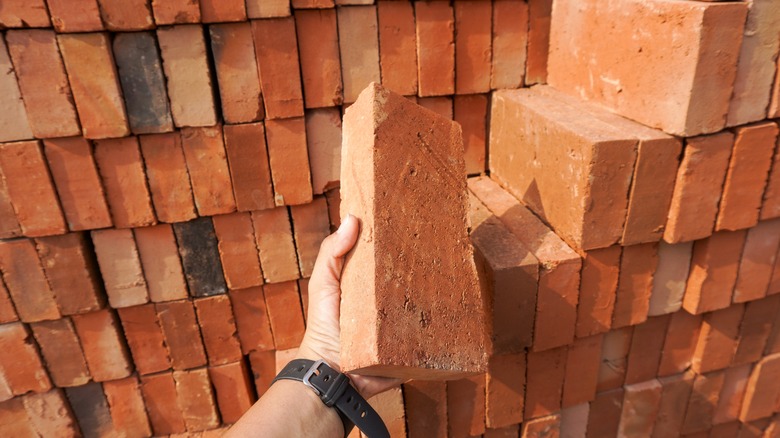
Brick veneer is a type of decorative material that's made of real brick. However, unlike real brick, which is generally 3⅝ inches wide, brick veneer has a width of just half an inch. This significantly slimmer profile (and reduced weight) makes it much easier to handle and fasten to the wall without significant structural supports. In essence, you can follow the same rules you would for a tiling job. All you need is a quality adhesive, such as masonry mastic or thin-set mortar, and tools like a measuring tape, a pencil or chalk, a notched trowel, a level, tile spacers, a bucket with water, some towels, and a tarp. If you need to field-cut the bricks, you can use either a wet saw, circular saw with a masonry blade, or a chisel with a hammer. To protect yourself during installation, be sure to don safety gear, such as goggles, gloves, and ear protection.
Steps for installing a brick feature wall
First, clean the wall thoroughly and repair any holes in the drywall. This will make sure the wall is ready and the adhesive will create a strong bond between its surface and the brick veneer. Next, make vertical and horizontal measurements on the wall to find its center, and mark this location. For greater precision, transpose the wall dimensions onto the floor and lay the bricks down first to see how they will fit in your desired pattern. This step will also help you calculate the brick quantity.
Once you've established the brick quantity and layout, cover the floor adjacent to the future feature wall with a tarp. Then use a notched trowel to spread the adhesive at the bottom of the wall to accommodate the first course of the brick. The bonding agent sets fast, so work quickly to get the bricks onto the wall. During the procedure, use tile spacers to keep the bricks apart — you'll grout these gaps later. When you're done with the first course, check whether it's level and continue making your way up, one course at a time, being mindful of staggering the alignment to achieve the desired bond.
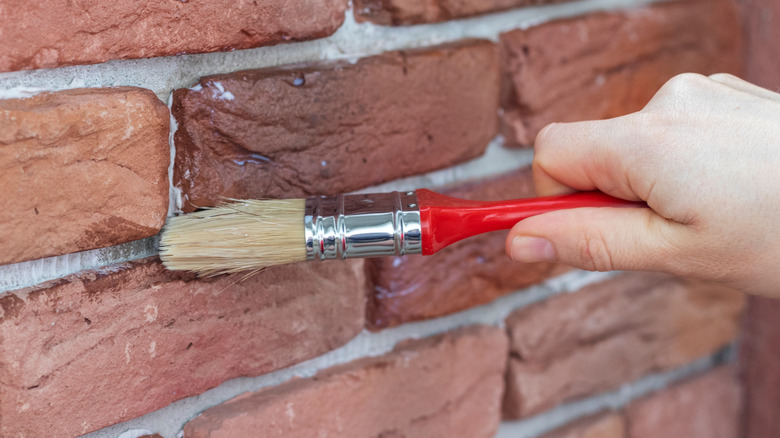
When all the bricks are attached to the wall, allow the mortar to set according to the manufacturer's instructions. Then, apply grout to the gaps between the bricks. Smearing some grout onto the wall surface will give the brick feature wall an aged look. Or, for a more refined aesthetic, wipe the wall meticulously with a wet cloth during grout application, then seal the brick surface after the grout has cured. The sealant will give the wall a wet, glossy look and protect the new surface from moisture-related issues. Alternatively, you can paint the brick wall instead.

