Upcycle A Milk Carton Into A Cute Decorative Basket With An Easy DIY
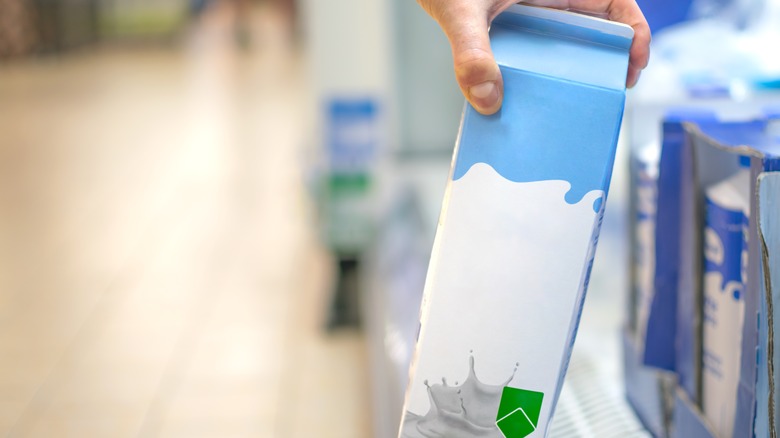
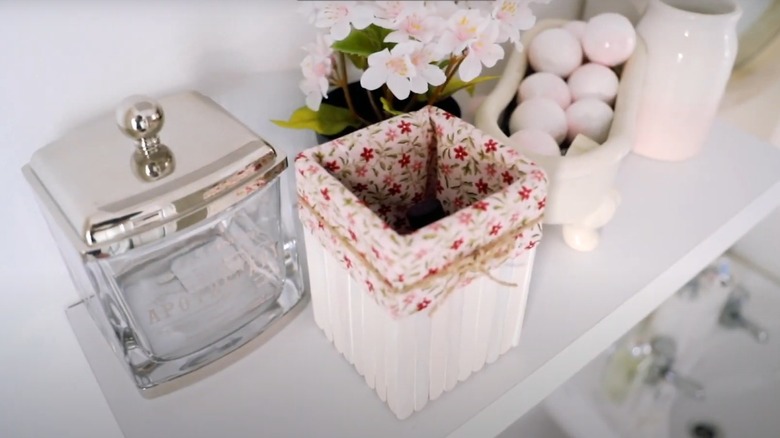
Cute and useful storage boxes and baskets can help make any room both prettier and more functional, as well as hide away clutter for a cleaner look. While home stores are full of suitable and attractive storage options, you may be looking for less expensive ways to create unique and stylish storage in your home — even better if that storage can make use of recycled materials and DIY customization. YouTube DIYer Dainty Diaries recently showed off a clever upcycling project using cardboard milk containers, inexpensive popsicle sticks, hot glue, and fabric, creating adorable storage boxes.
This is an easy and thrifty milk carton DIY that yields charming results perfect for a variety of storage needs. This is also one of many ways to repurpose cardboard milk cartons around your home. Made of durable and waterproof cardboard, they come in a number of sizes, so you can create boxes in various heights and orientations. These boxes are perfect for holding toiletries and hair accessories in a bathroom, or pens and other desk objects in a home office. Use a cute floral fabric for a cottage or shabby chic look, or try something earthier, like burlap or unbleached linen, for more minimalist or nature-driven interiors. Without the fabric liners, they can also make lovely DIY planters that can withstand moisture.
Creating a milk carton basket
To create your DIY milk carton storage baskets, begin by washing and cutting your cartons down to your desired size with scissors, a utility knife, or an X-ACTO blade. While this technique works for vertical baskets by cutting off the top, you can also make a longer, wider container by turning the carton on its side, cutting off the top panel, and refashioning it into a new side panel for the open end.
Add the popsicle sticks with hot glue around the perimeter, making sure to place them exactly in line with each other to create a uniform top and bottom. Measure each side and bottom of your carton, then create a paper template to help you cut out 5 pieces of fabric (4 sides and the bottom) with a little extra to fold over at the top on the outside. Sew them together with a sewing machine, then turn the liner inside out to place it in the basket, folding over the edges at the top to the outside. Add some twine or ribbon for a little extra interest. Paint the sticks, or leave them as they are for a more natural look. Milk cartons can also be fashioned into other basket designs by covering the exterior entirely in fabric or decorative paper, or by cutting them into strips you can weave together.

